Was that title dorky enough for you? Can we still be friends? I can’t promise it won’t happen again. Seriously though…this sandwich is a flavsplosion. It’s the only word for it. So you may be surprised at how it starts…
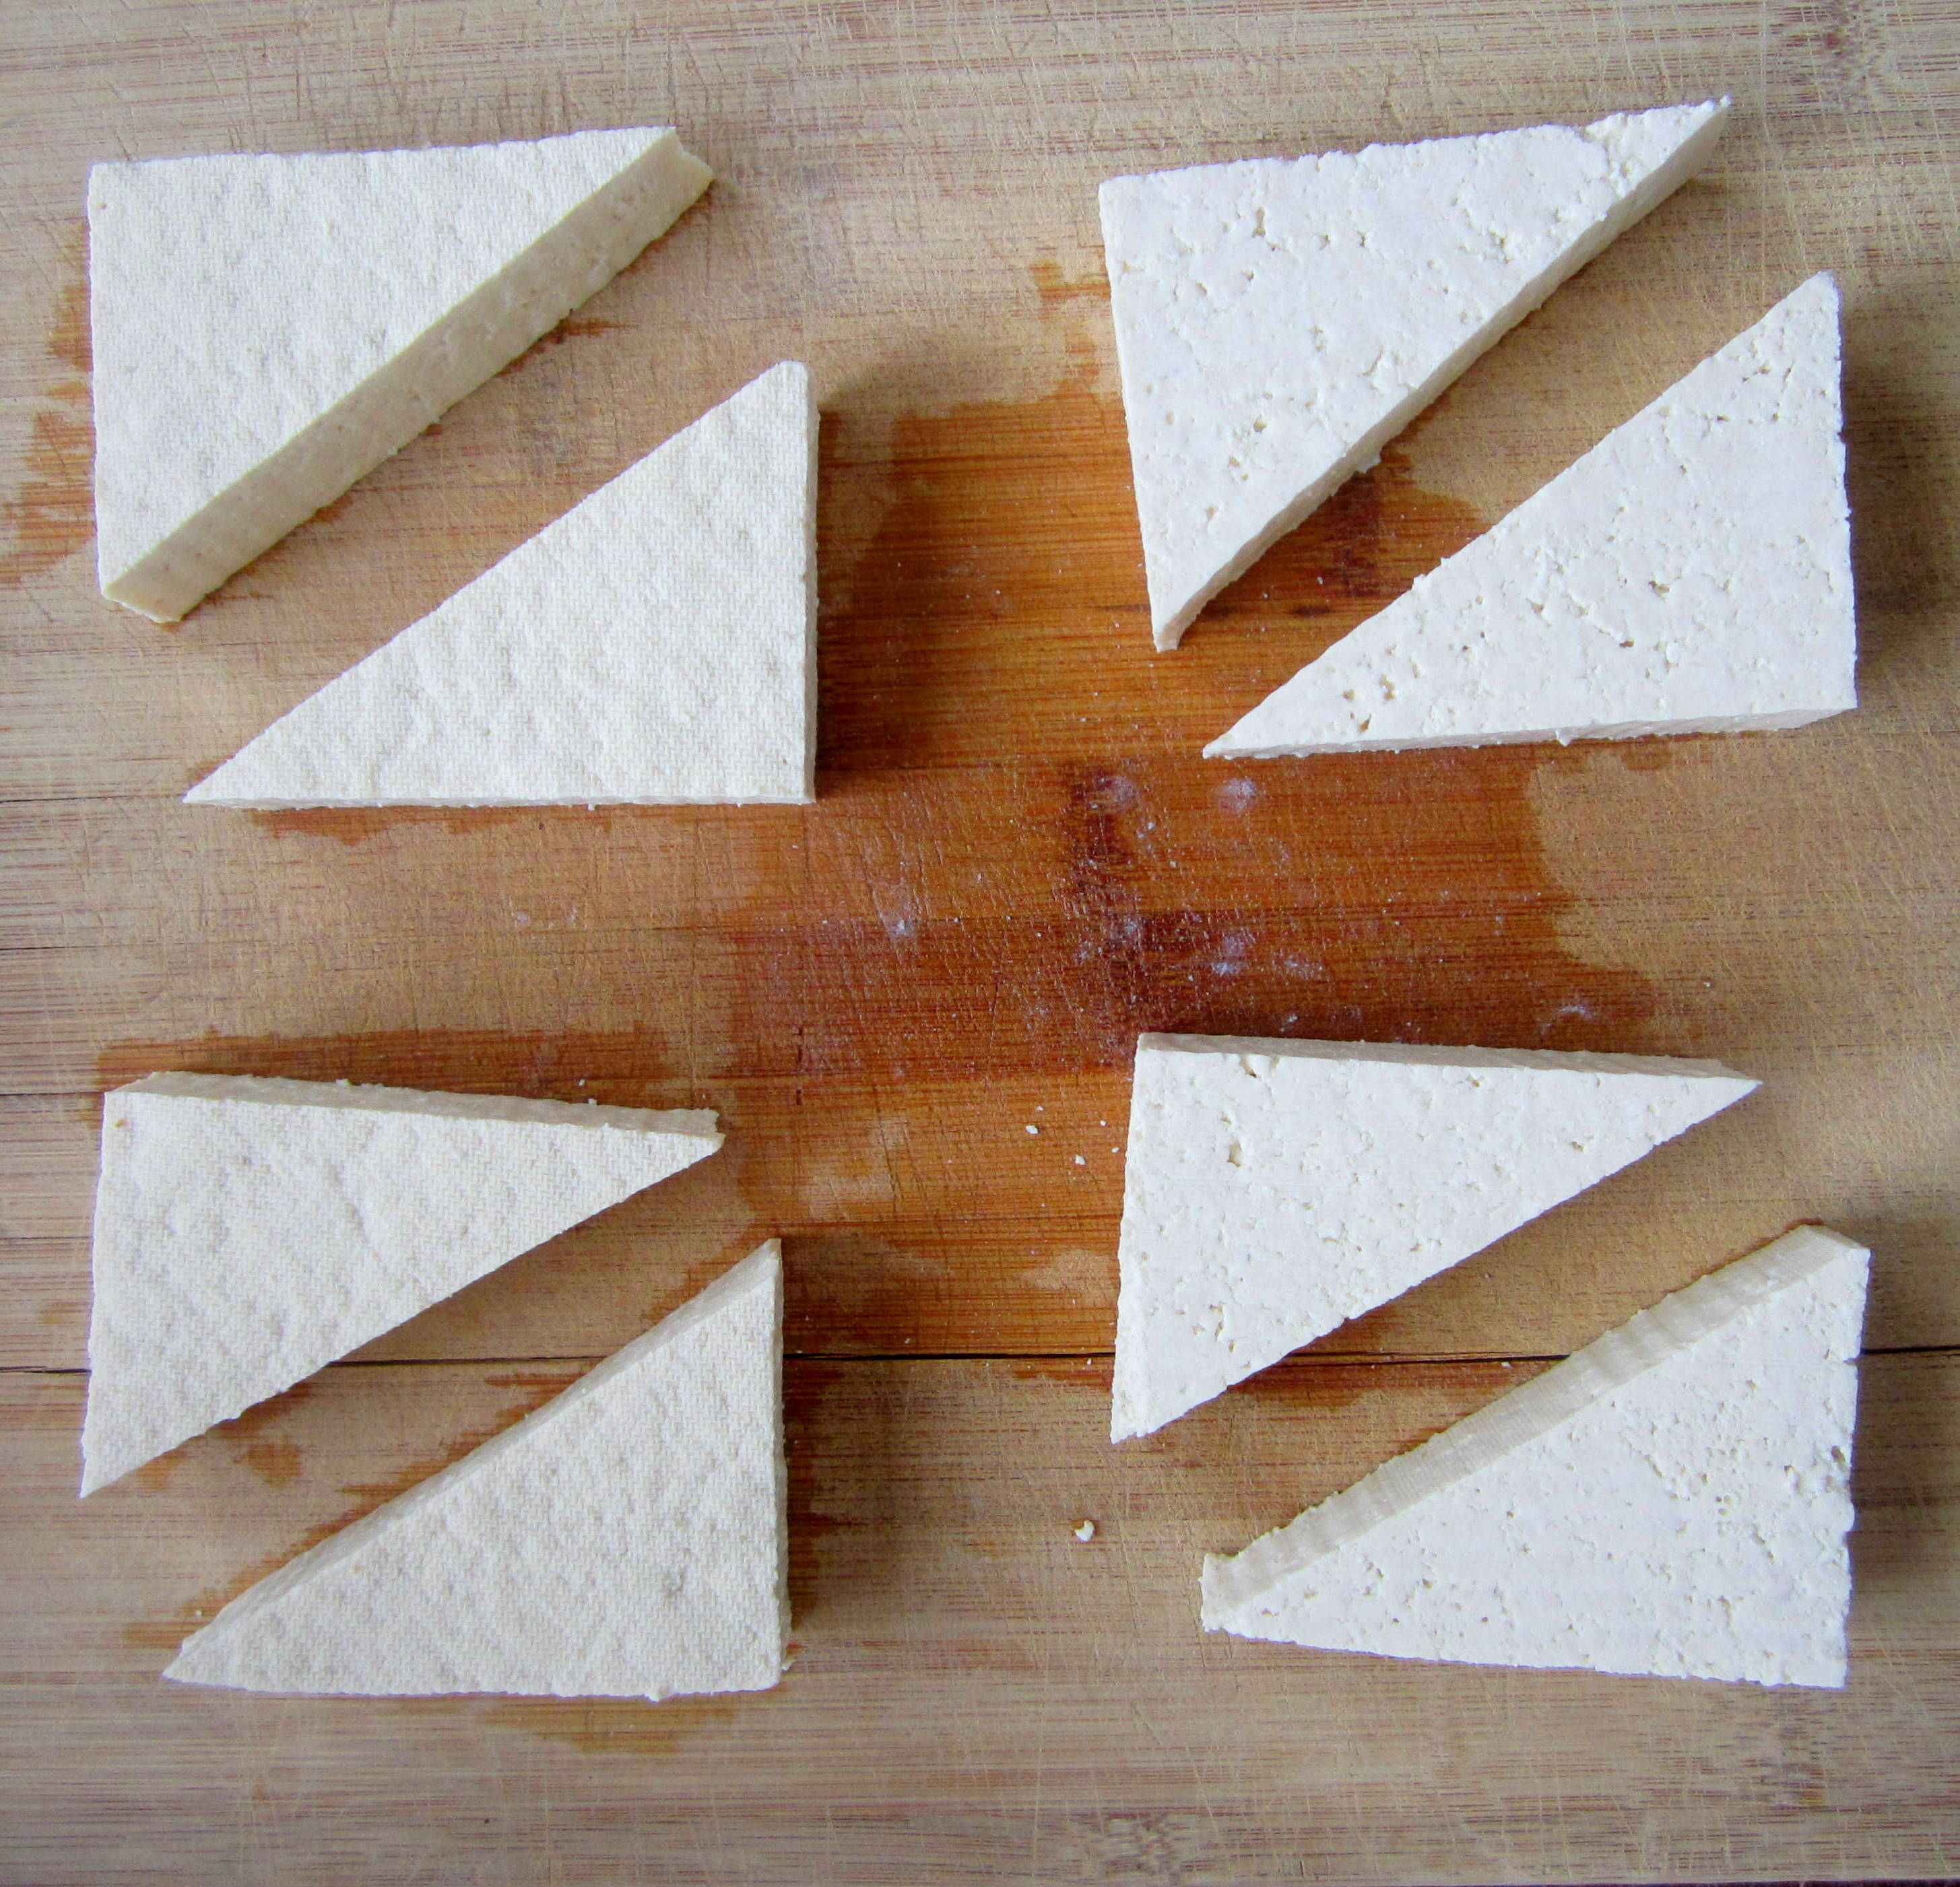
Guys…this is tofu.
 What? Scared? Don’t be.
Before you get all cranky and suspicious on me let me point out: All of this works with chicken too. No one is going to force you to eat tofu if you really don’t want to but…maybe give it a chance?
Real talk: I love tofu. It takes on flavors like a pro and can be absolutely delicious. You just have to do it right. When I worked at the bakery we made a tofu pesto sandwich with herby tofu that we roasted. I was obsessed. Now I made my own tofu sandwich!..with Asian inspiration.
Mise en place

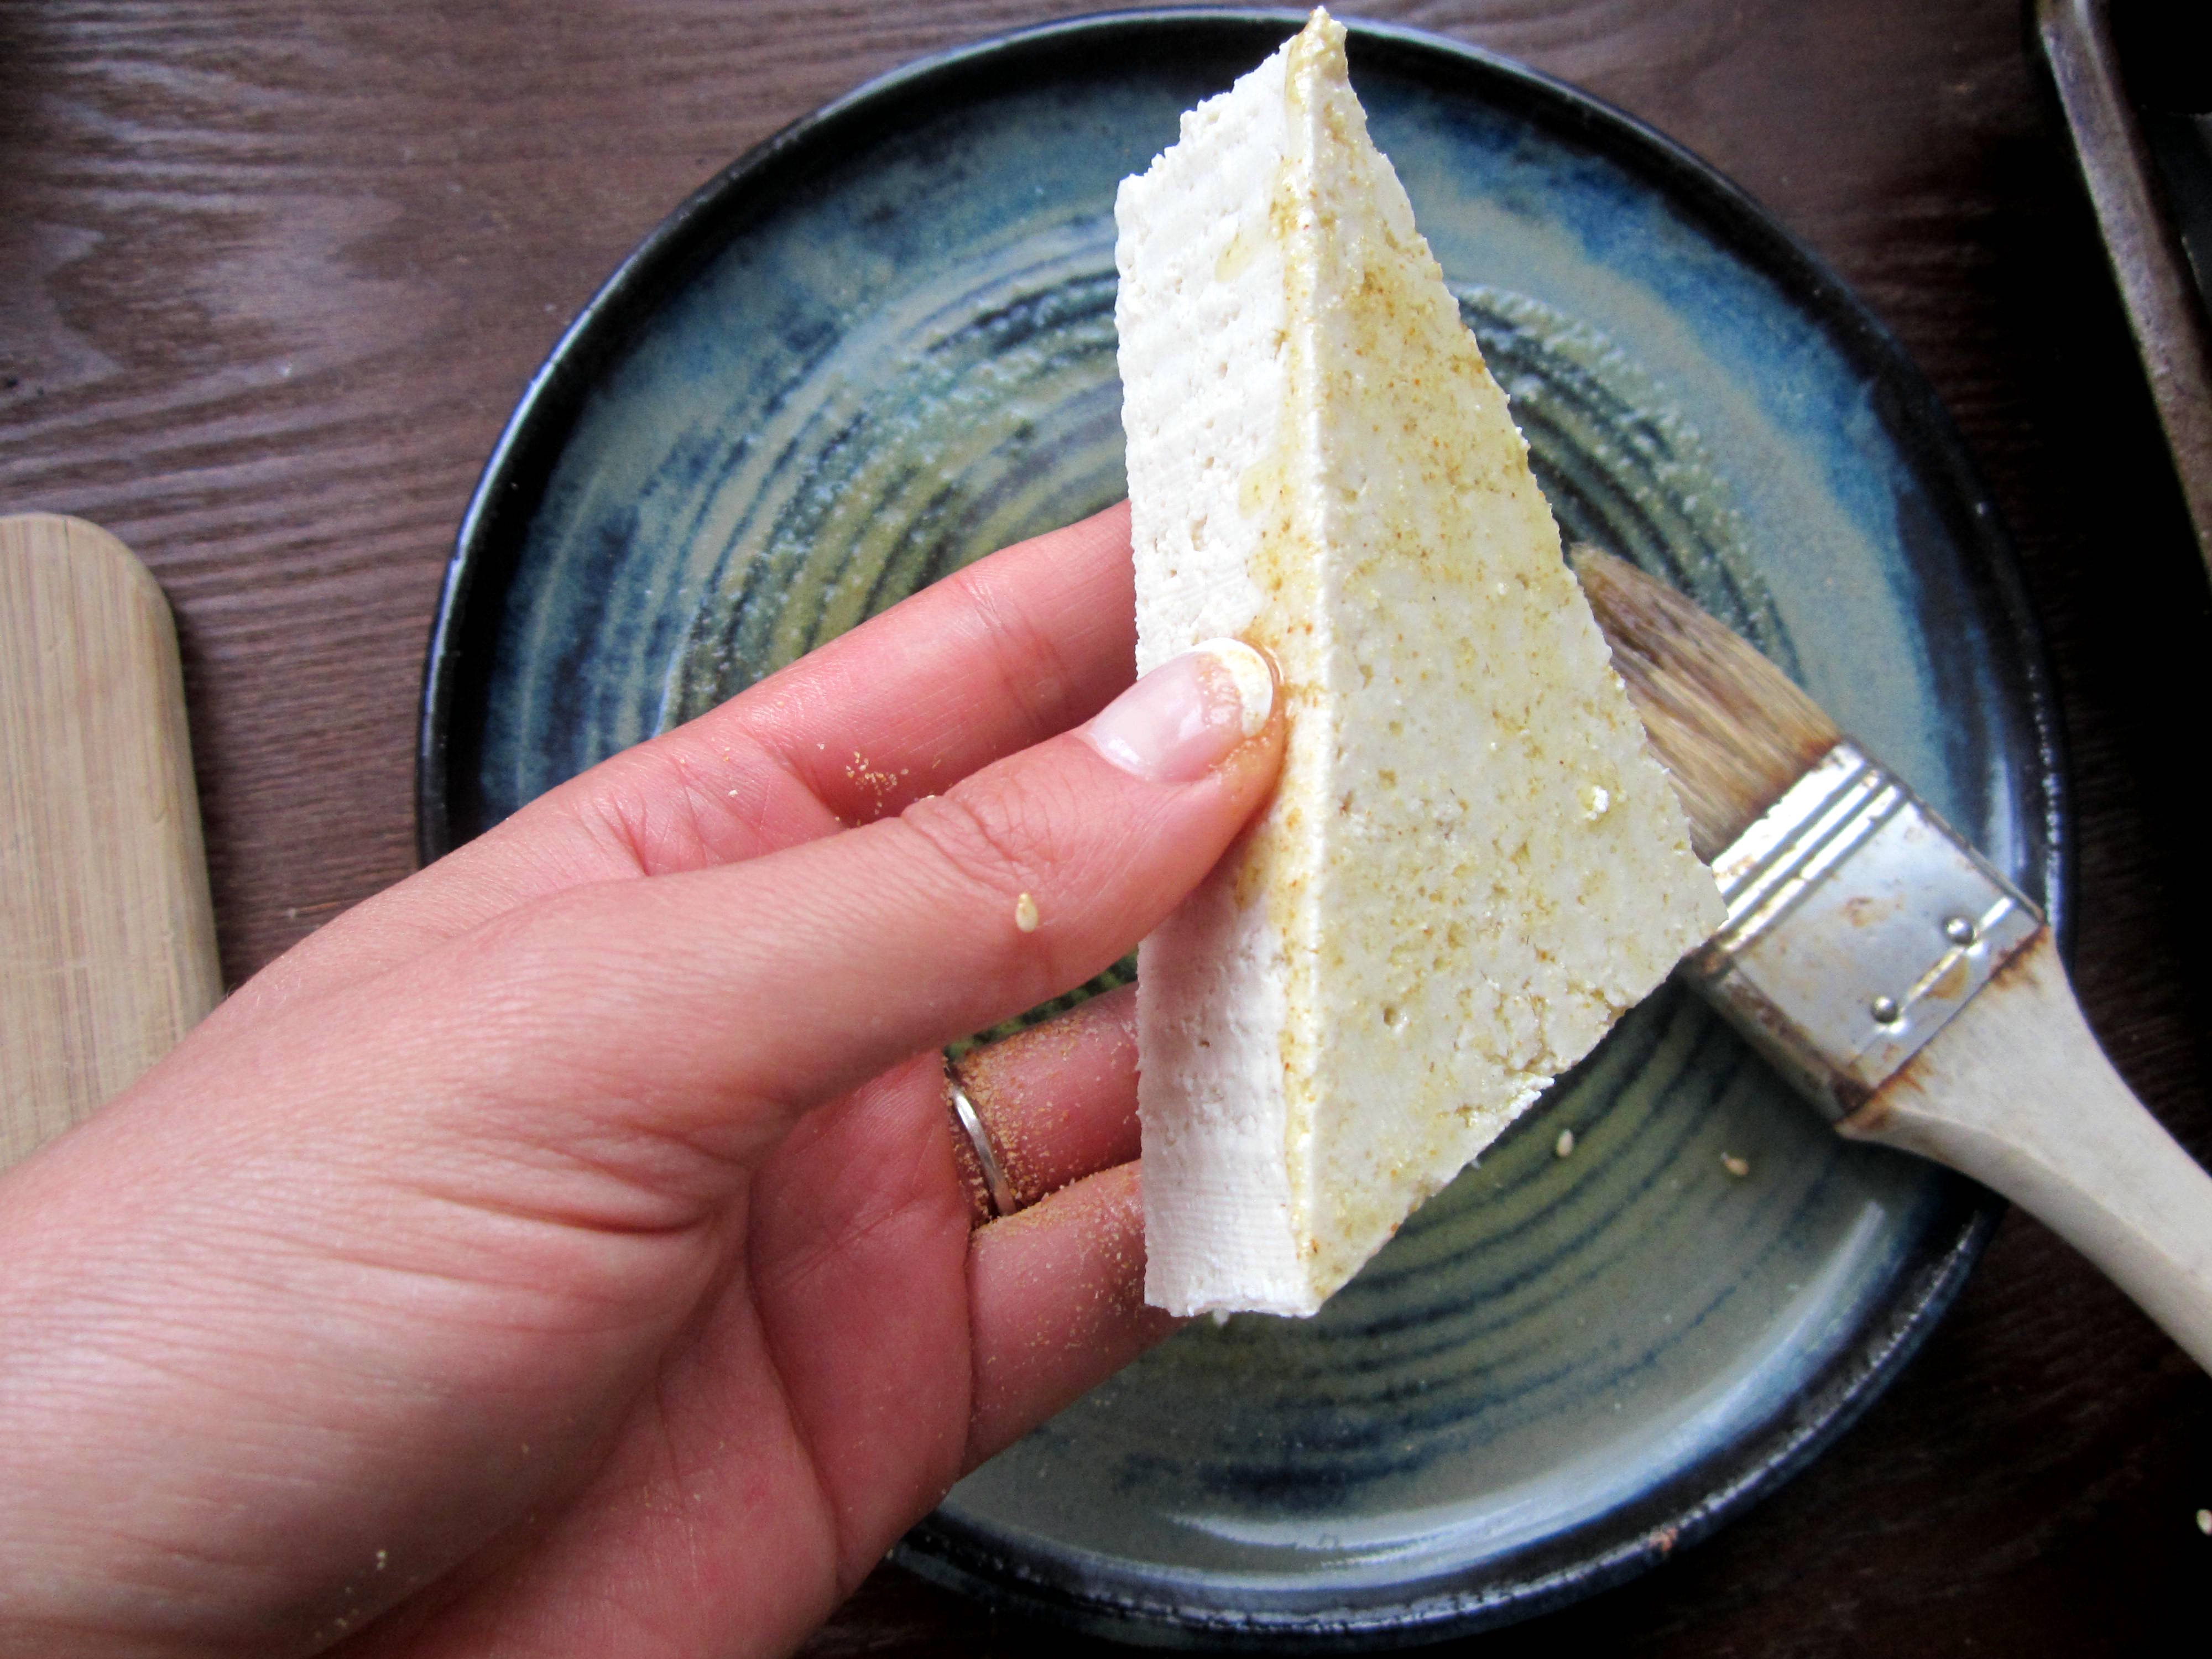
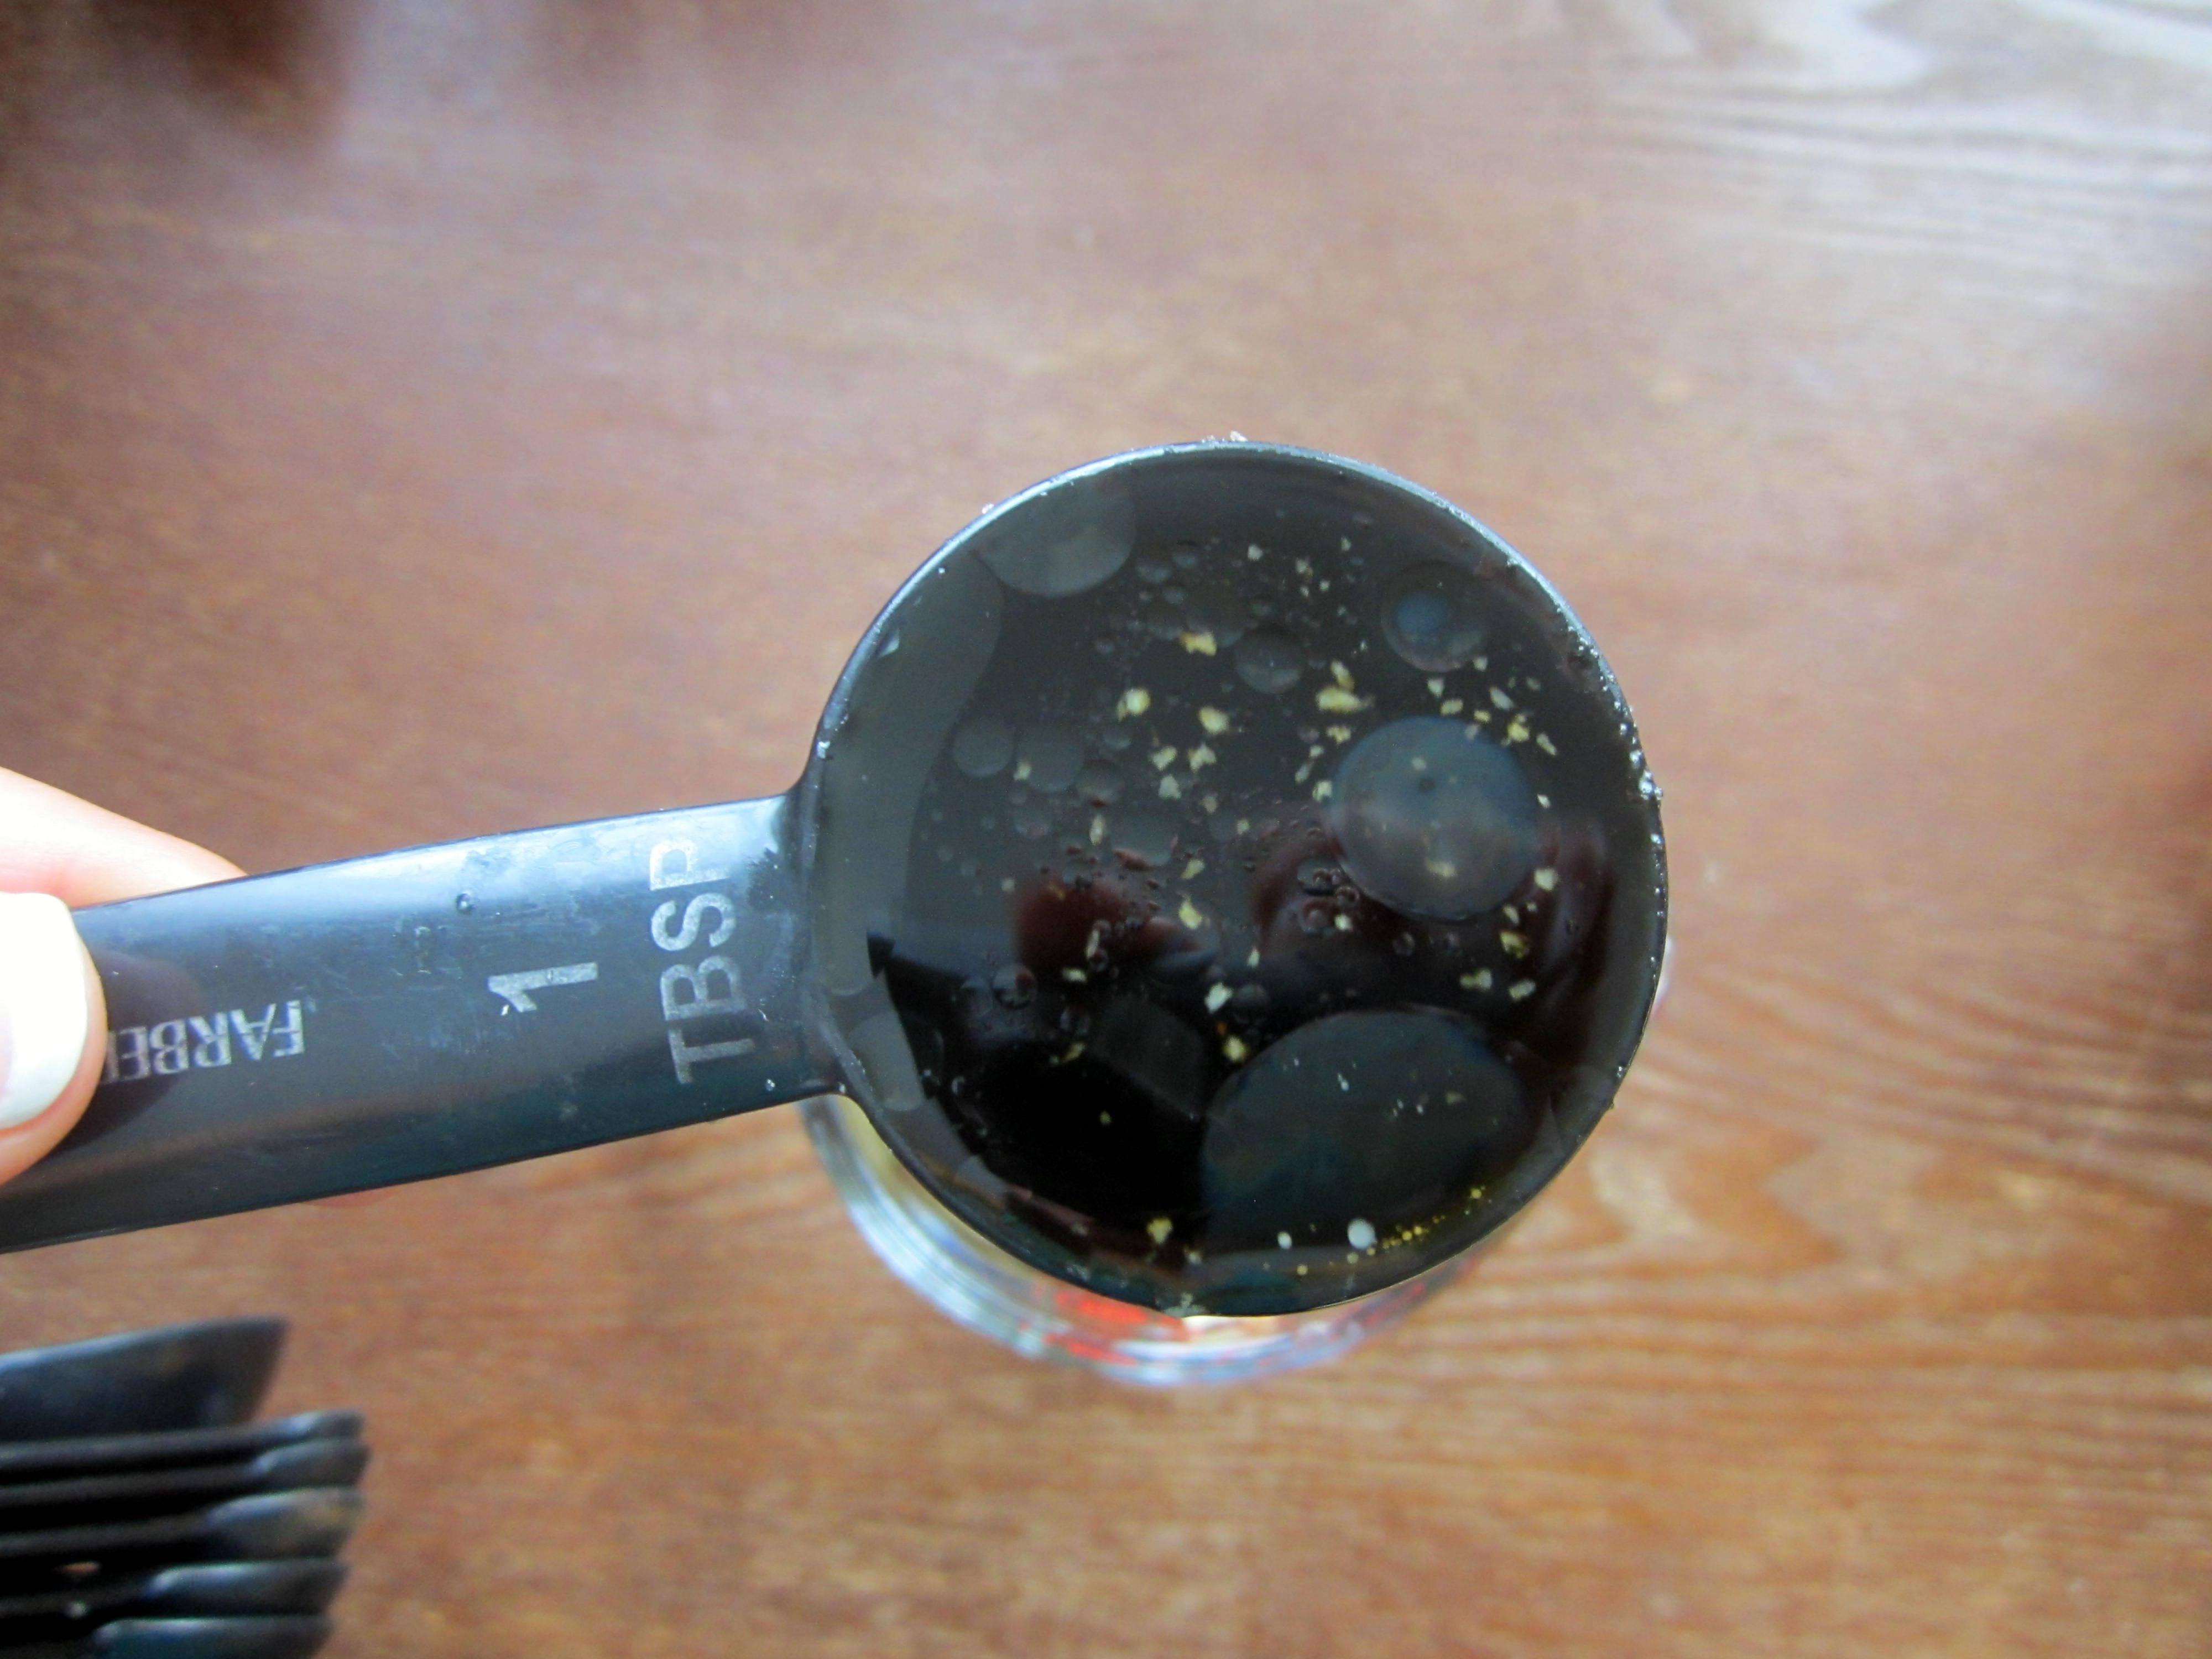
We start with a combo of olive oil and toasted sesame oil. It’s spiked with a pinch of salt and garlic powder. Freaking Delicious (capital ‘D’).

Are you friends with toasted sesame oil? This stuff packs a punch. A little bit makes a big difference.
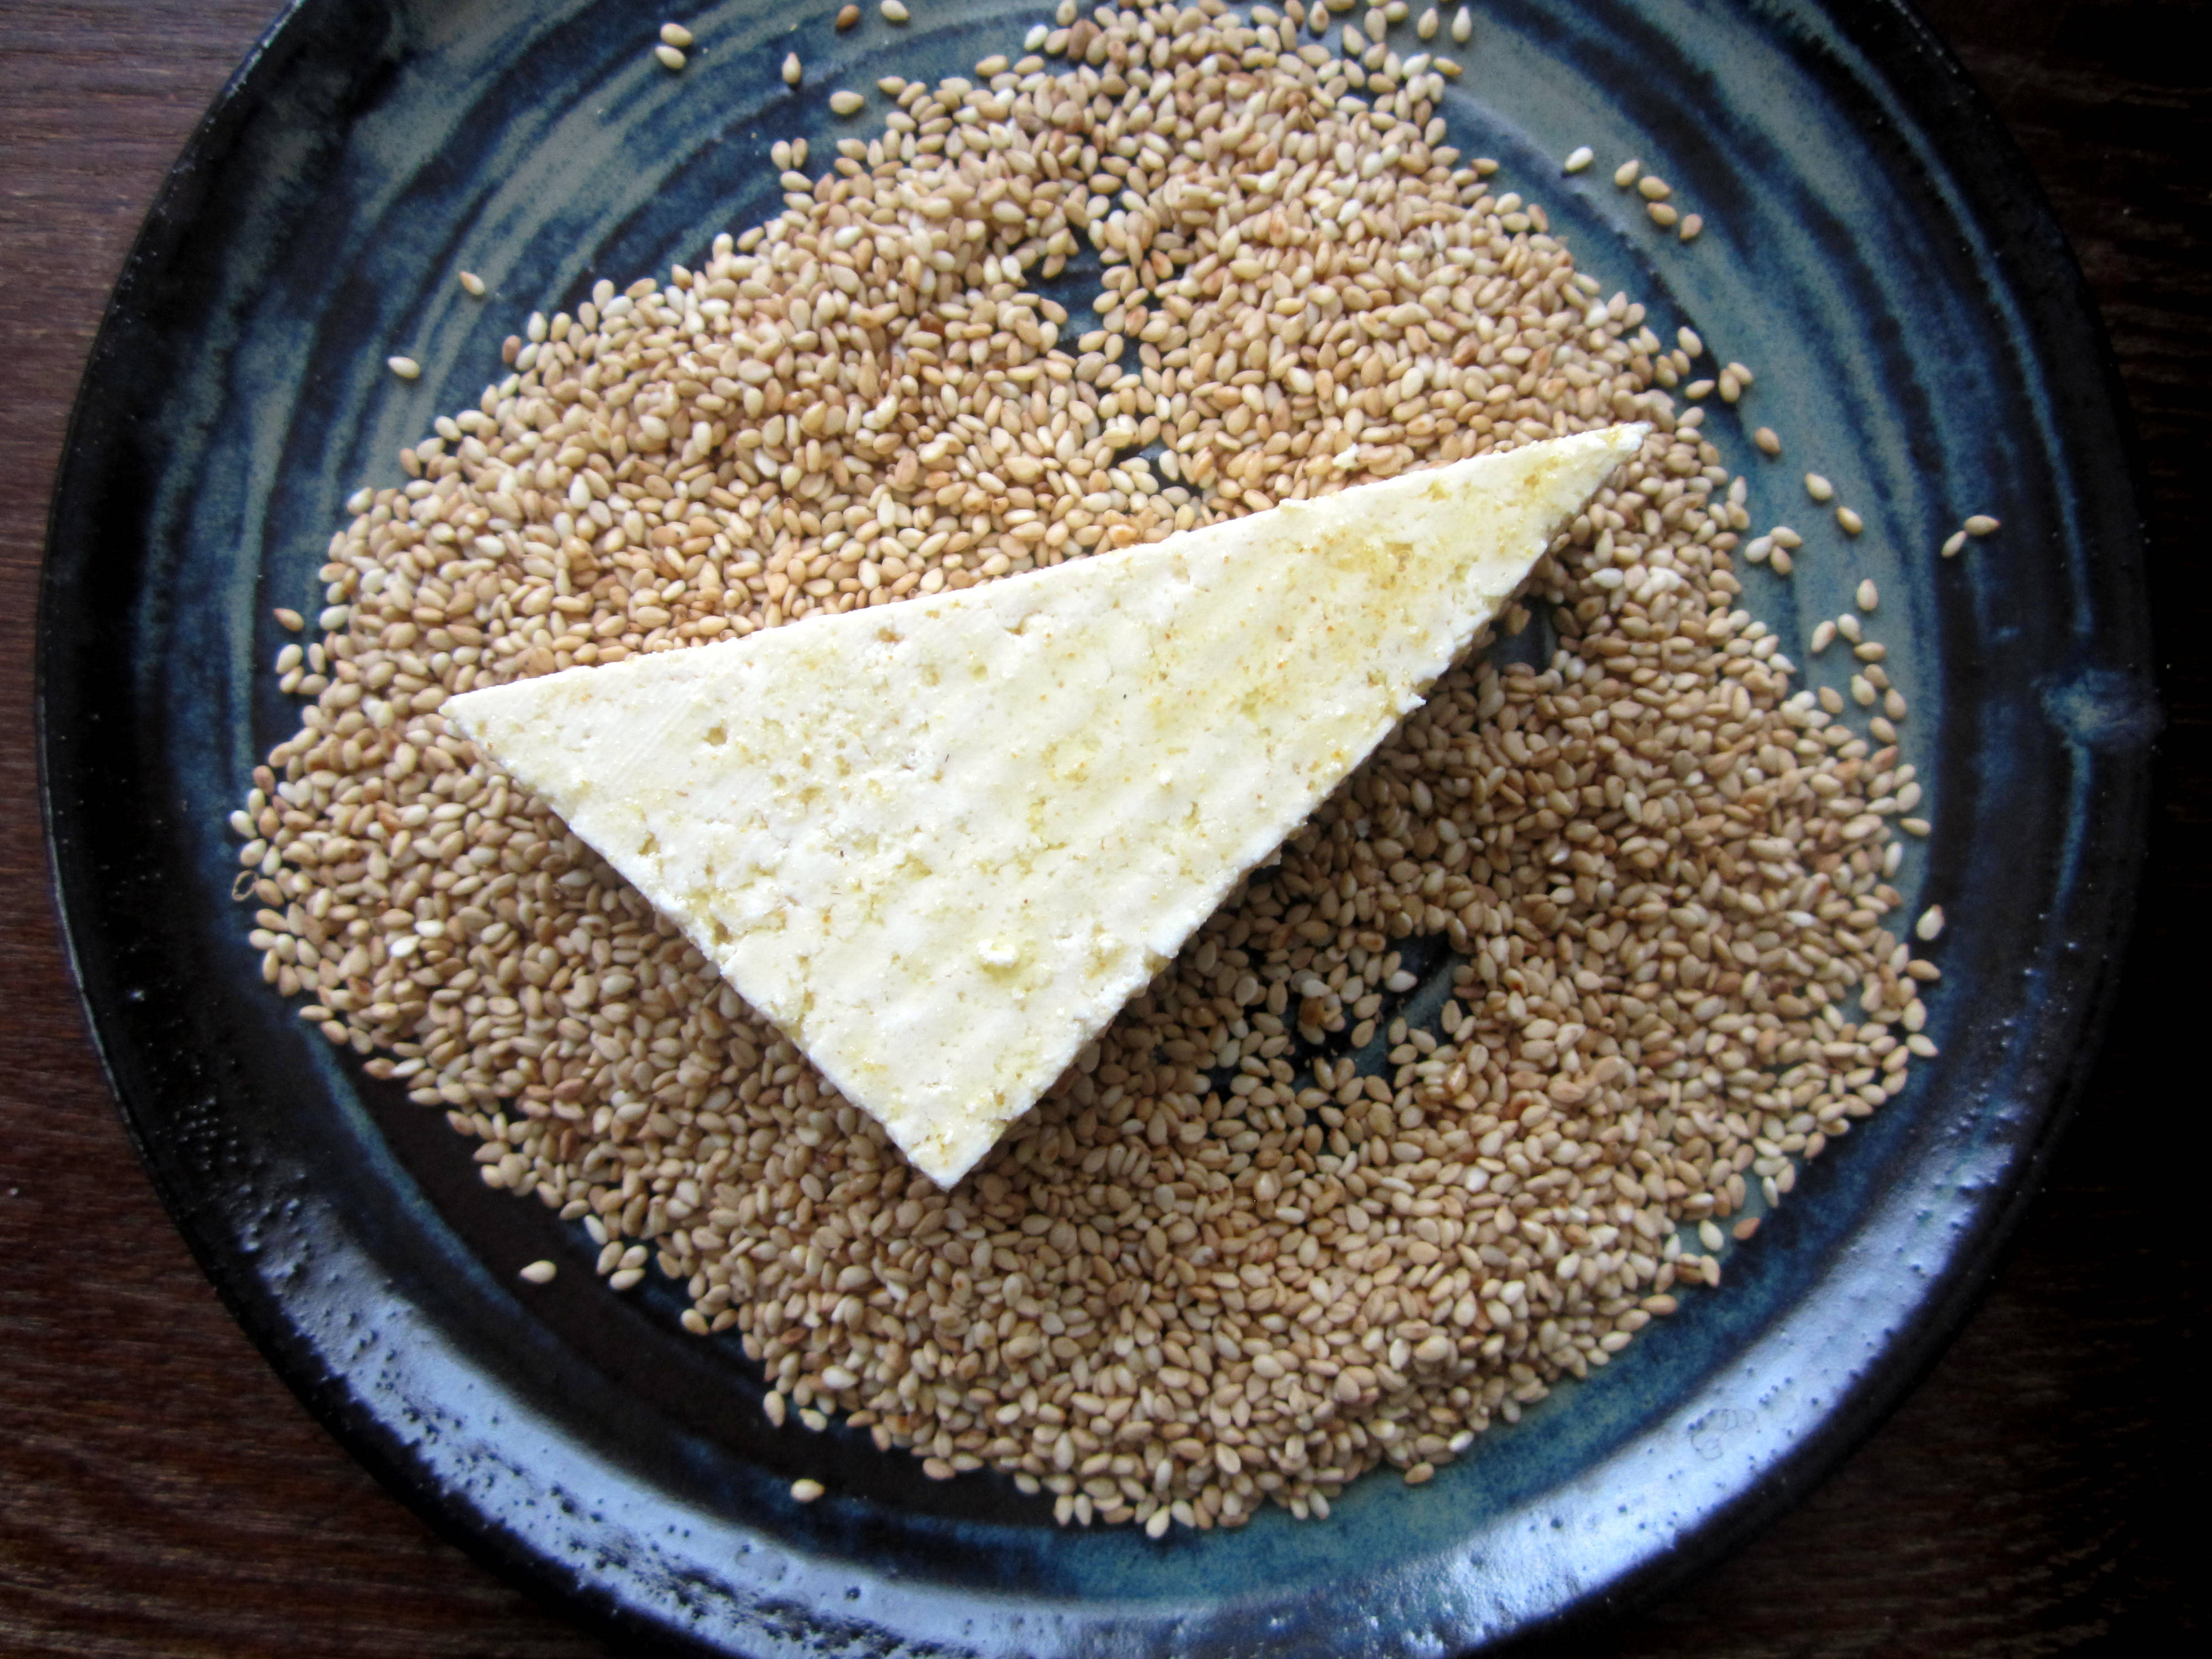
Brush.
(or dip or drizzle…just get some on there!)
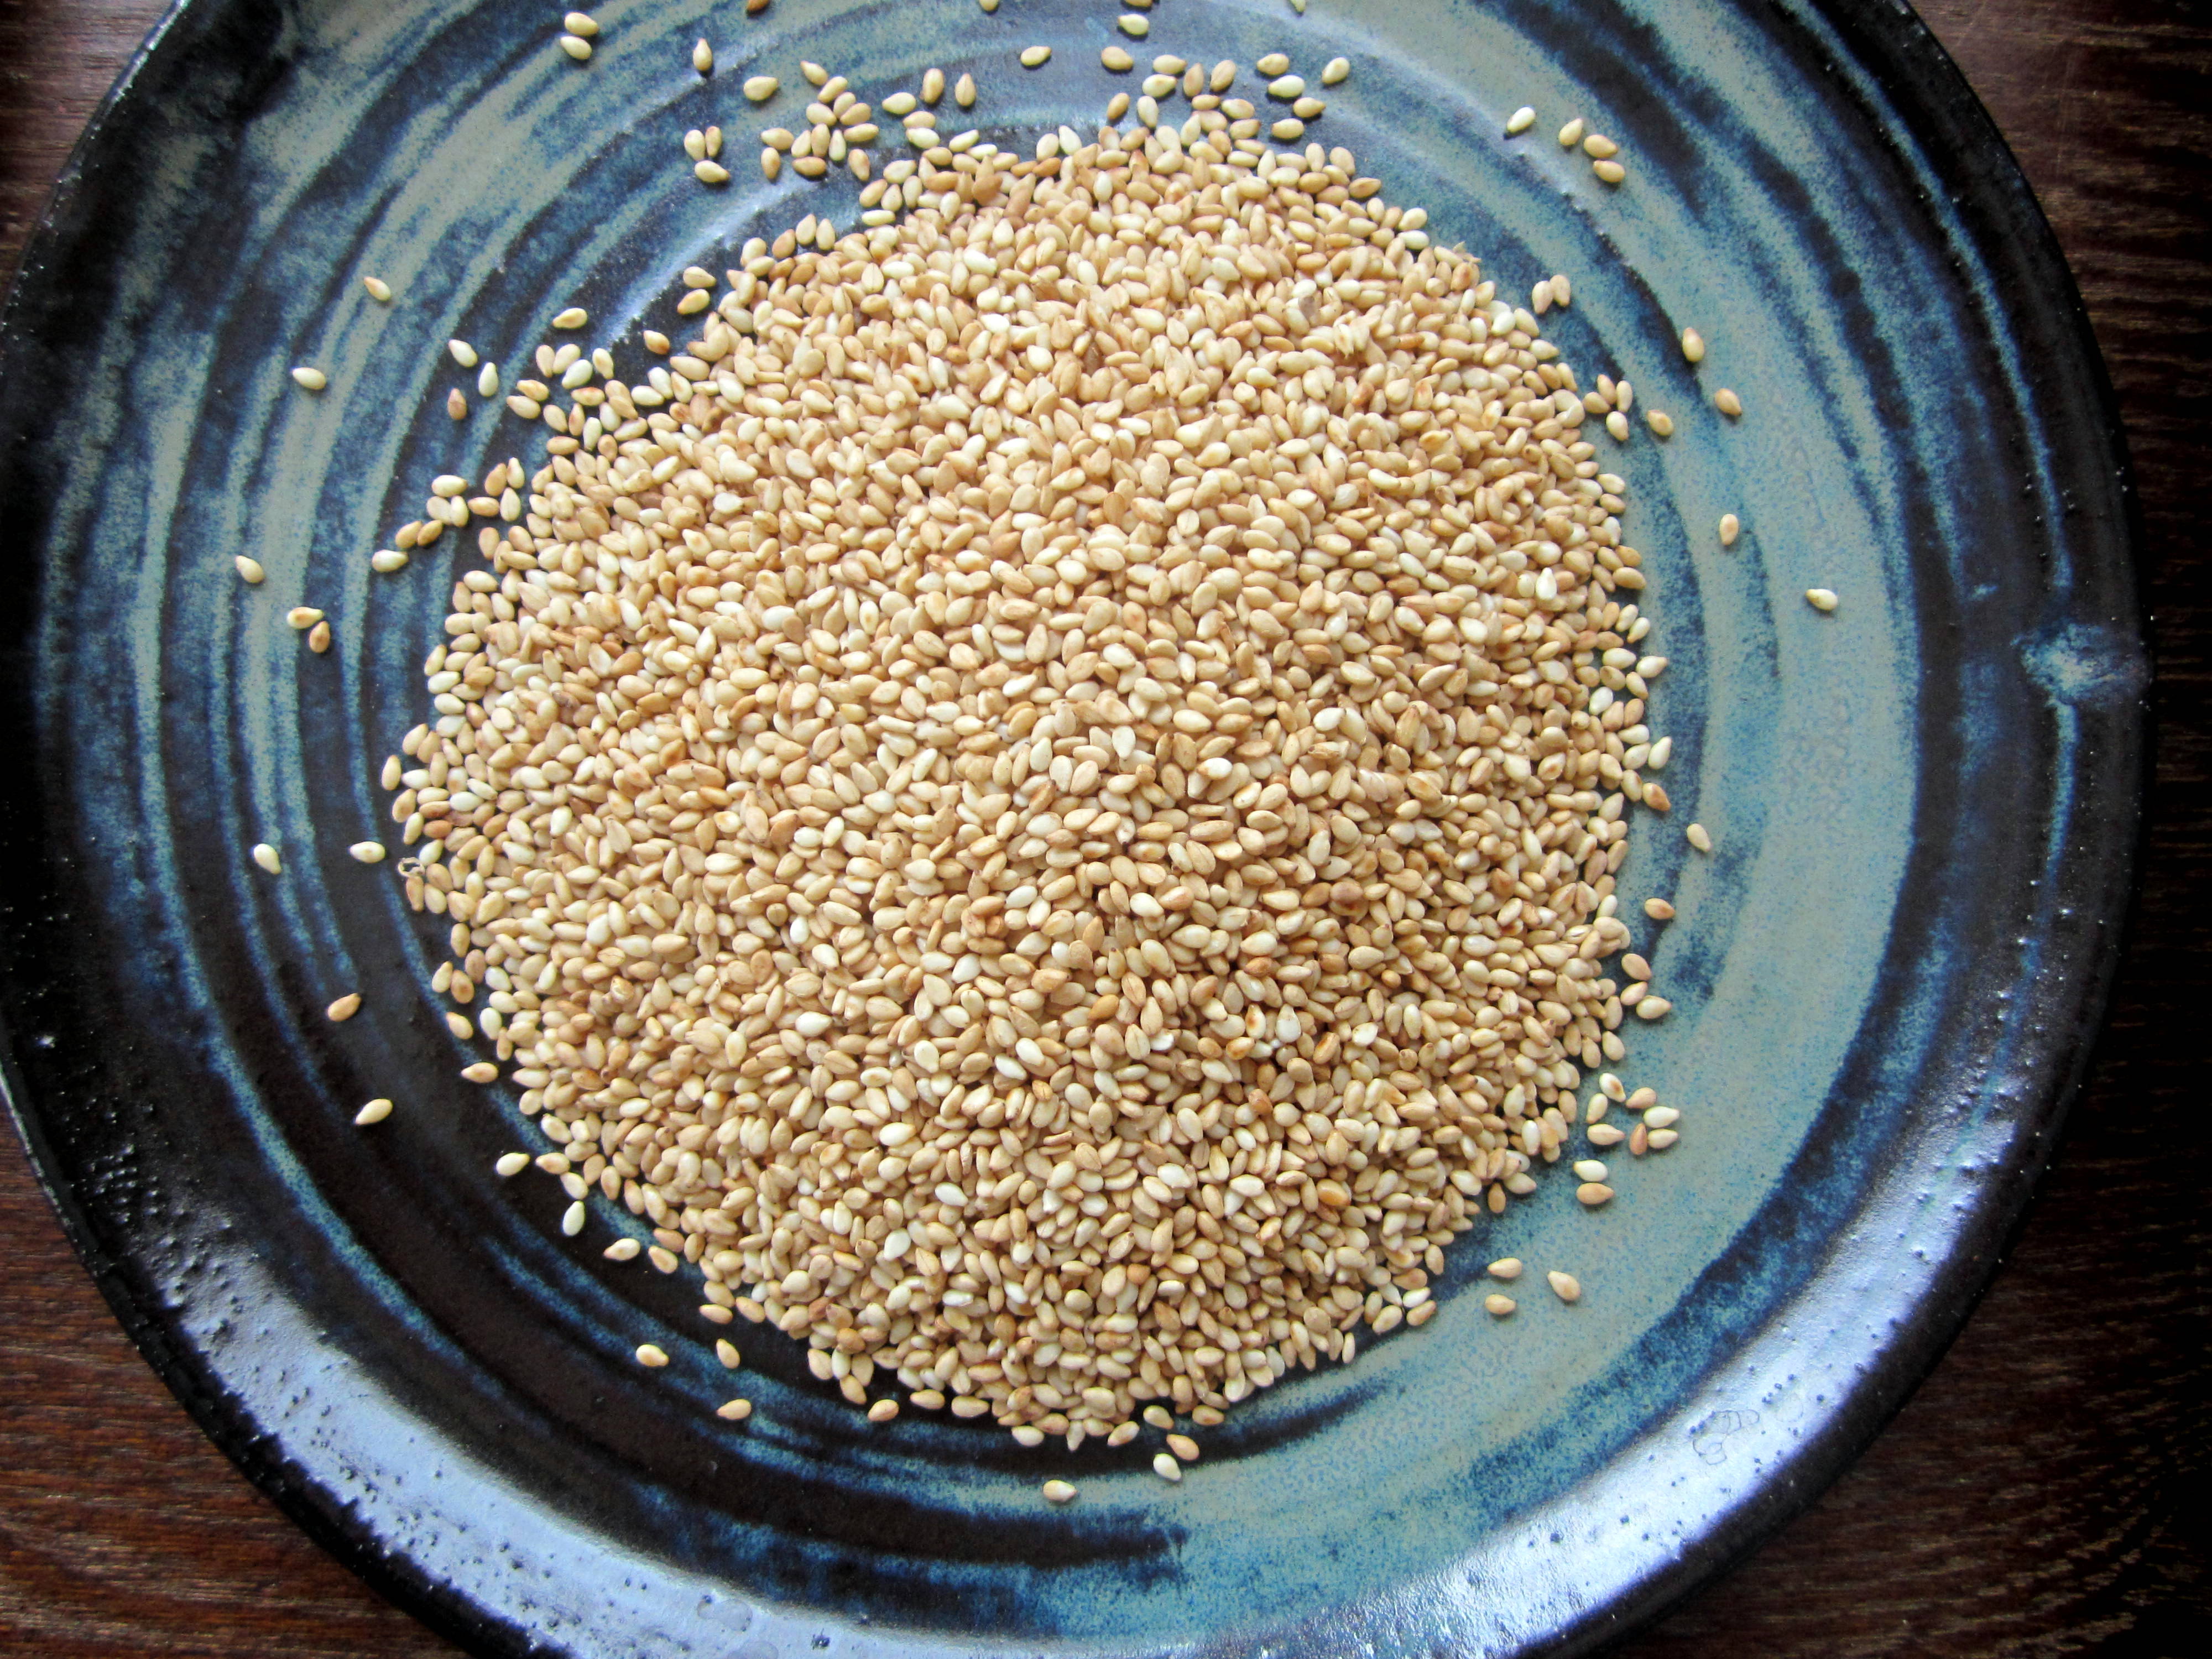
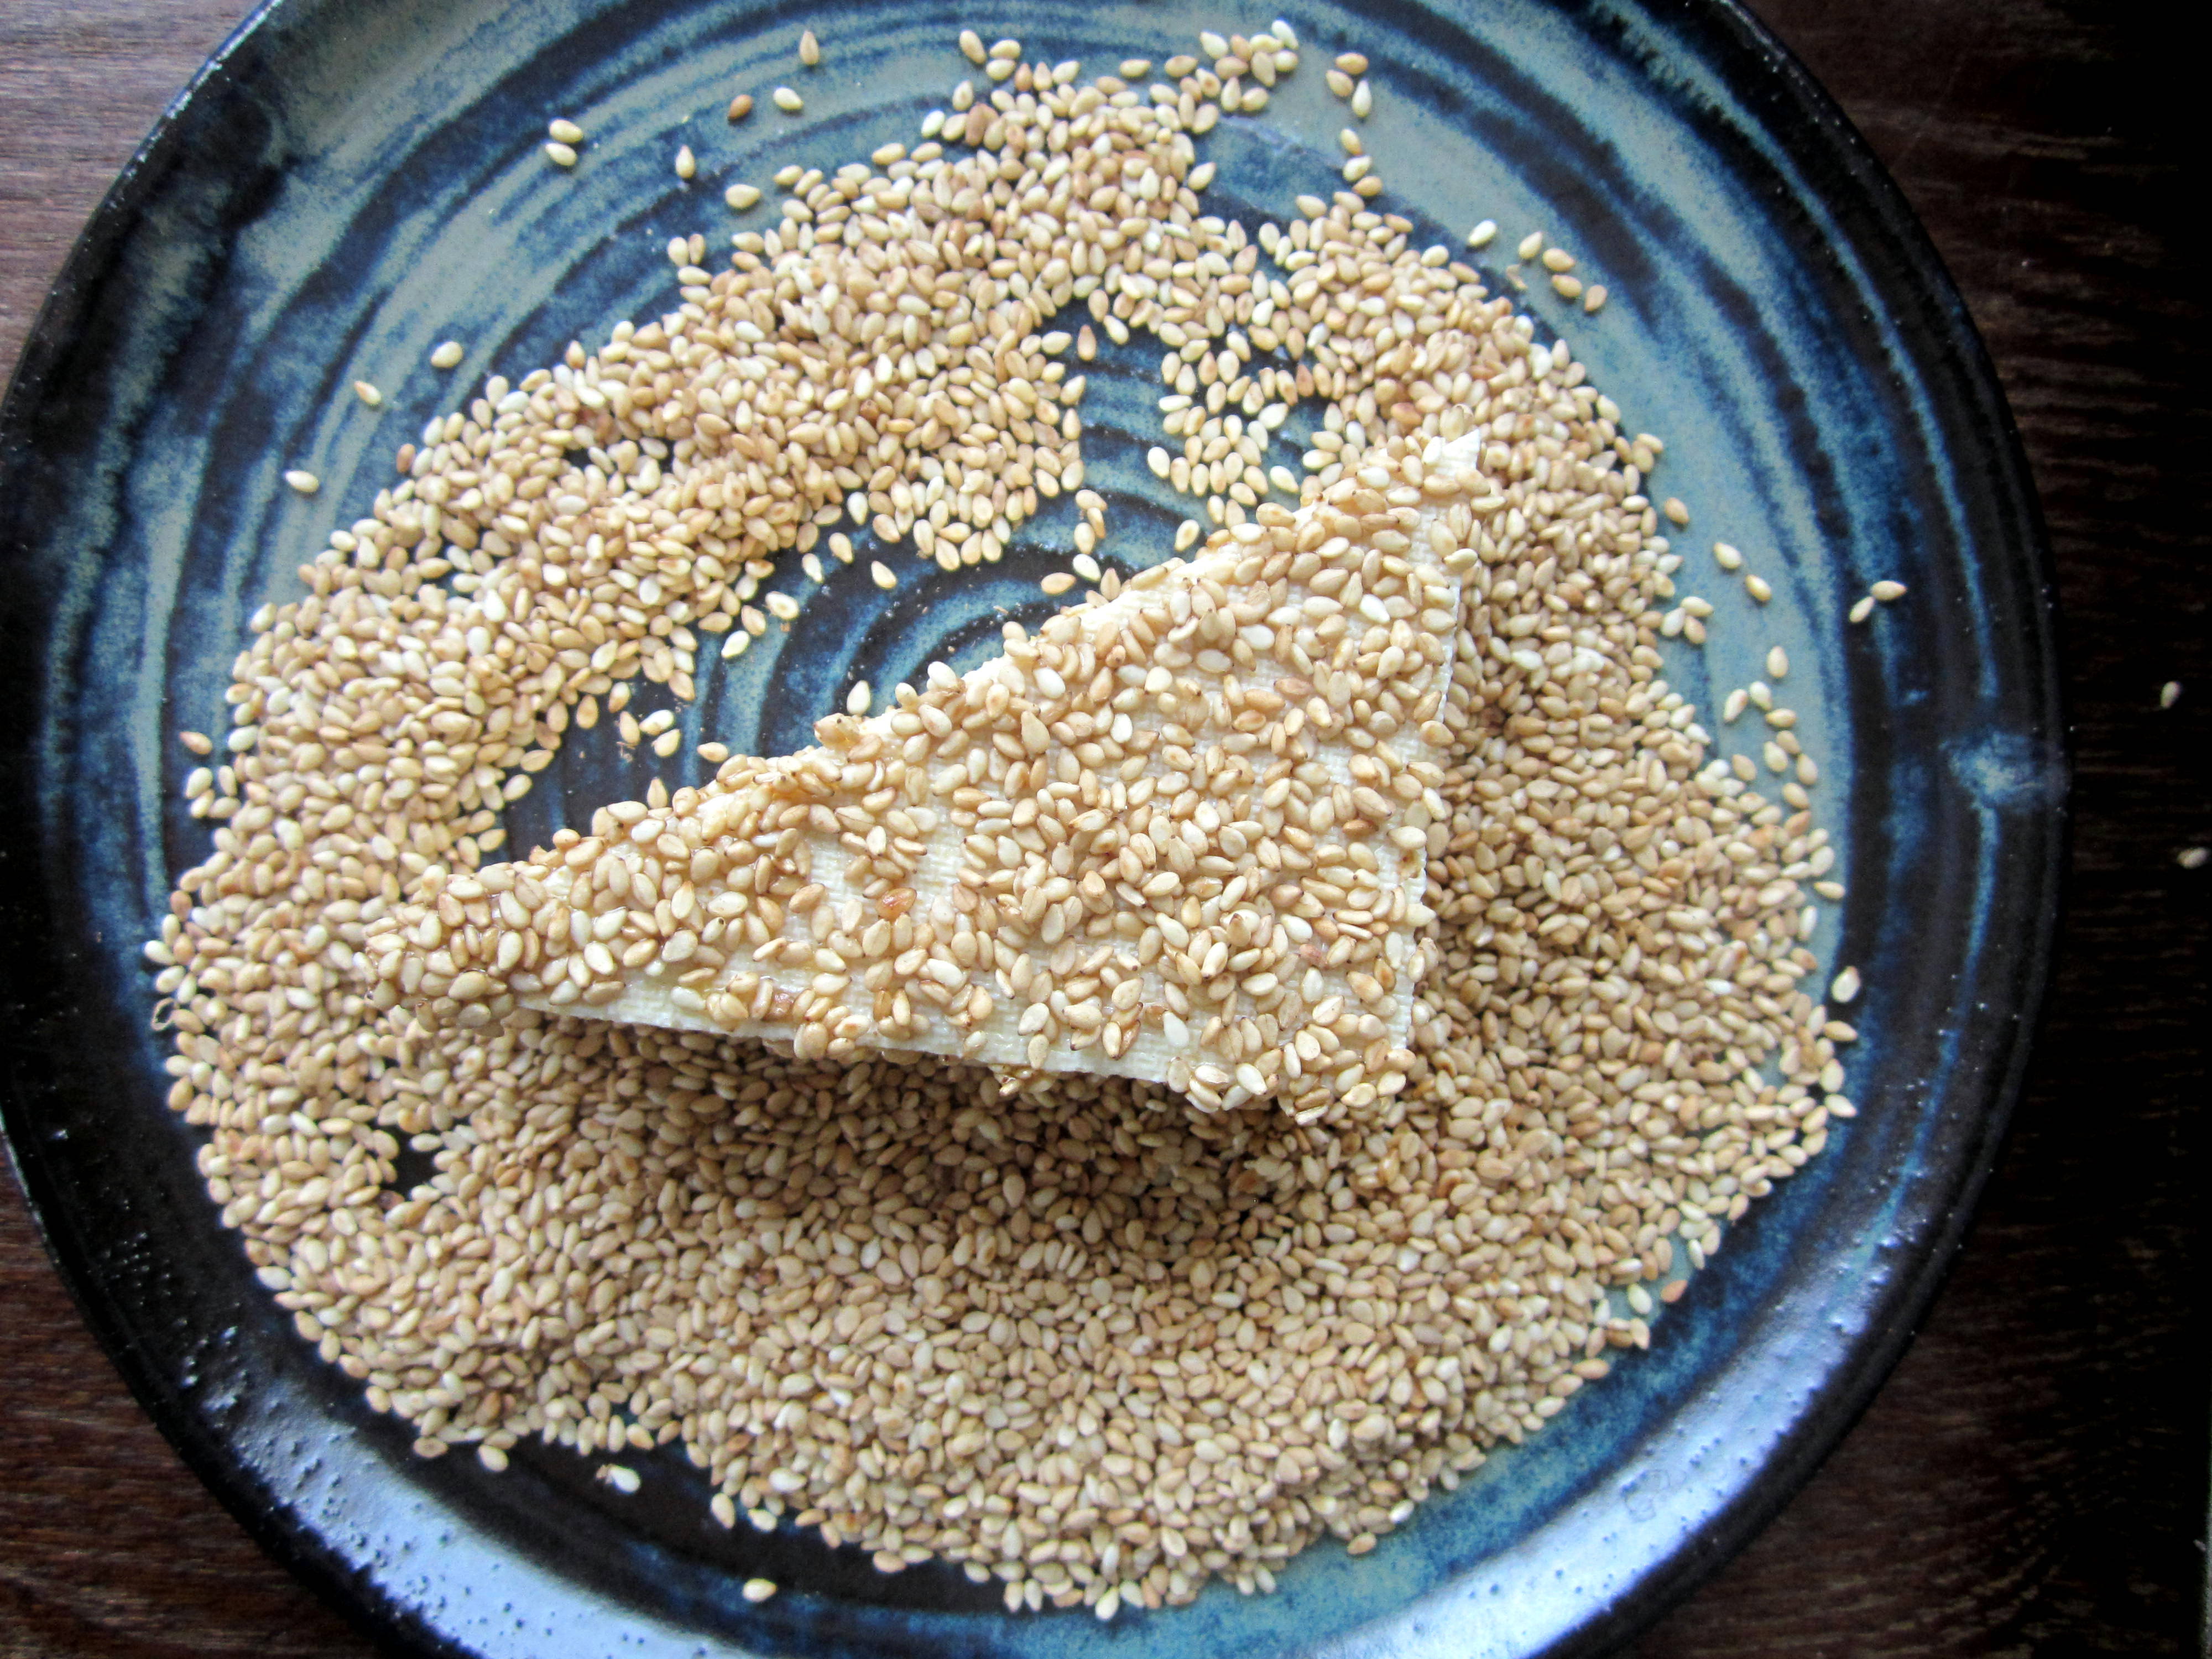
Bring on the crunch maker aka sesame seeds!! (I love them. Can’t stop, won’t stop coating everything in them. See Sesame Almonds)
Stop Drop and Roll
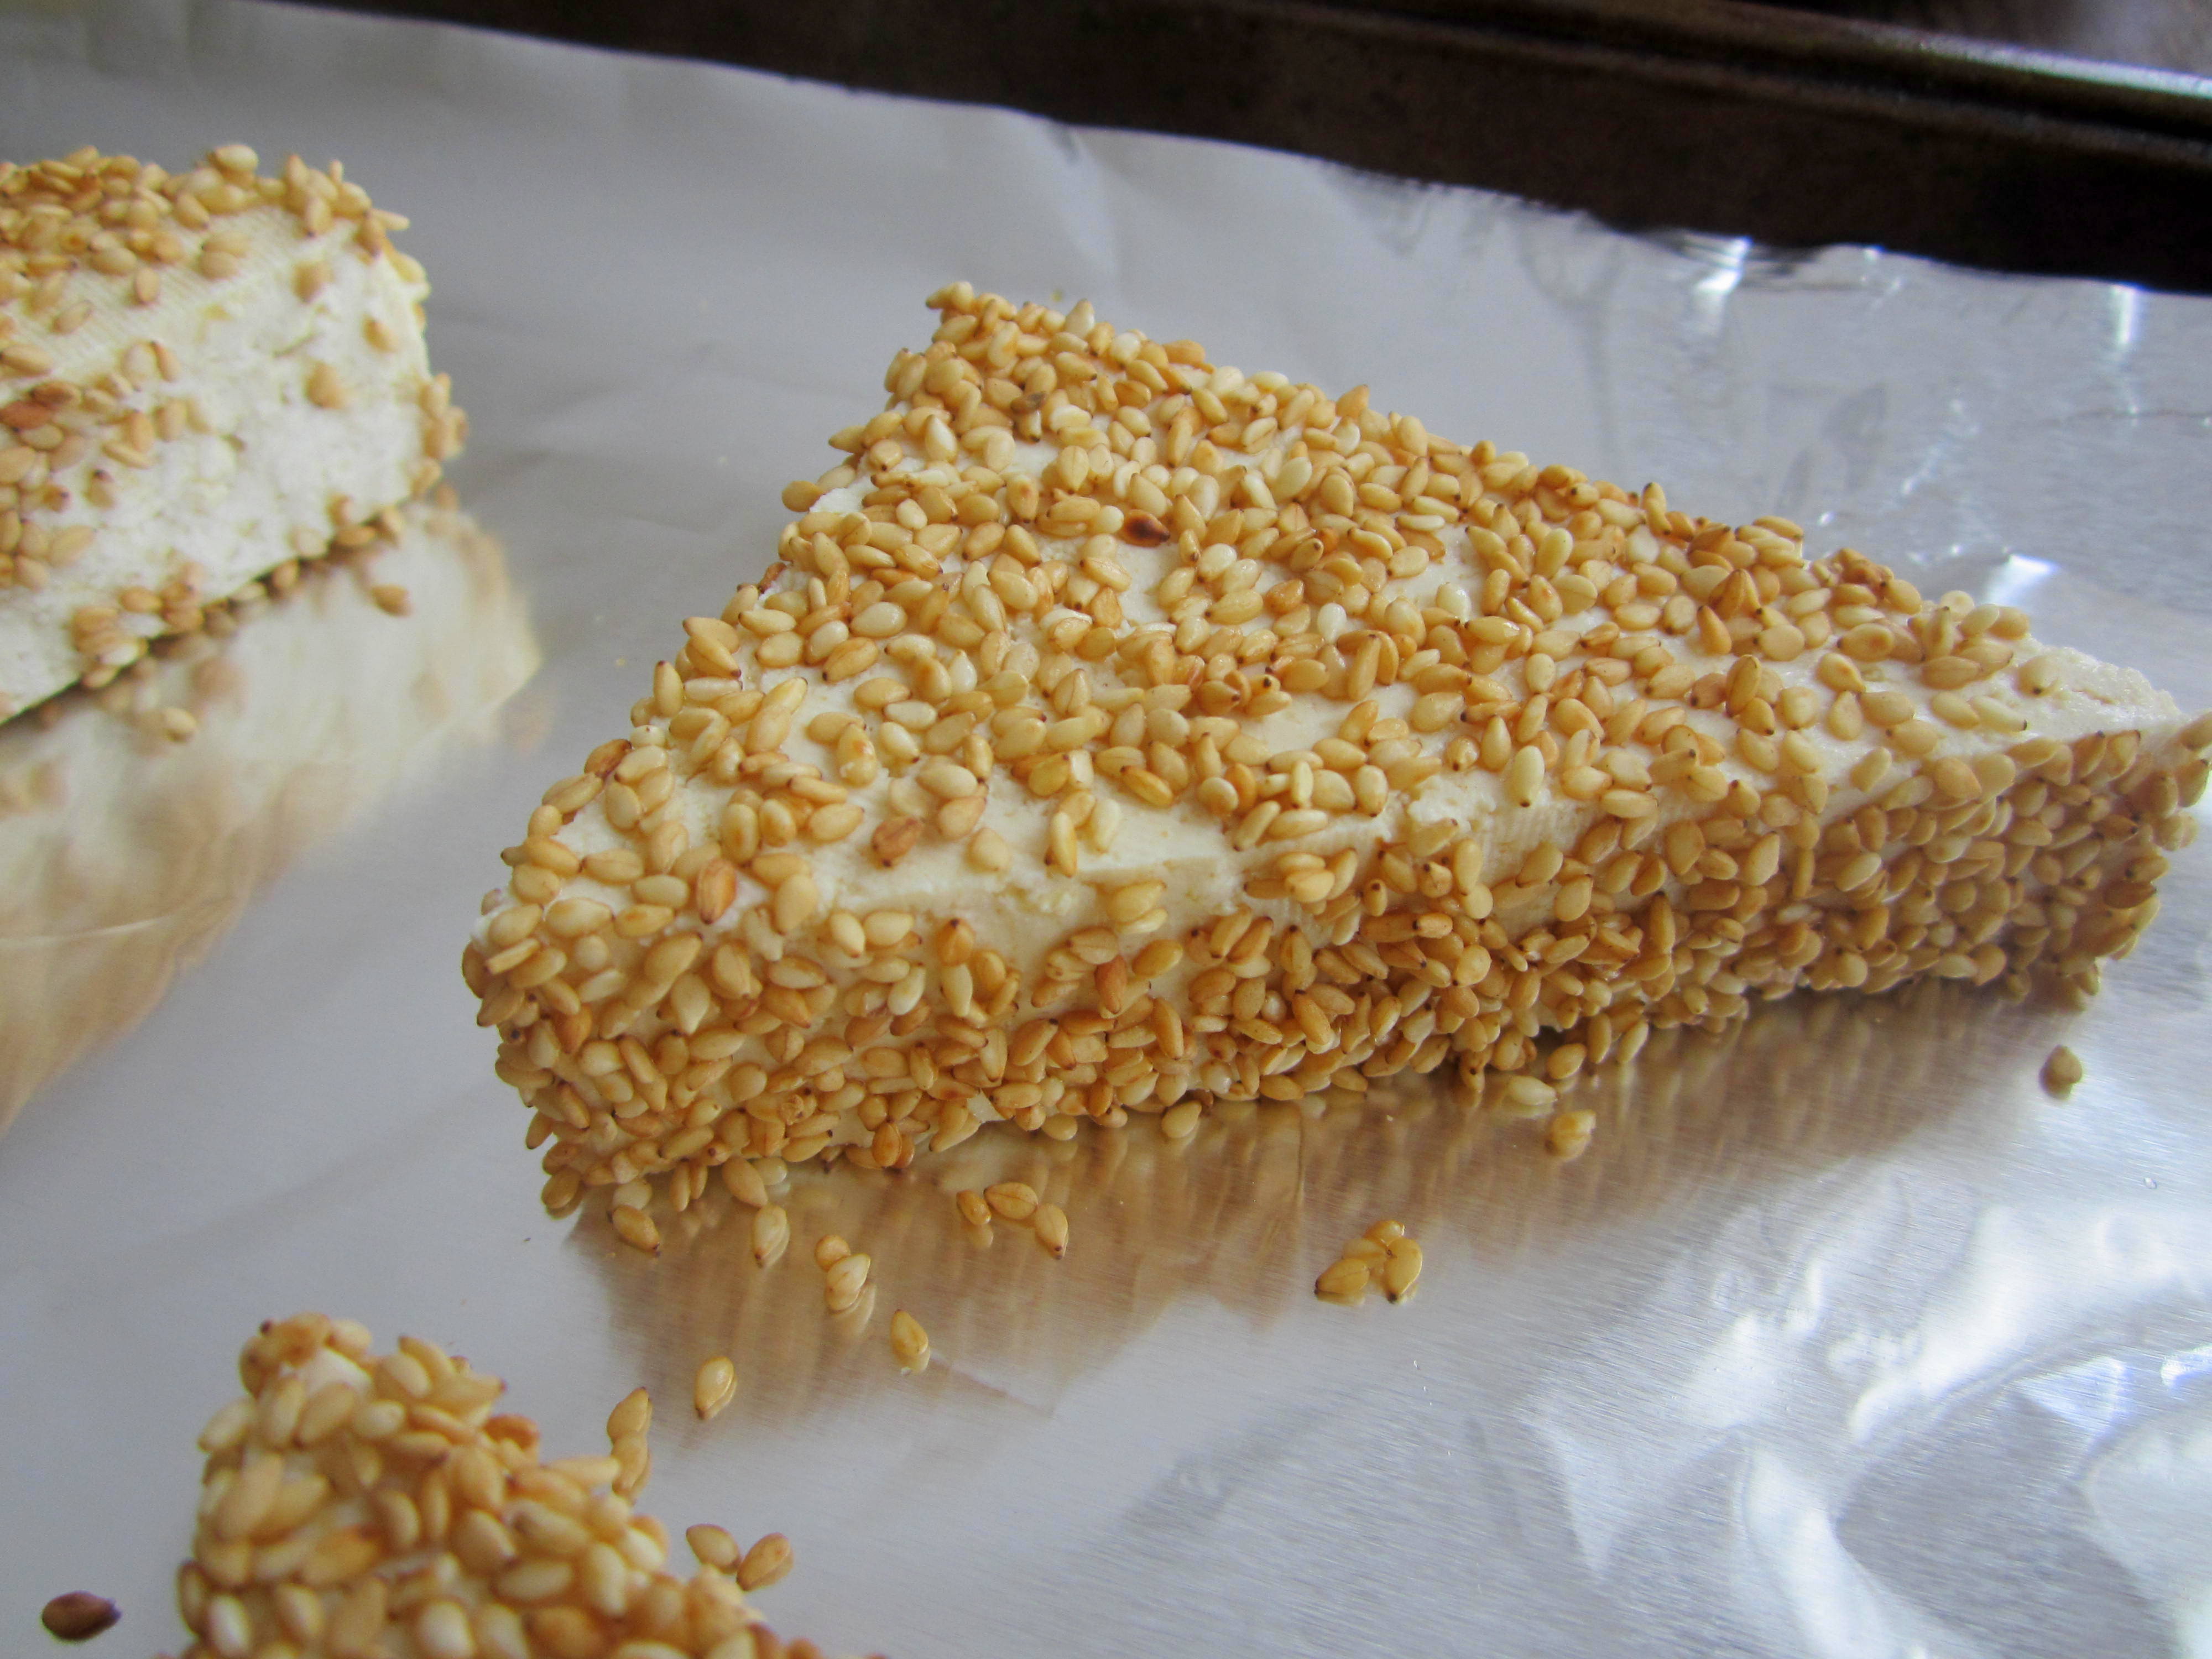
It already looks crunchy and delicious but he has to hang out in the oven for a while to get extra crunchy.
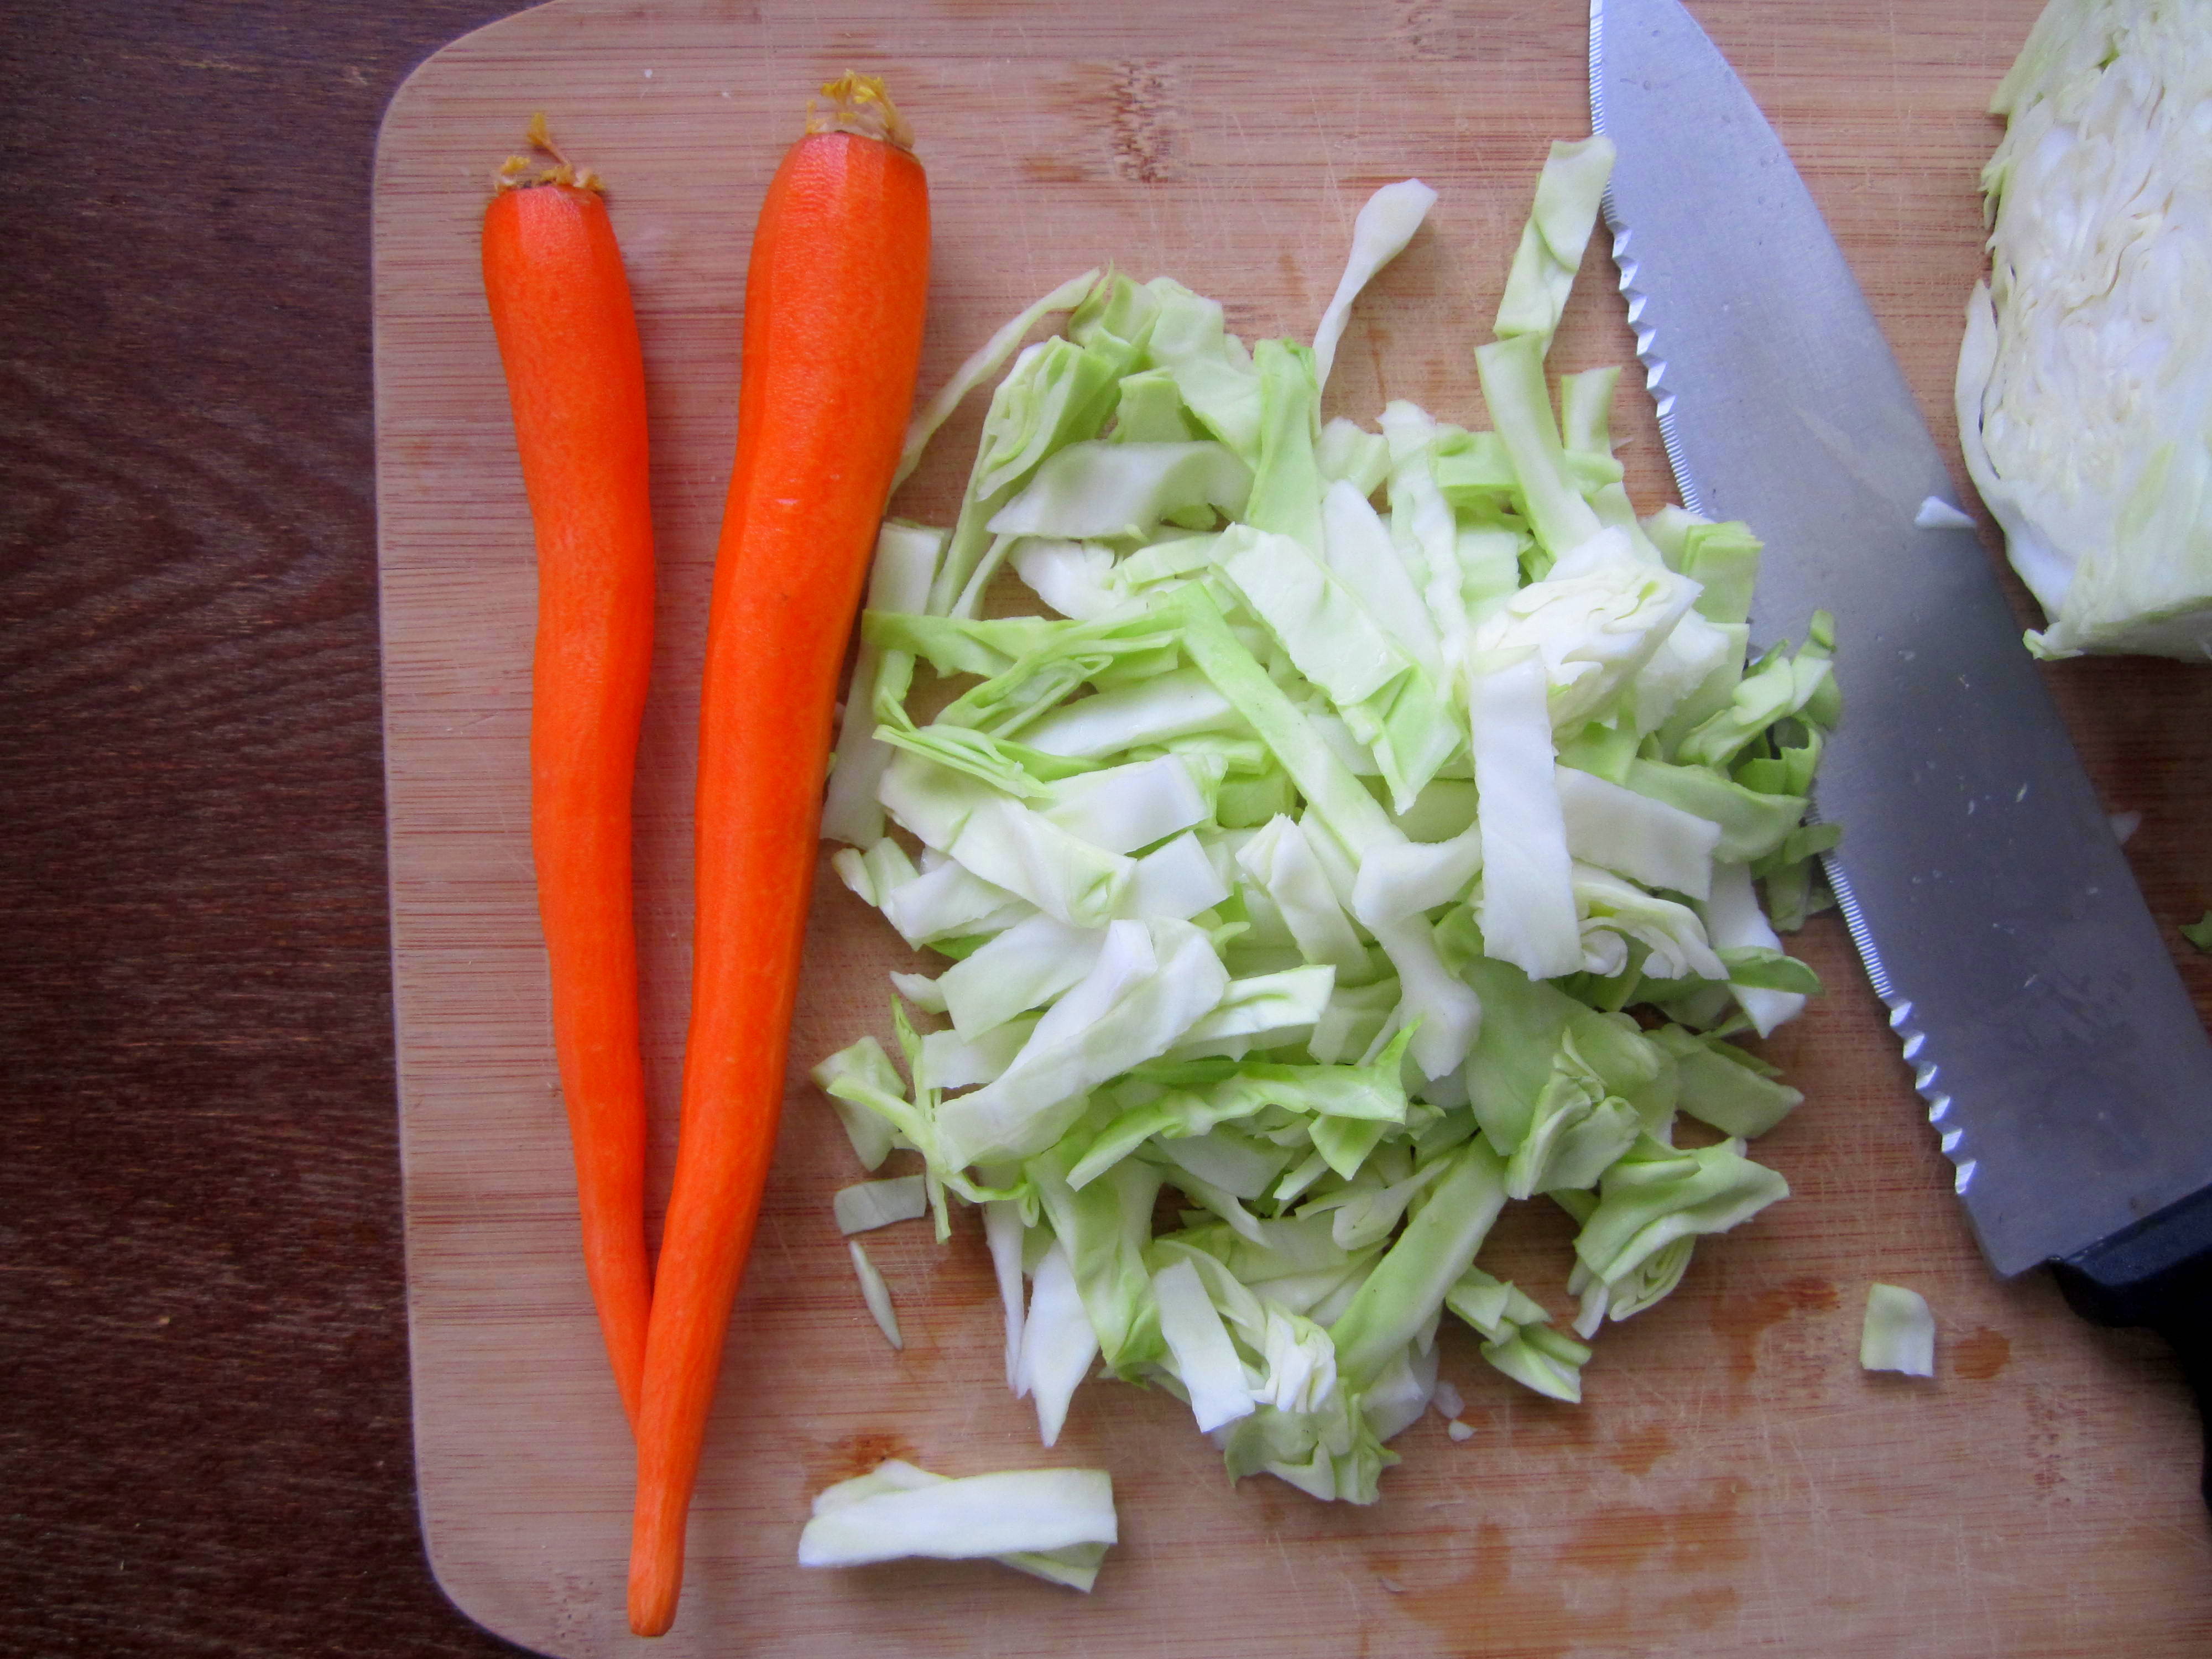
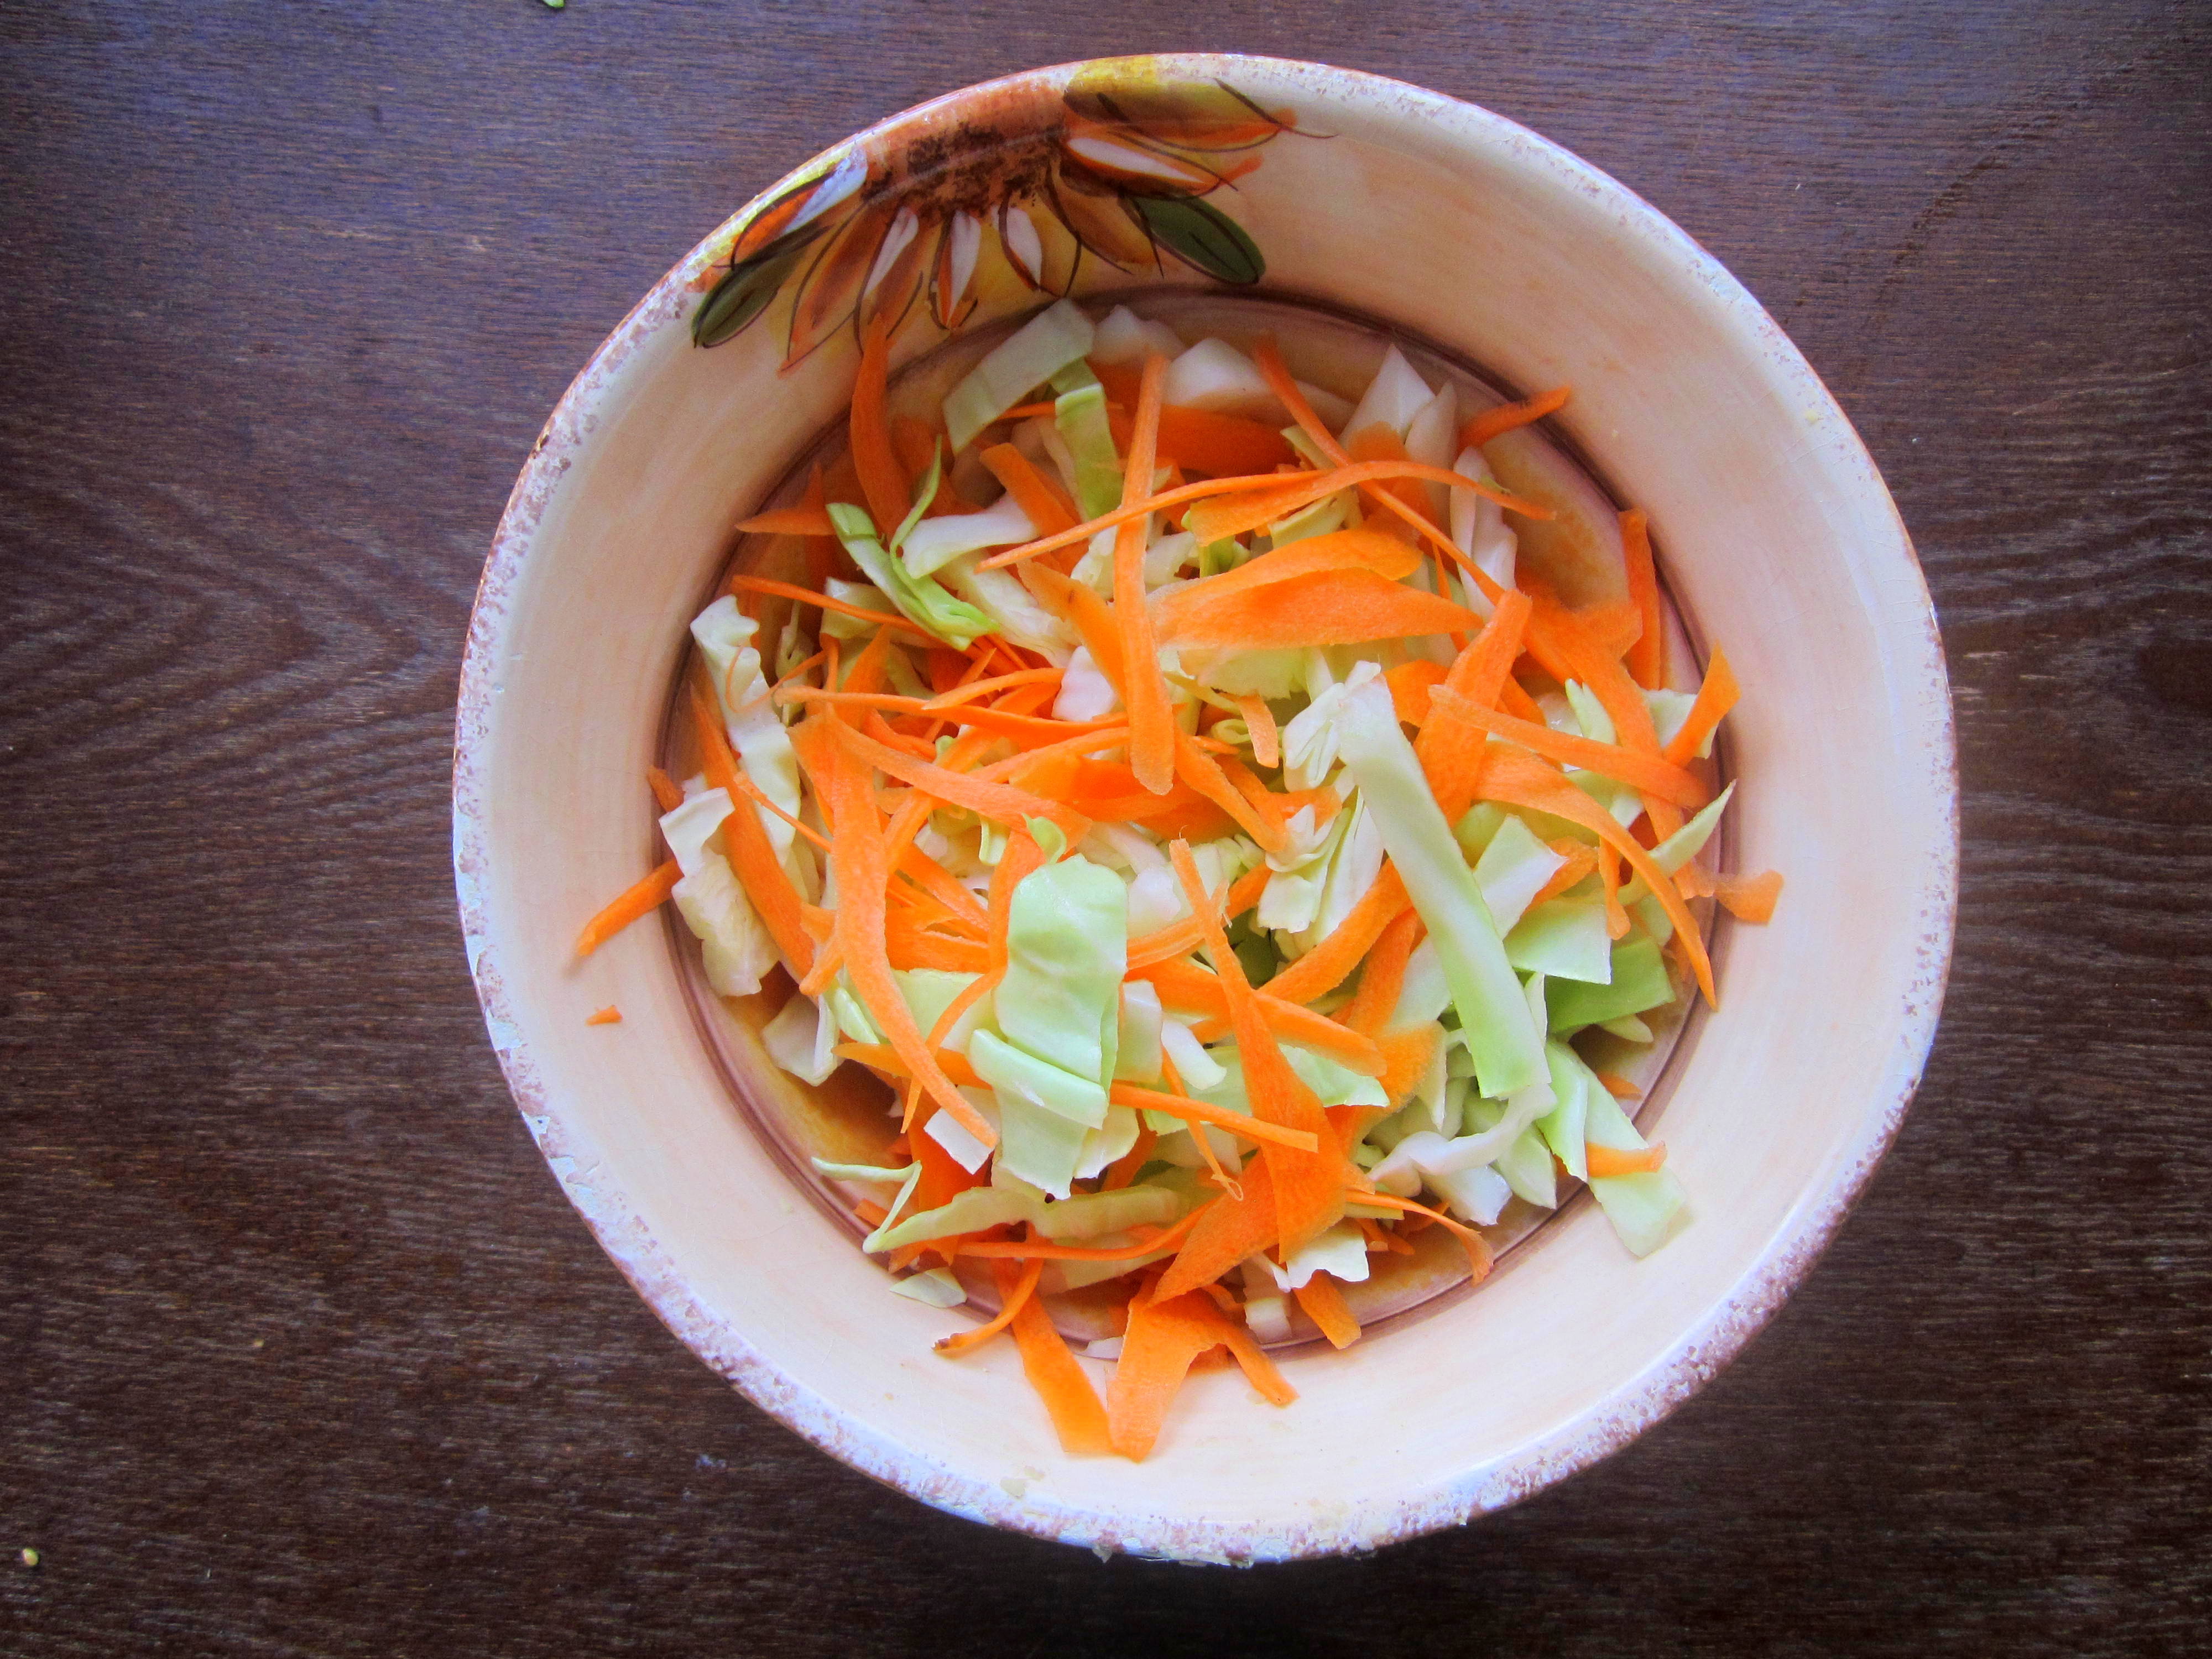
Meanwhile..bring on the veg!
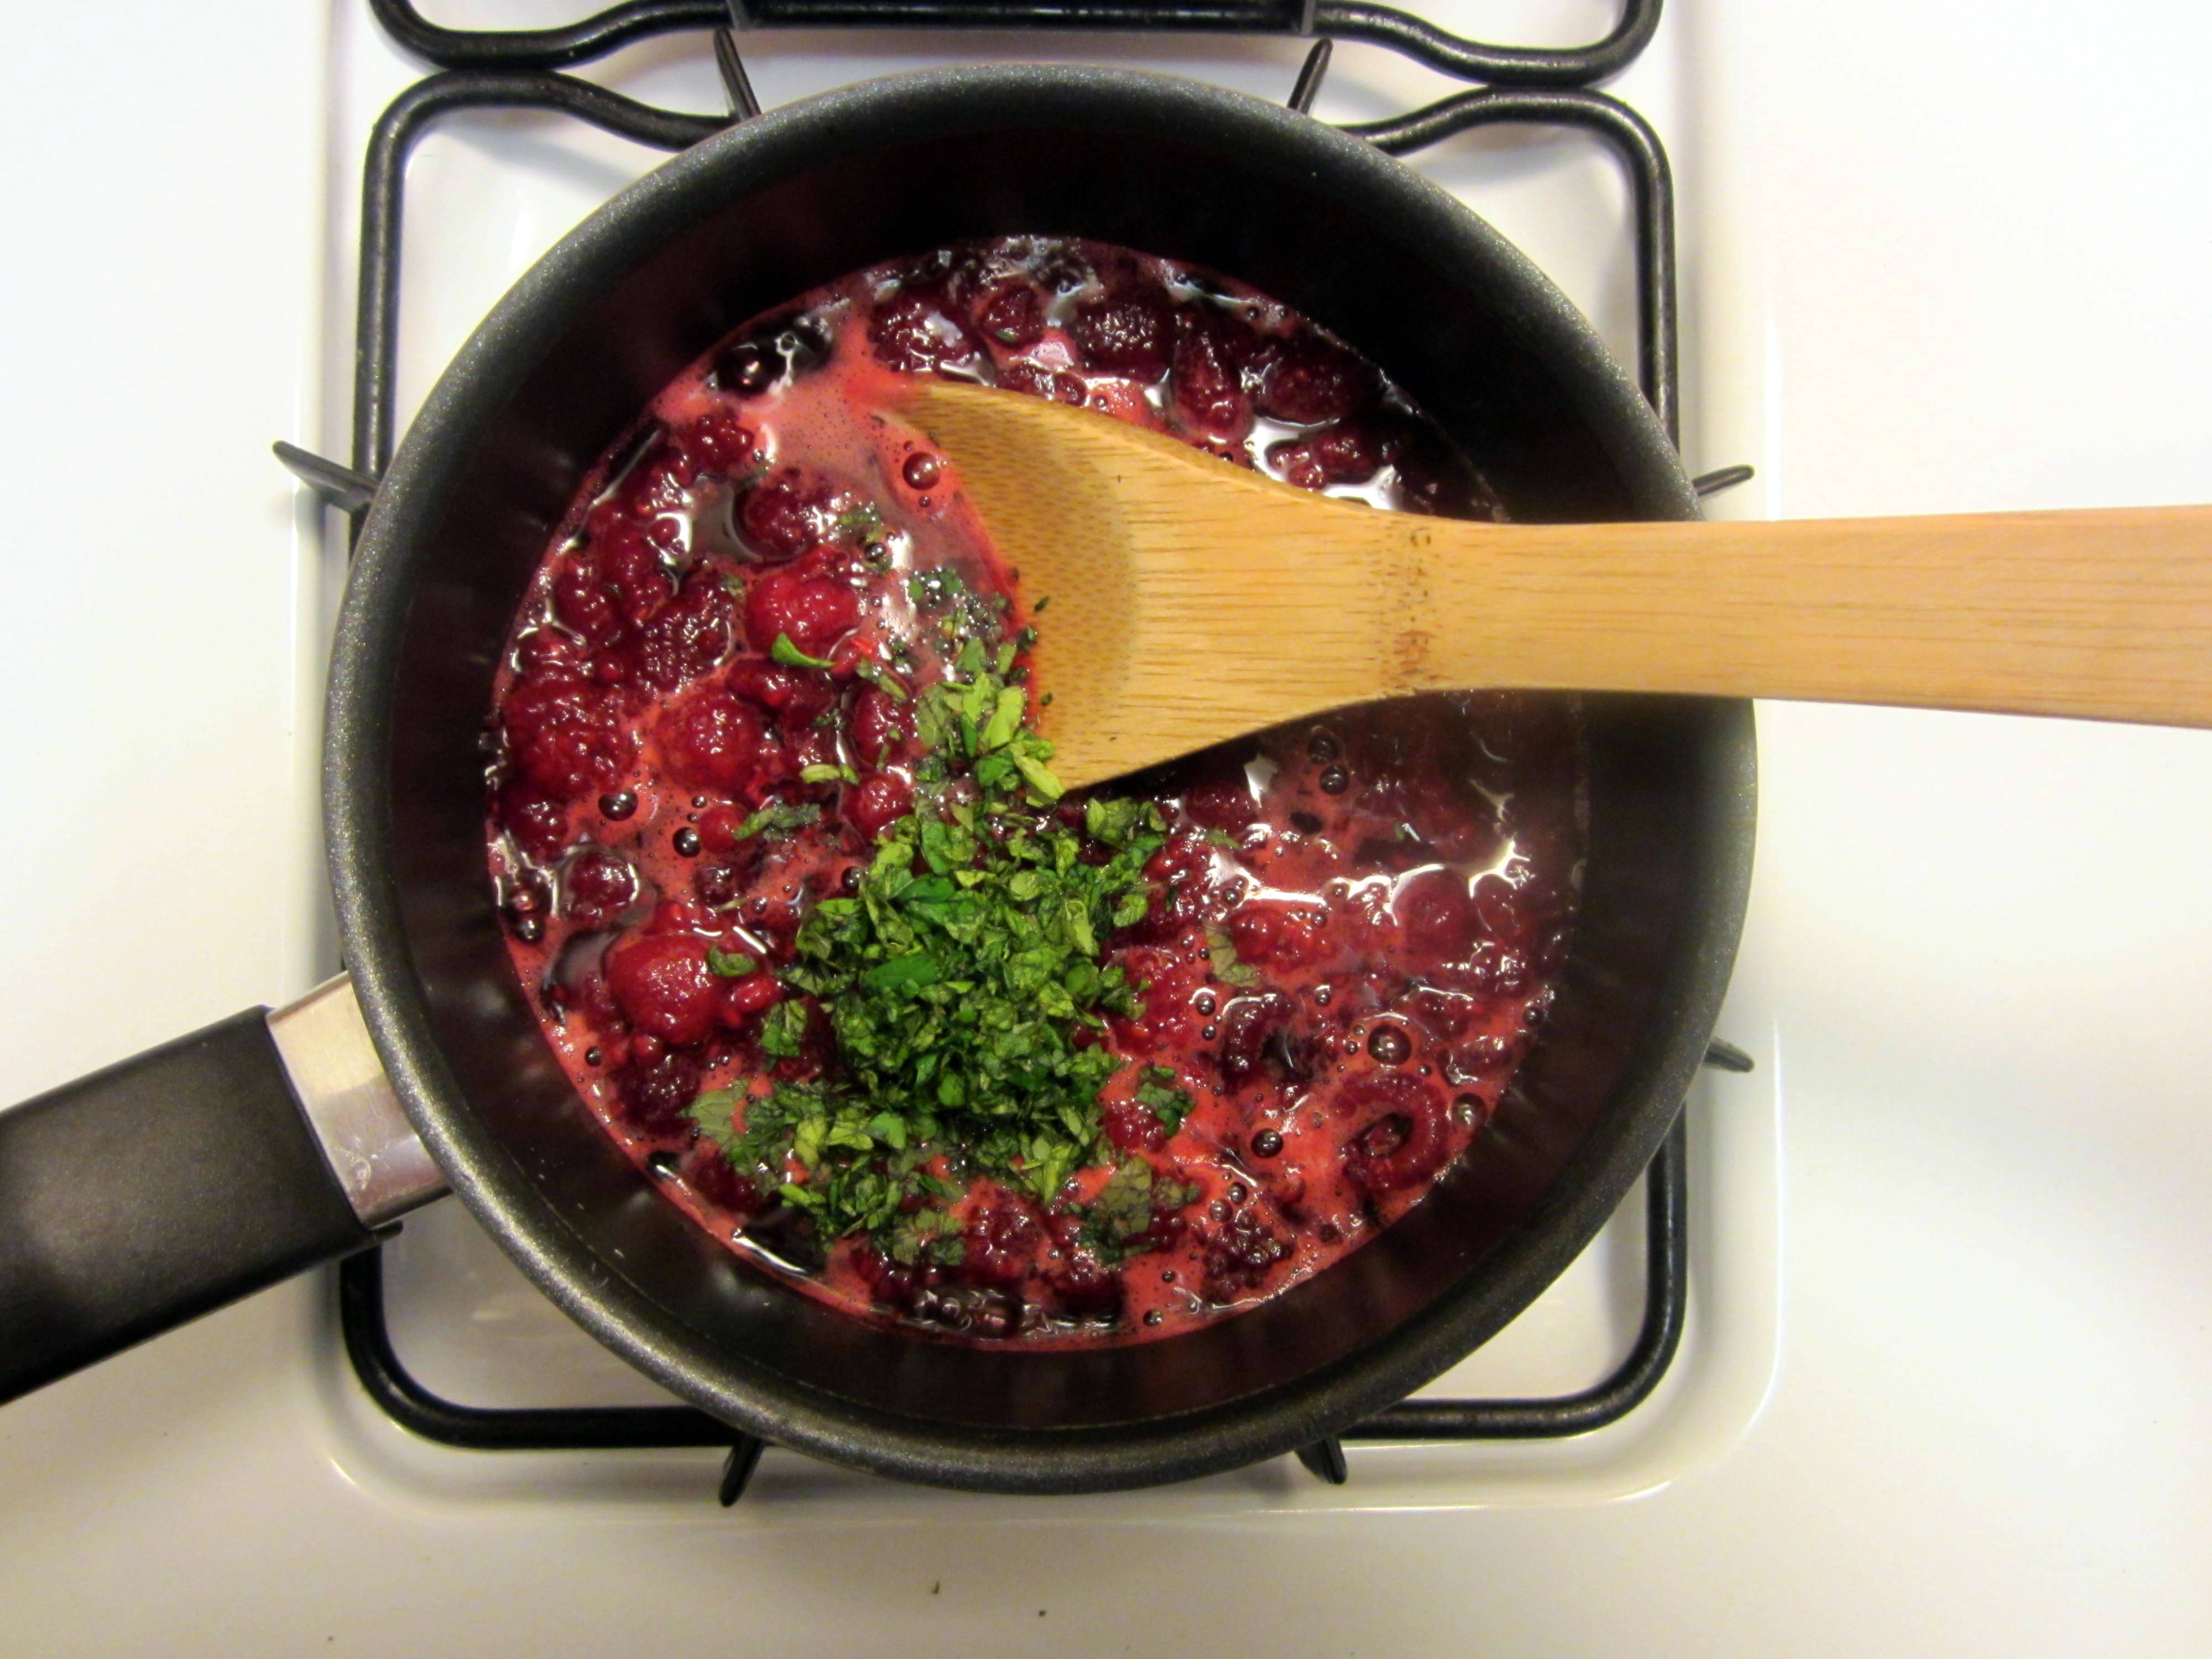
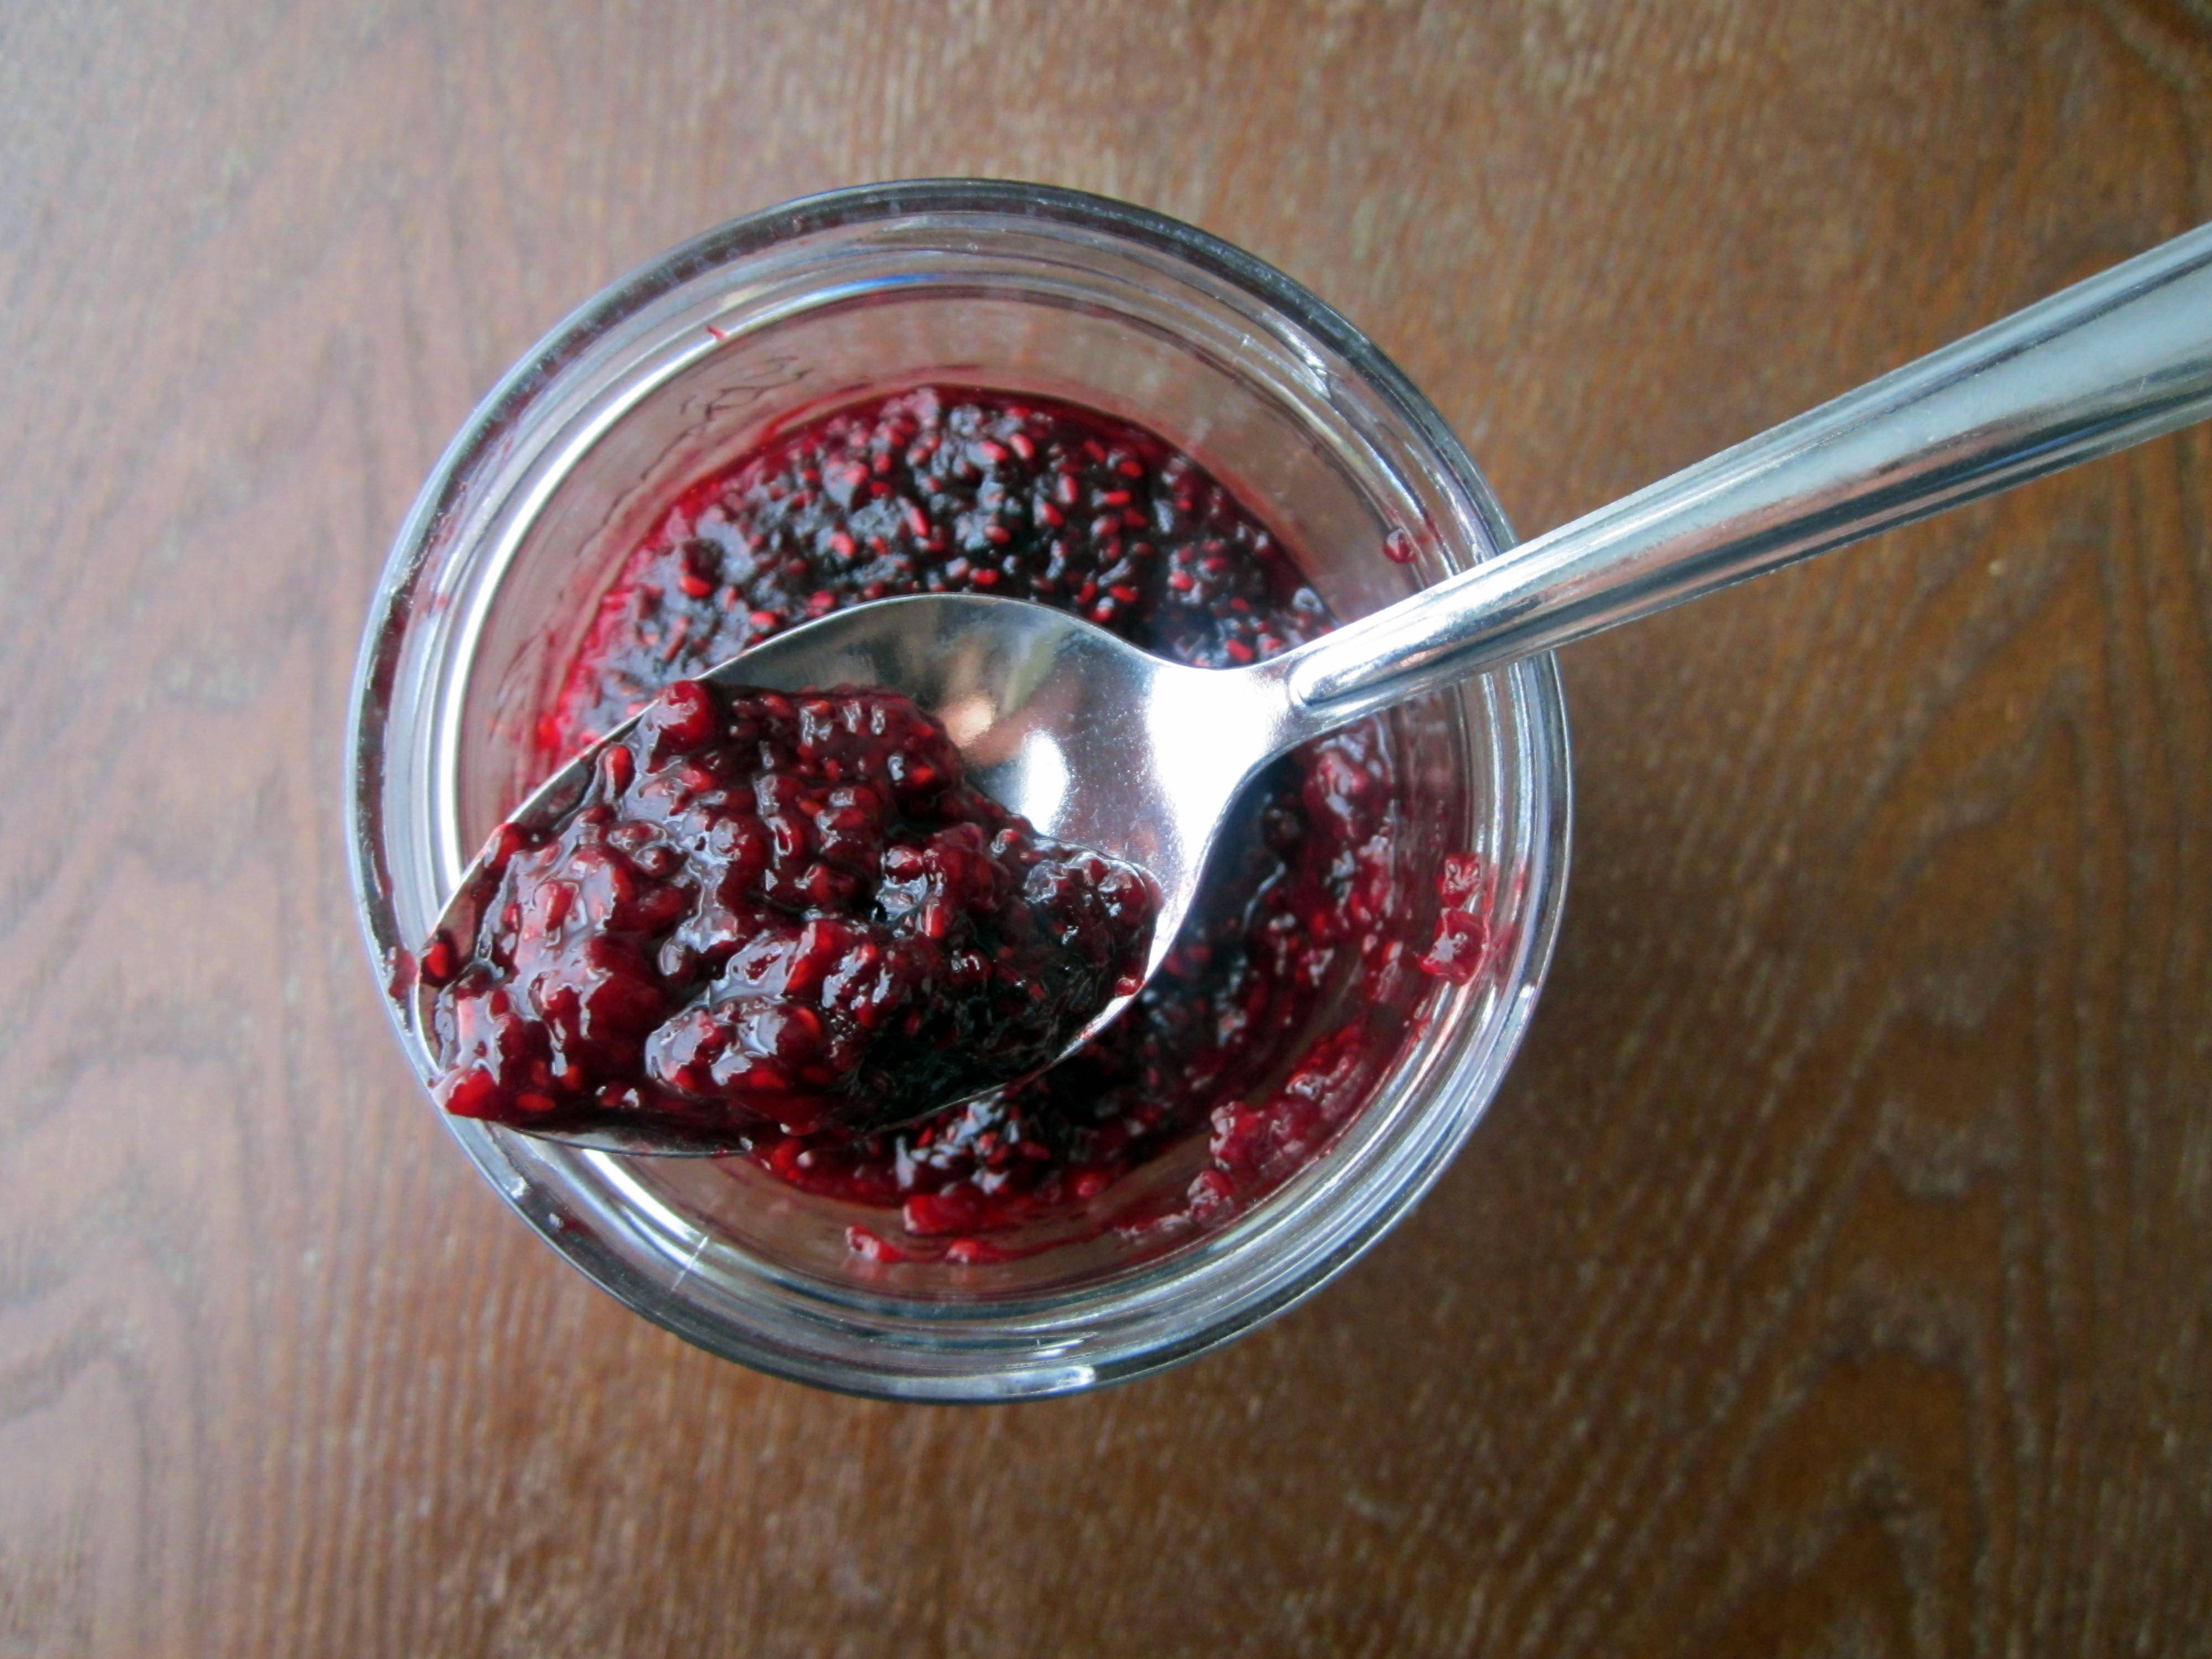
 Now this sauce y’all…I can’t even handle it. I love it on stir fries, I love it as a salad dressing, I love it on fish, I love it on tofu and I totally love it on this slaw. Plus it’s super simple. Goes a little something like this:
Equal parts:
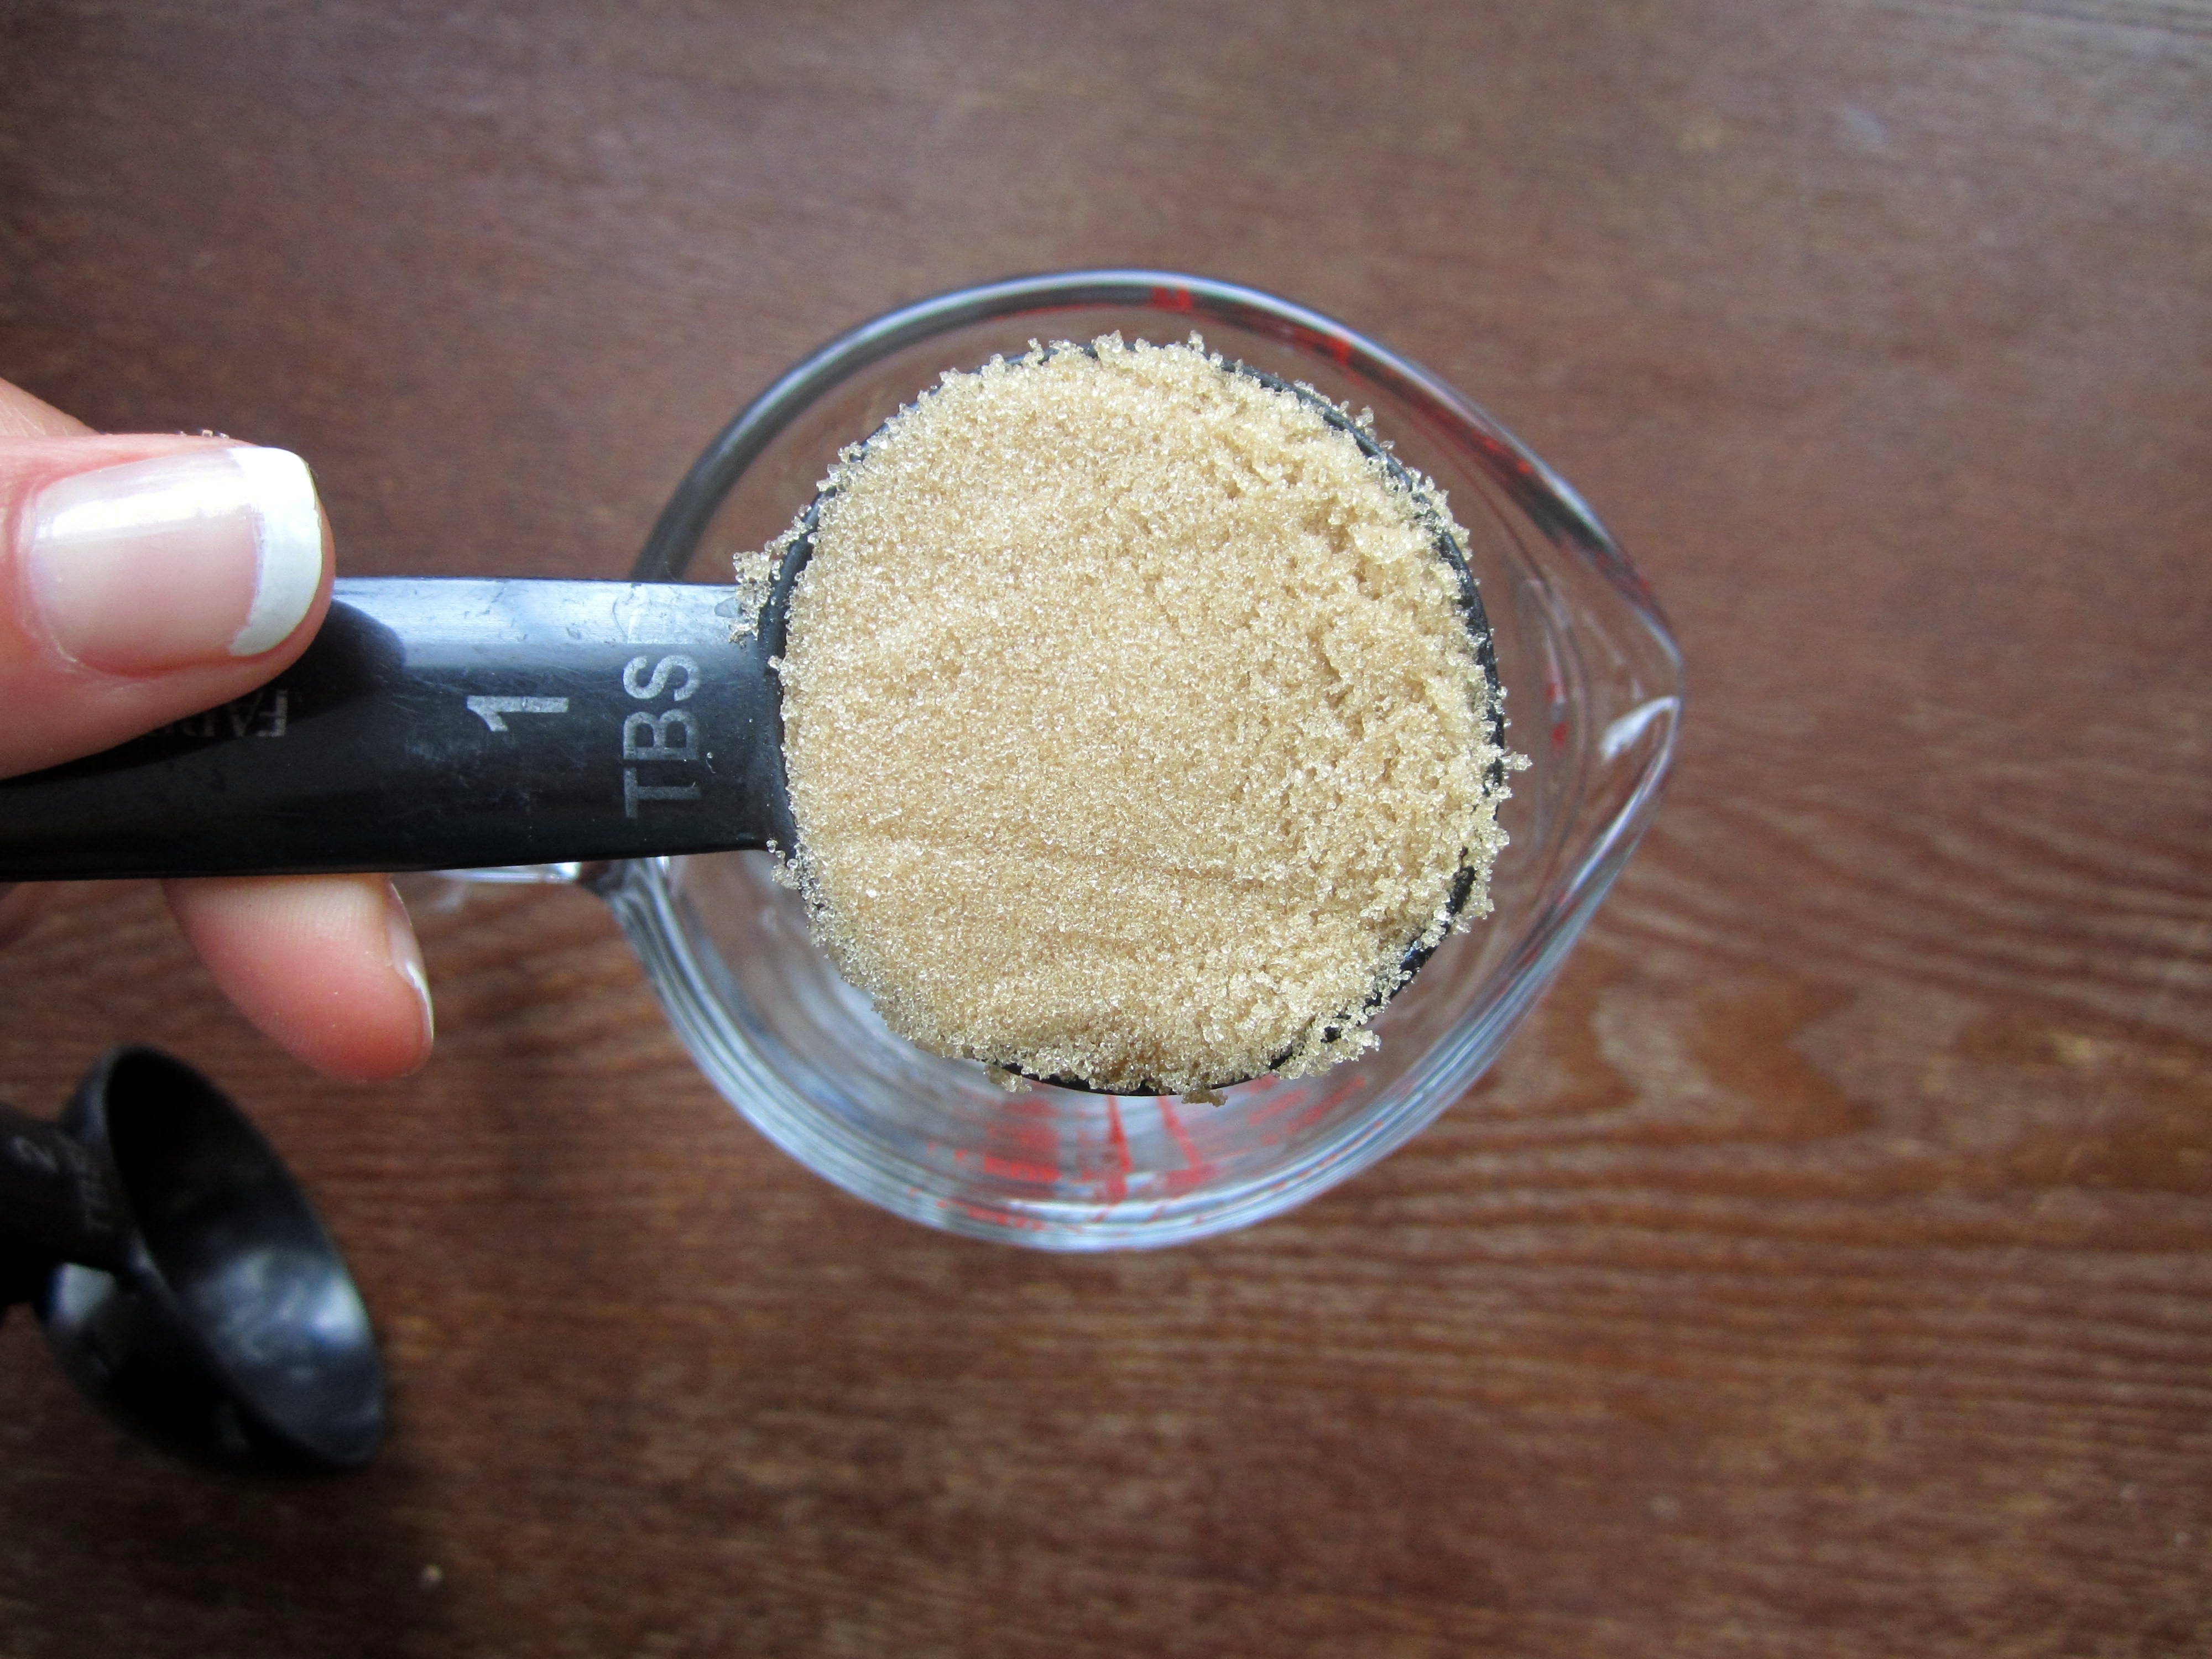
Brown Sugar
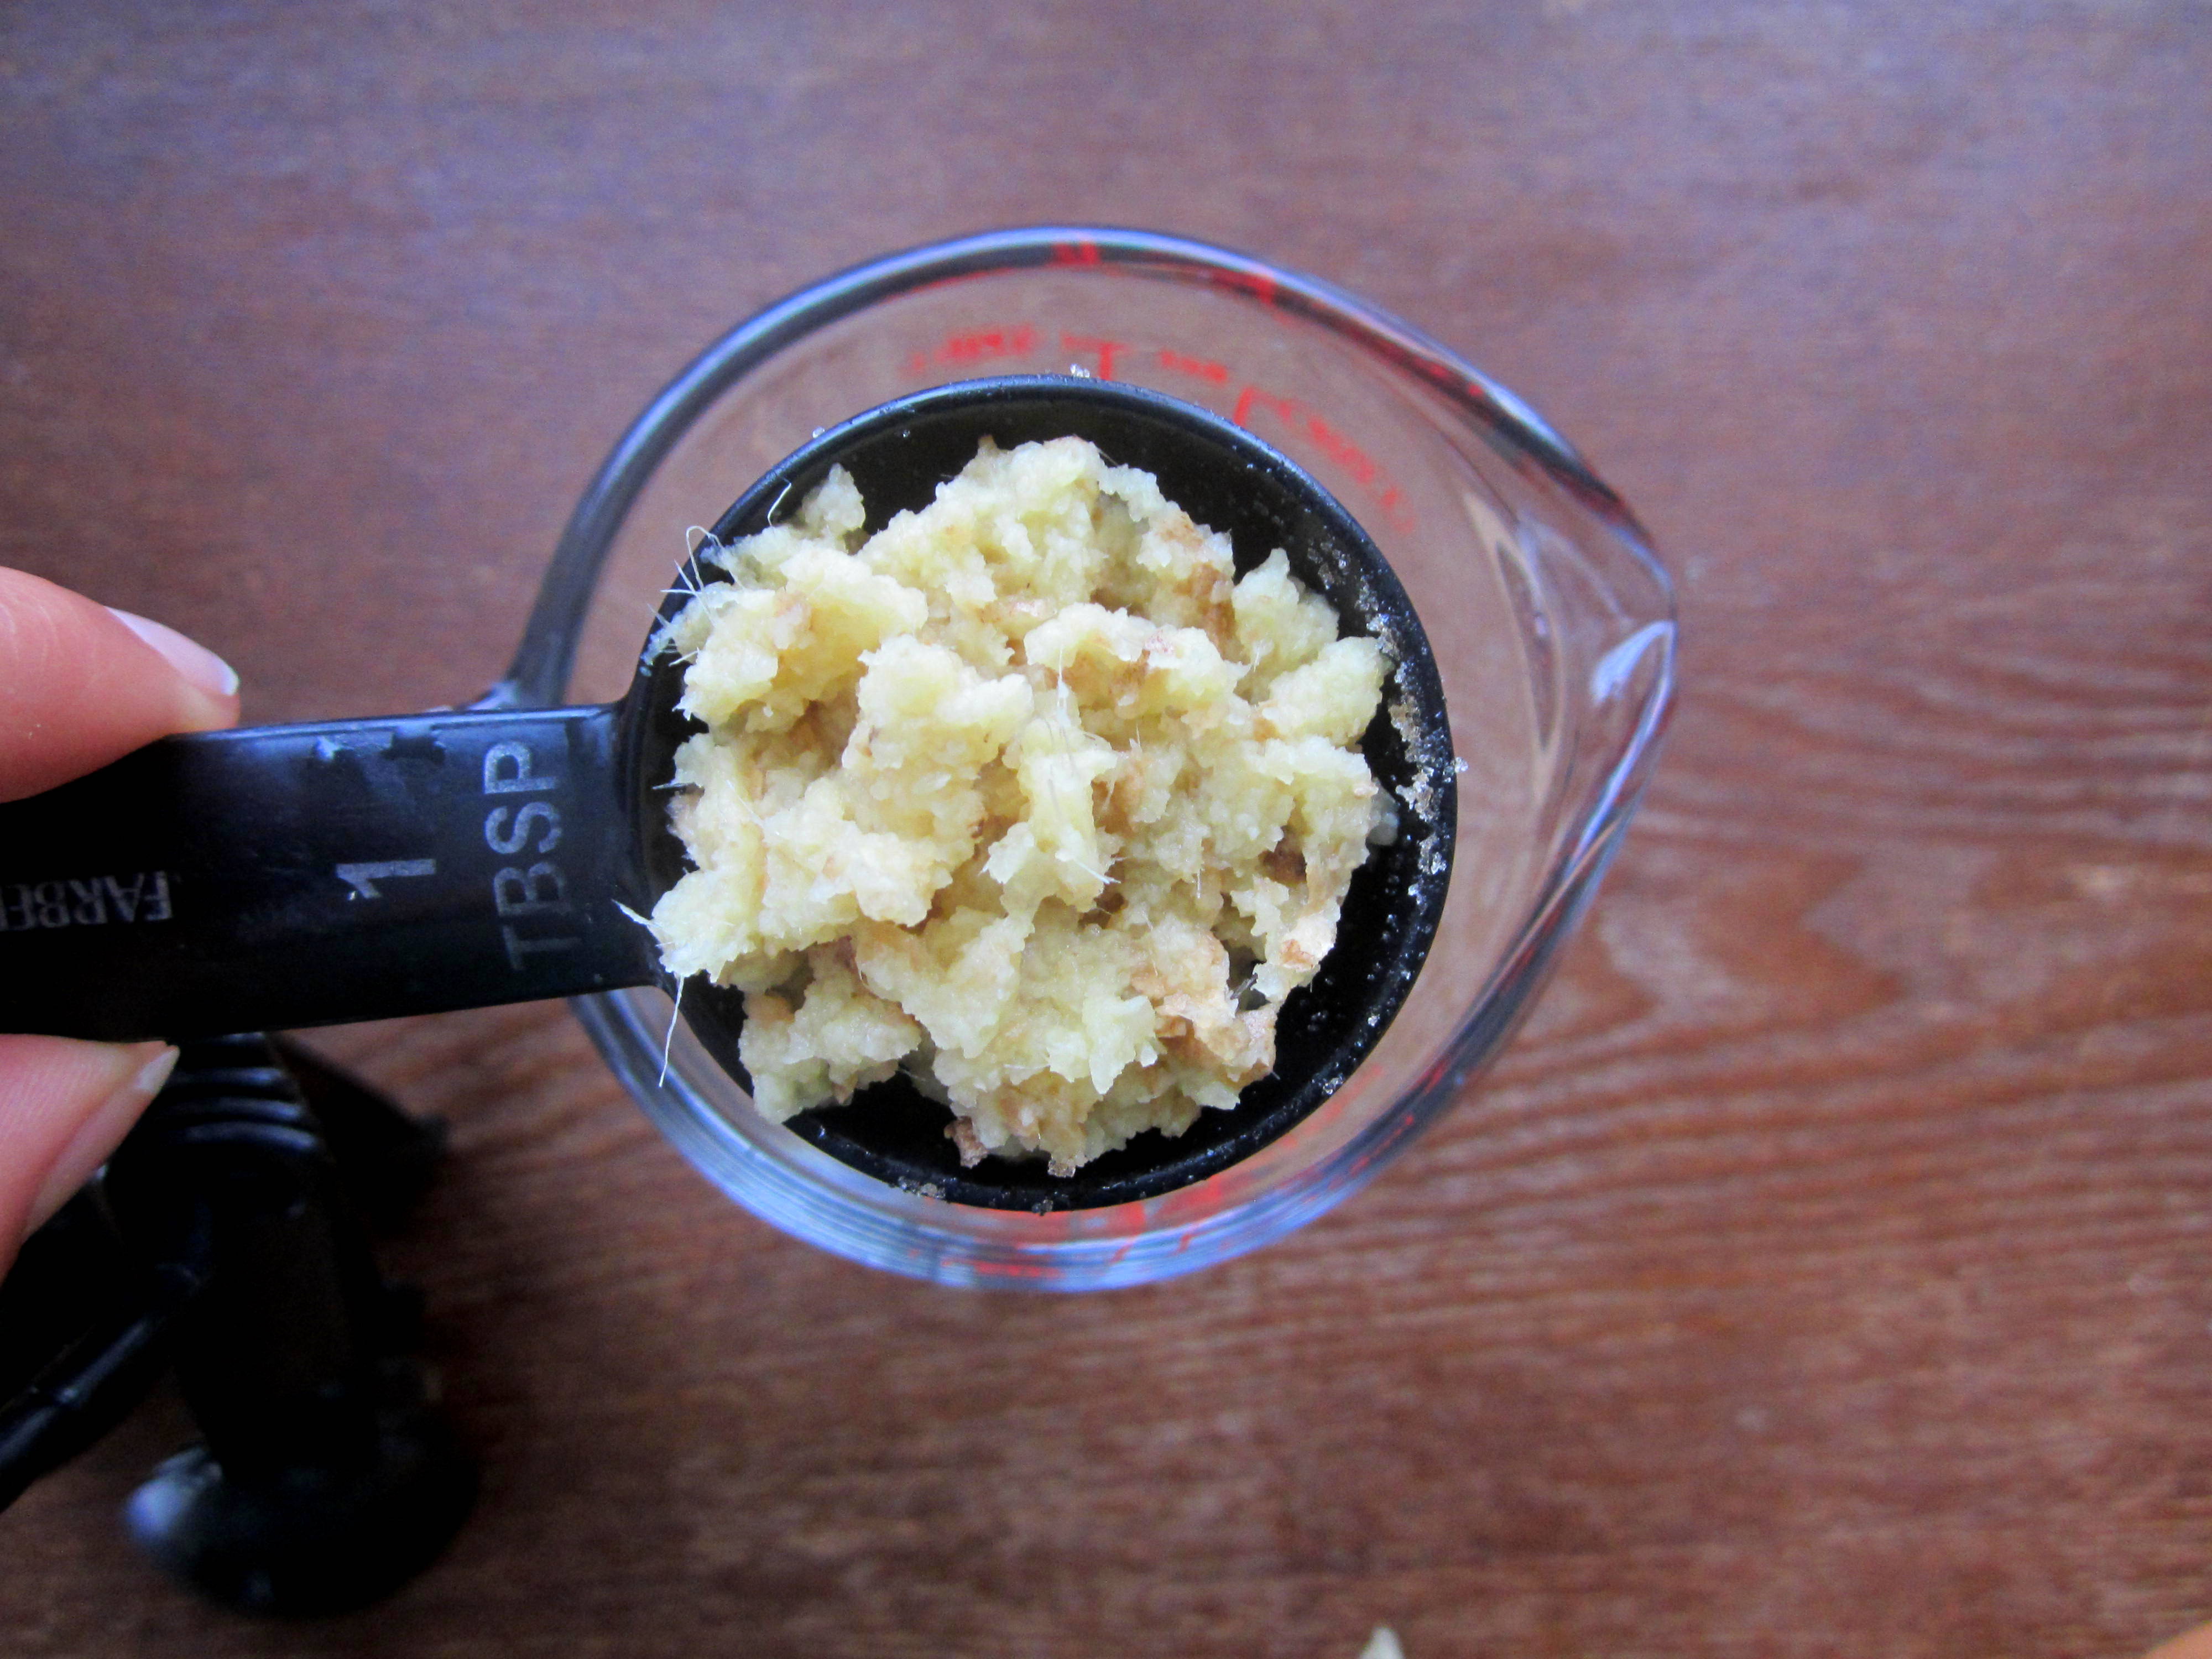
Fresh Ginger
Sesame Oil
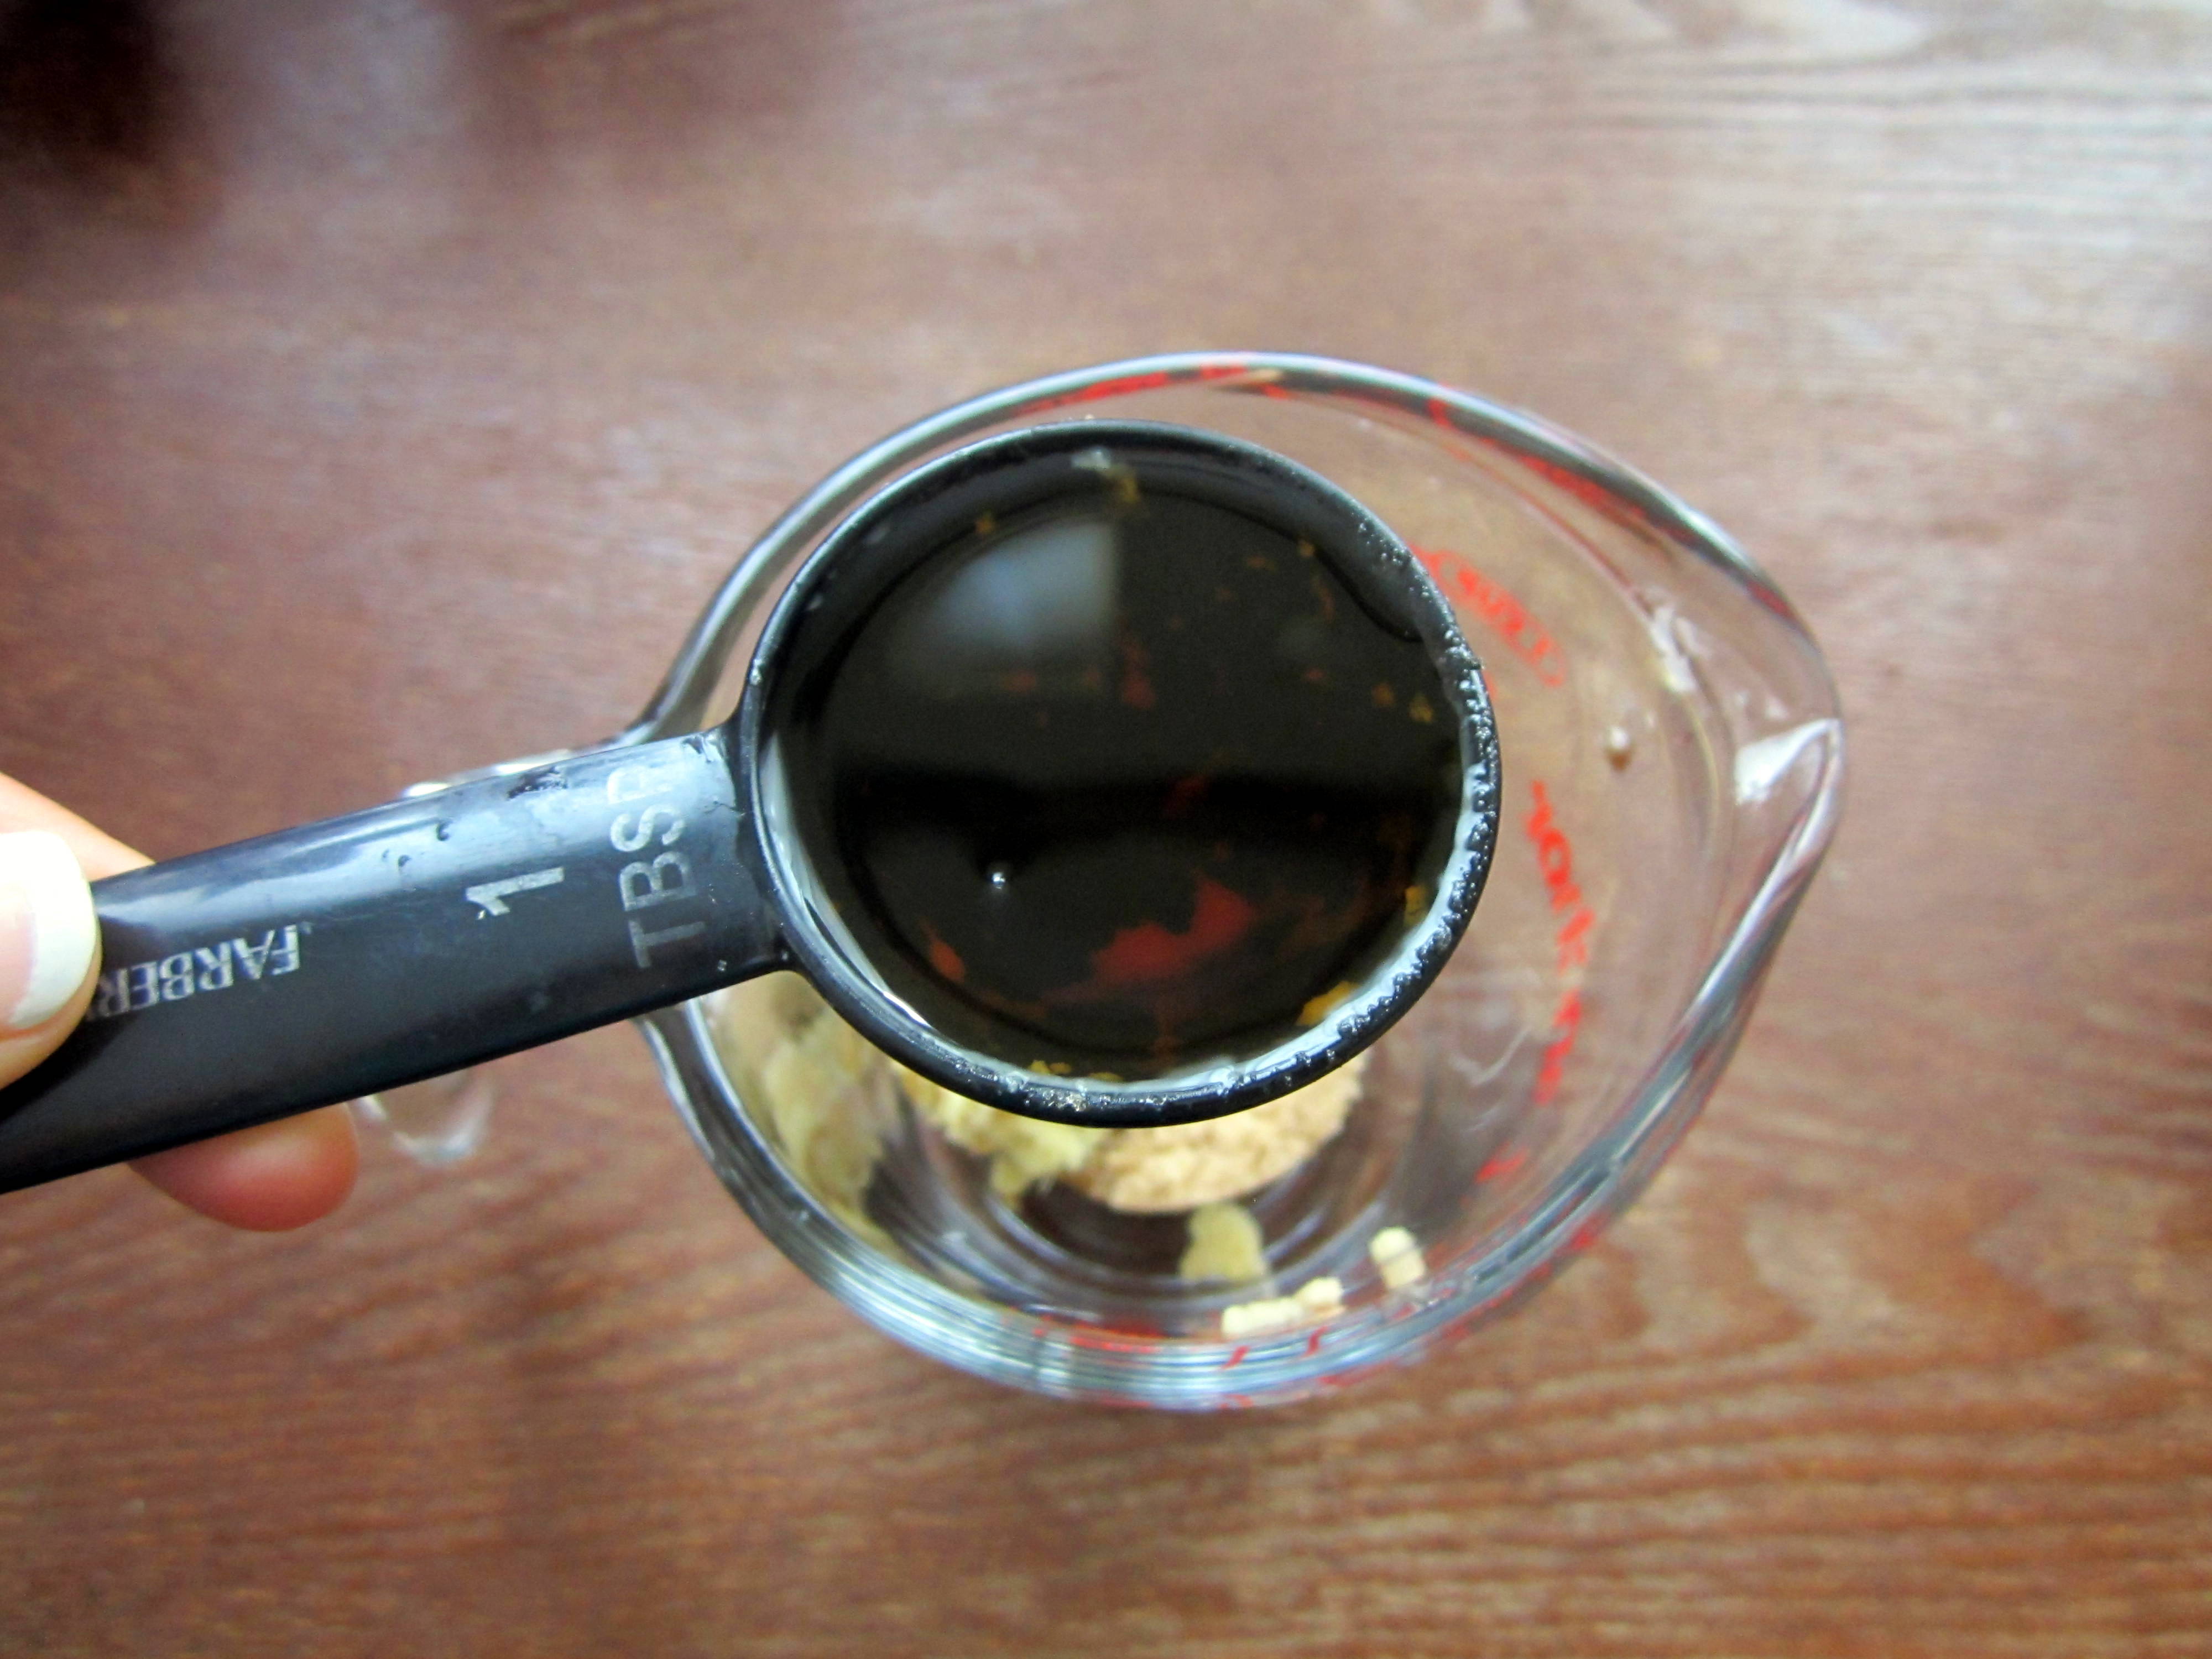
Soy Sauce
Rice Vinegar
((I add an extra tablespoon vinegar…I like things vinegary))
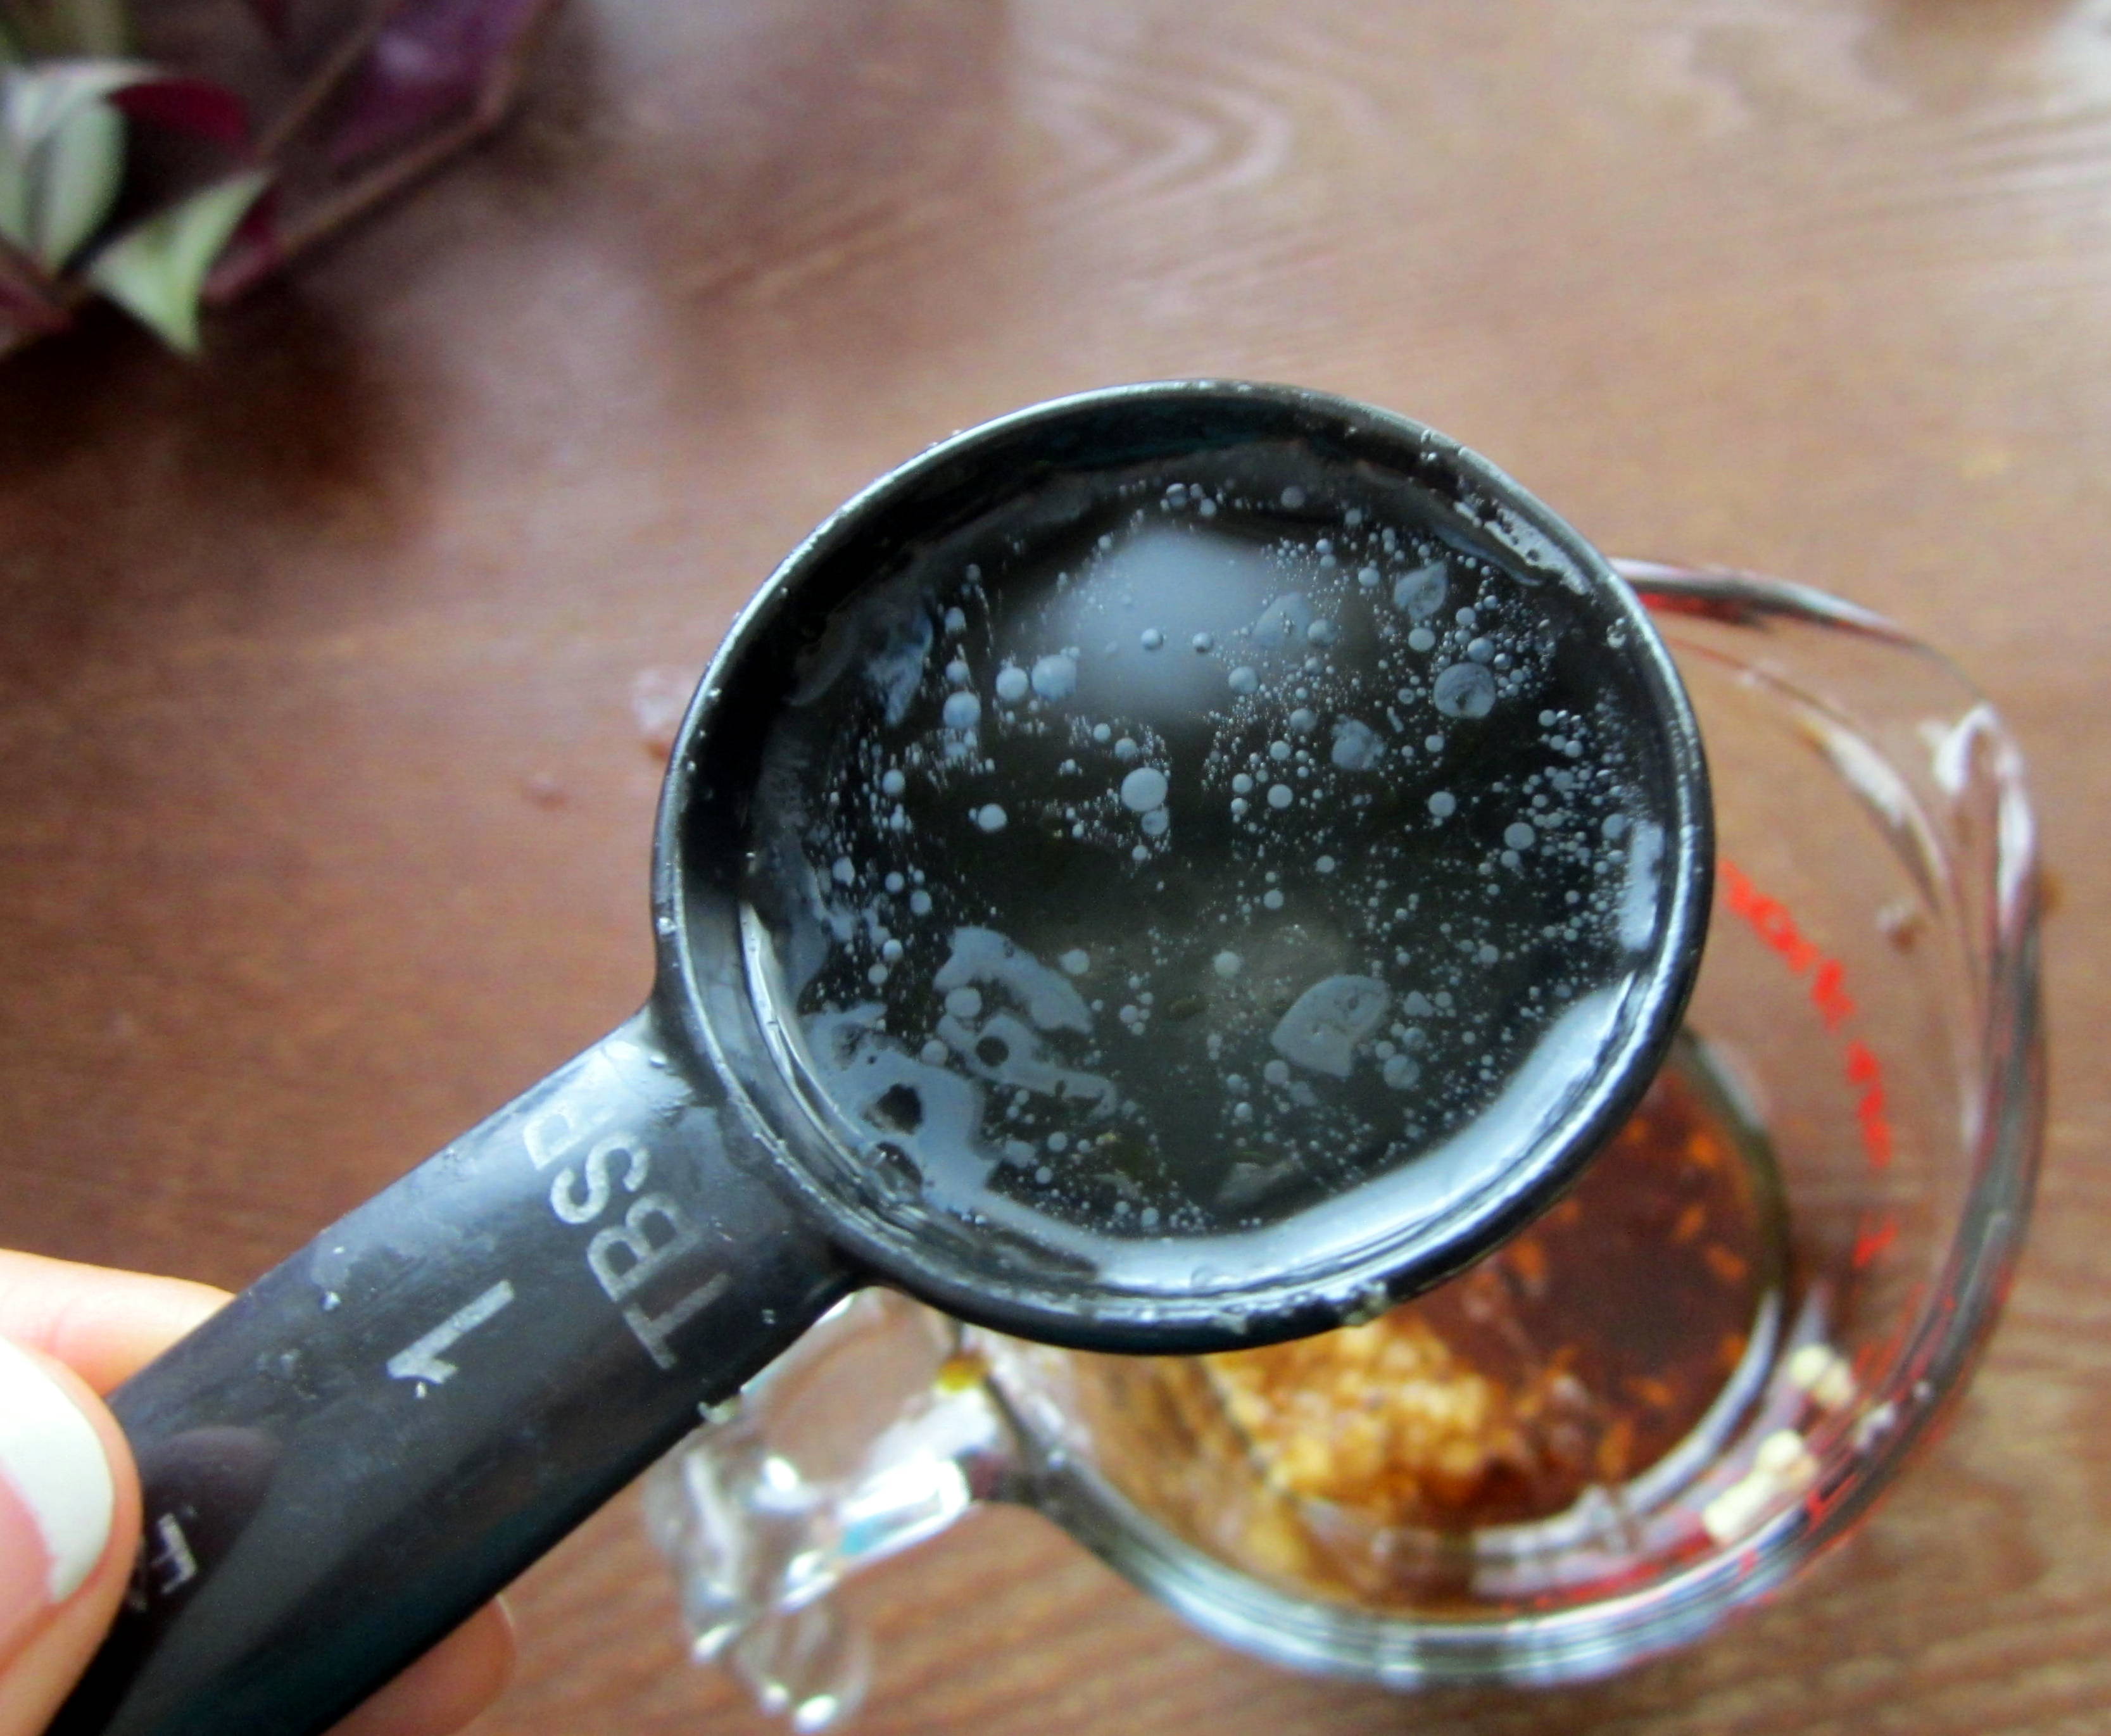
and a dash of fish sauce if you have it
((not necessary but it does add some depth))

We’ve got your sweet, we’ve got your salty, we’ve got your umami…I mean what more do you want? Seriously…forget the sandwich…just make this sauce.
(then make the sandwich…)
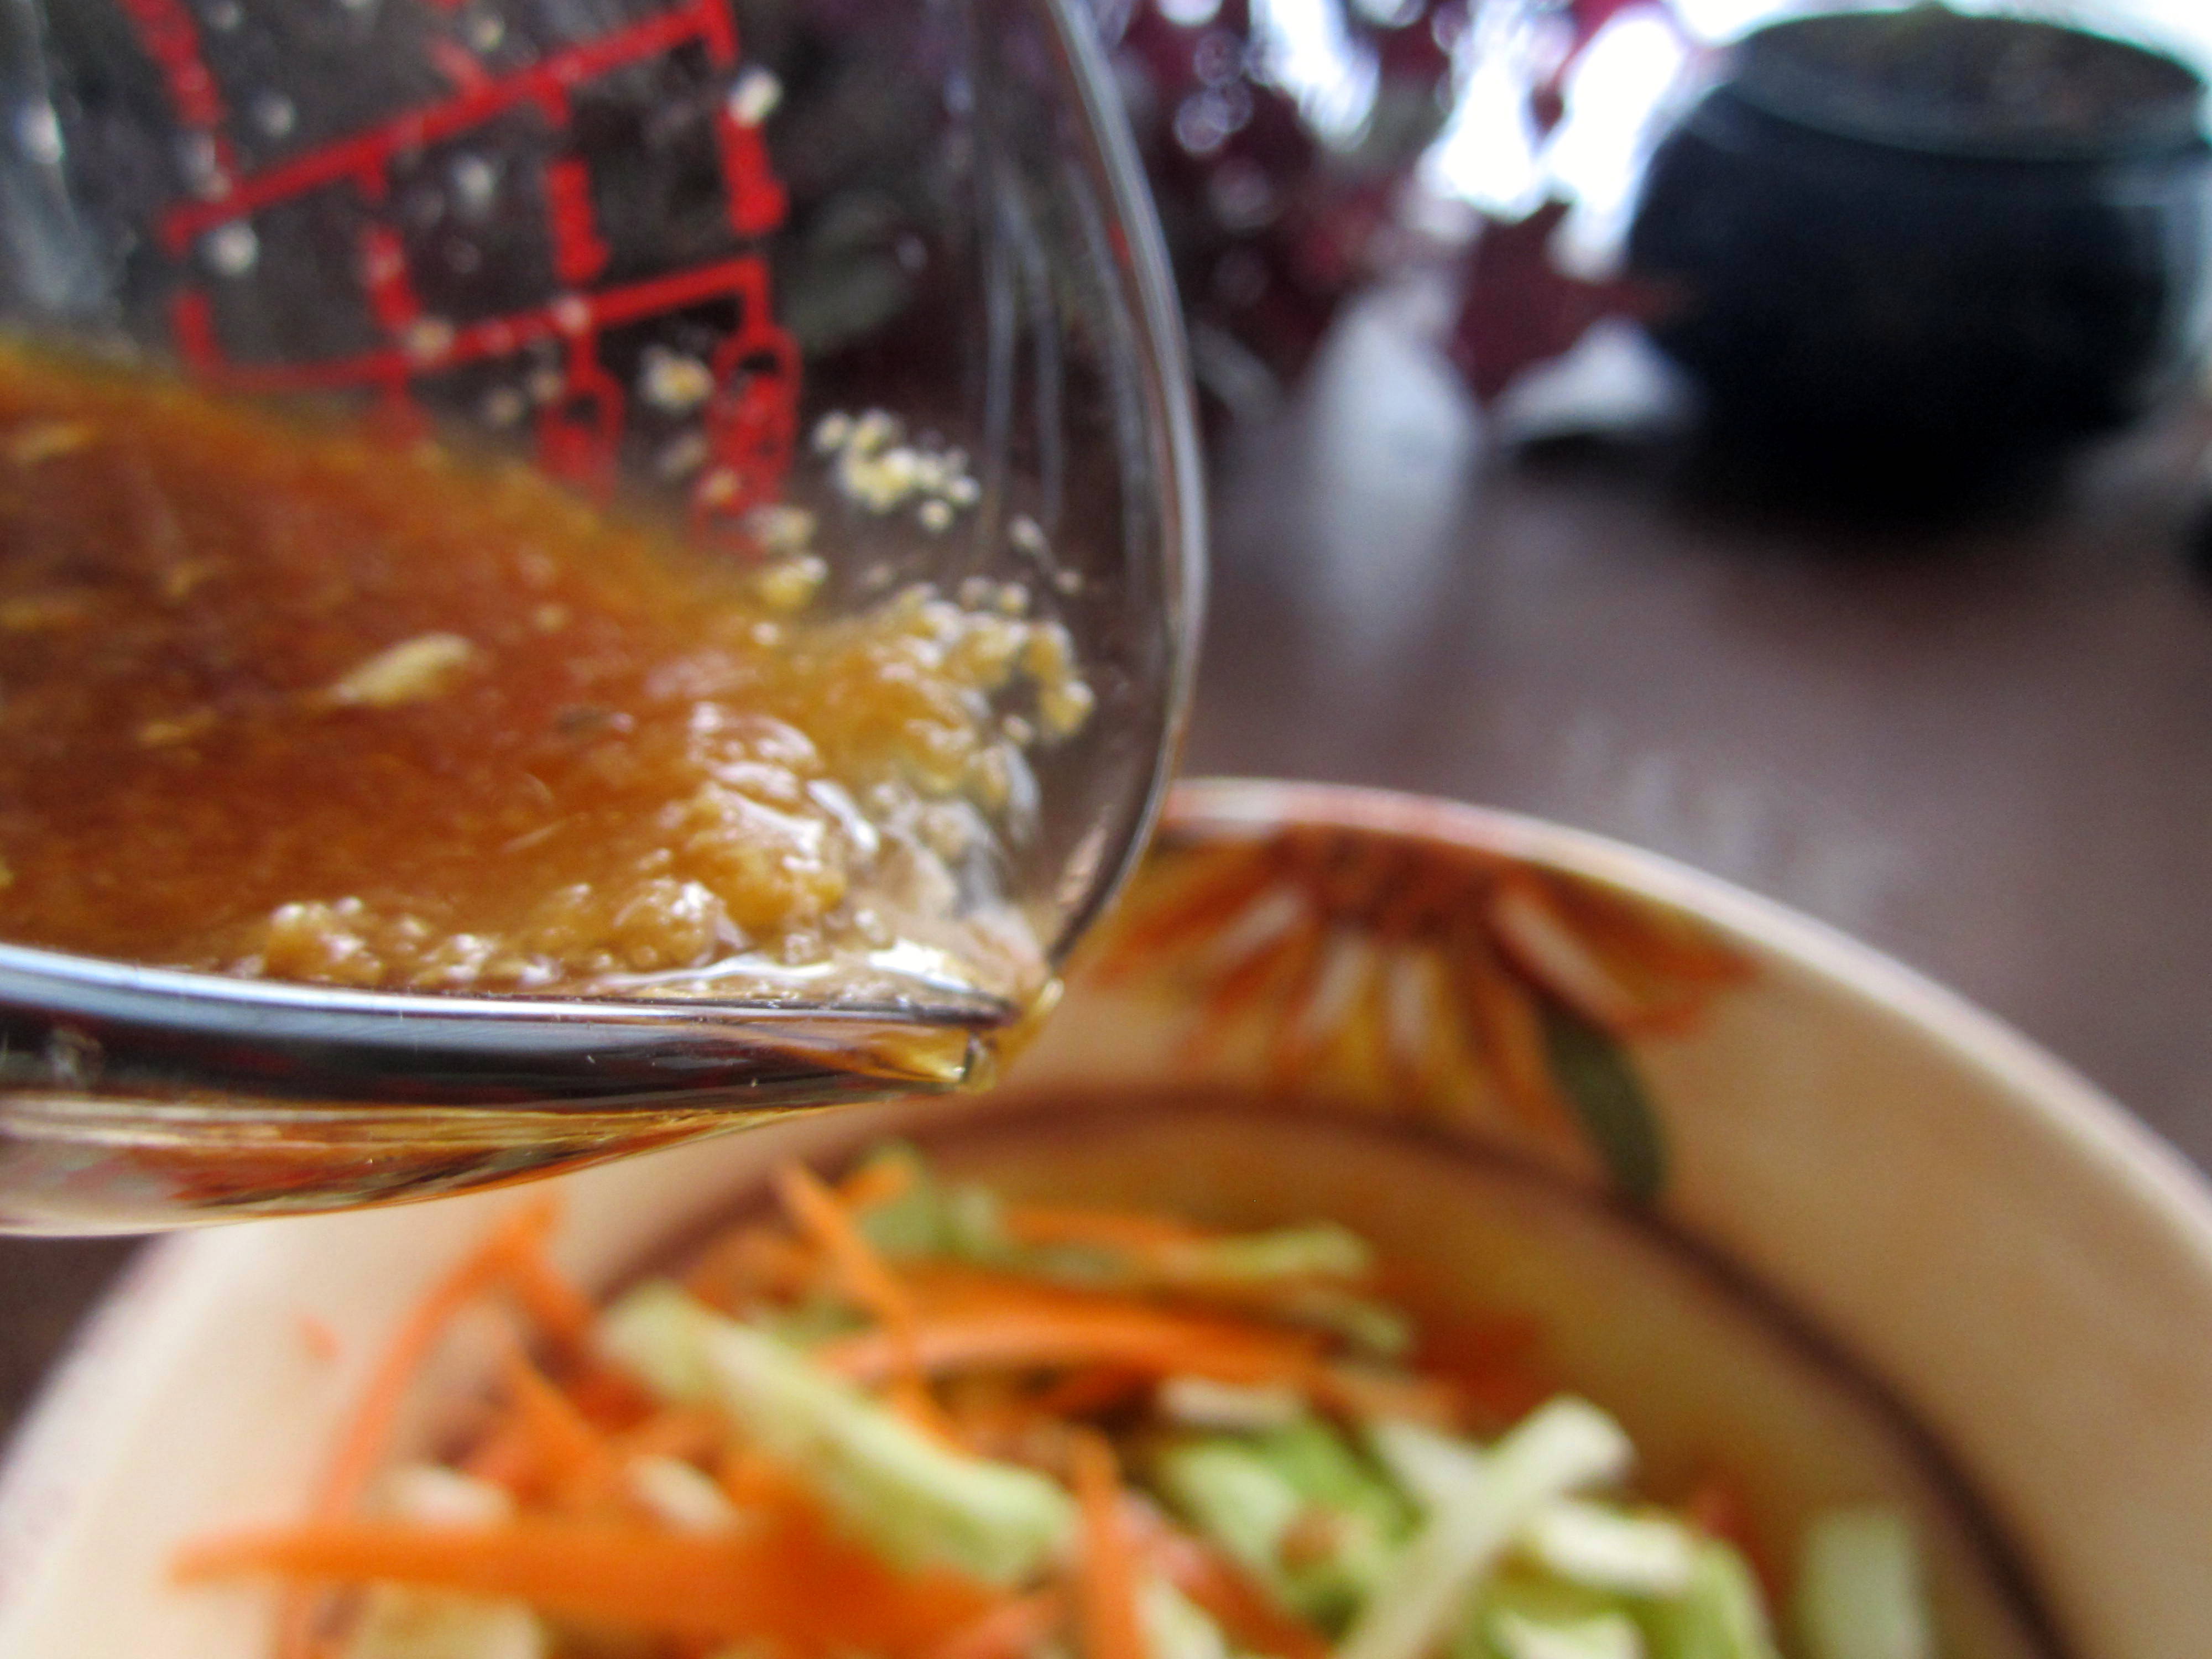
Infuse those veggies with that flavor attack
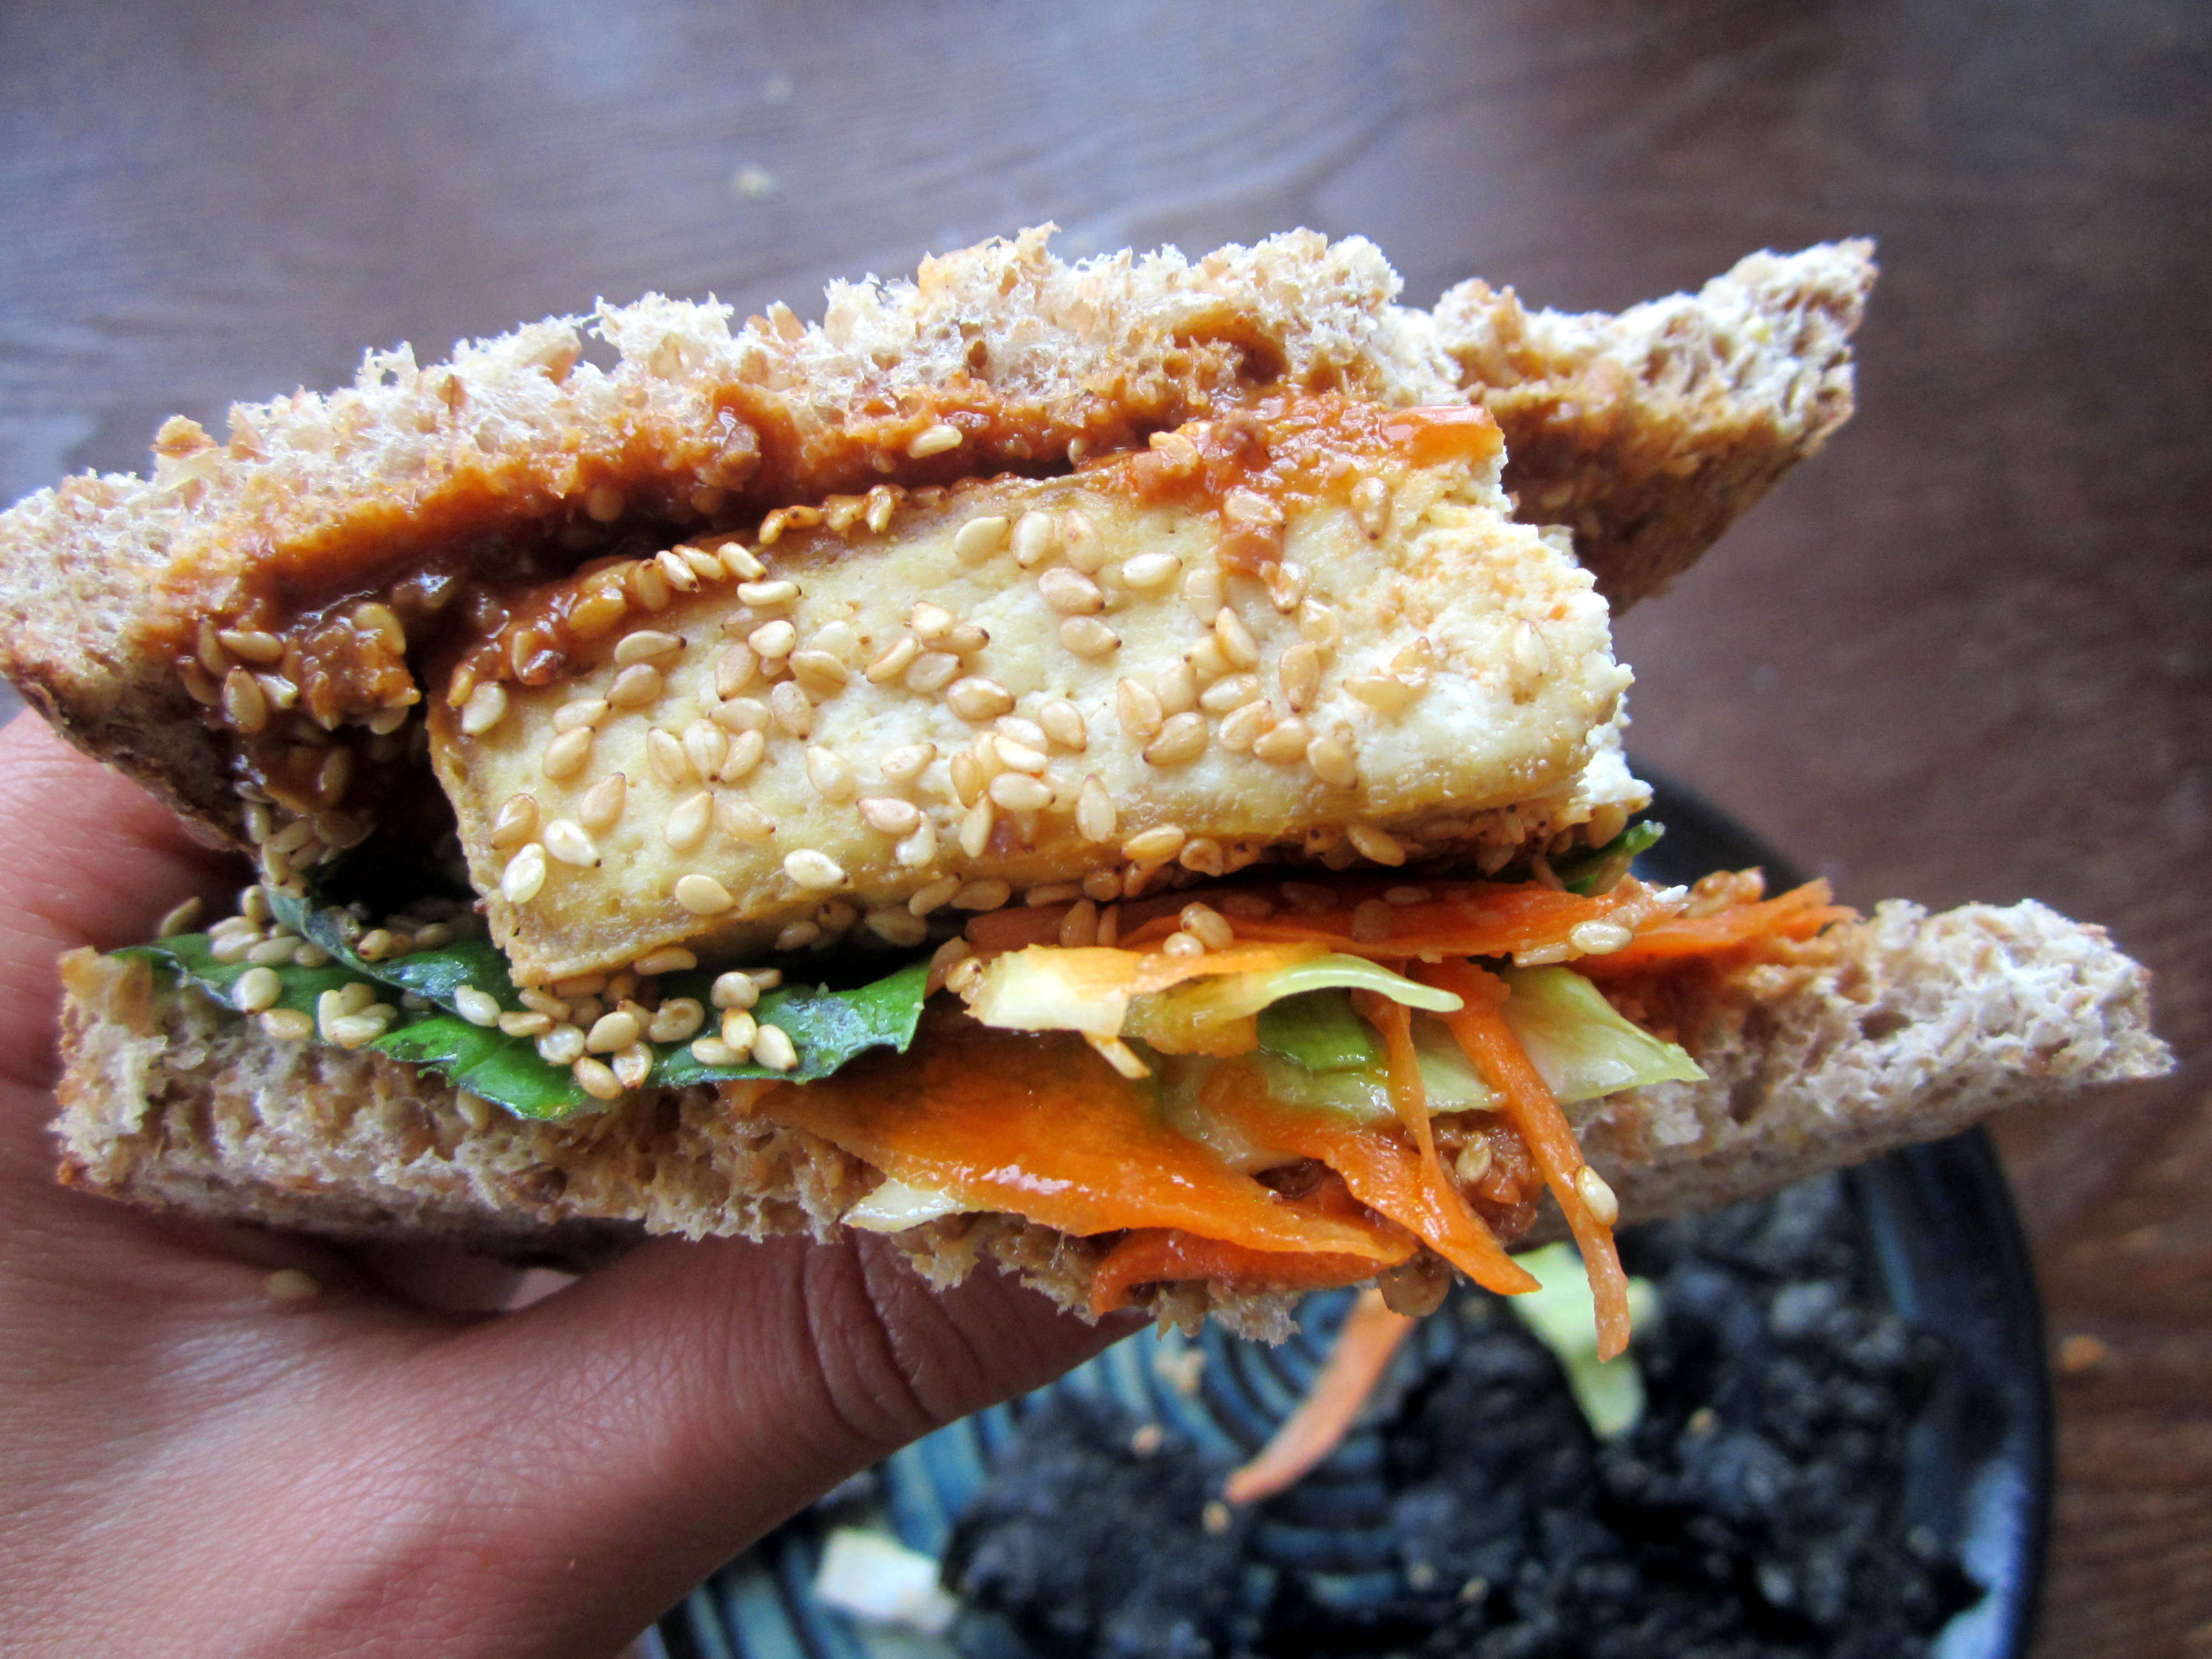
And now…we build.
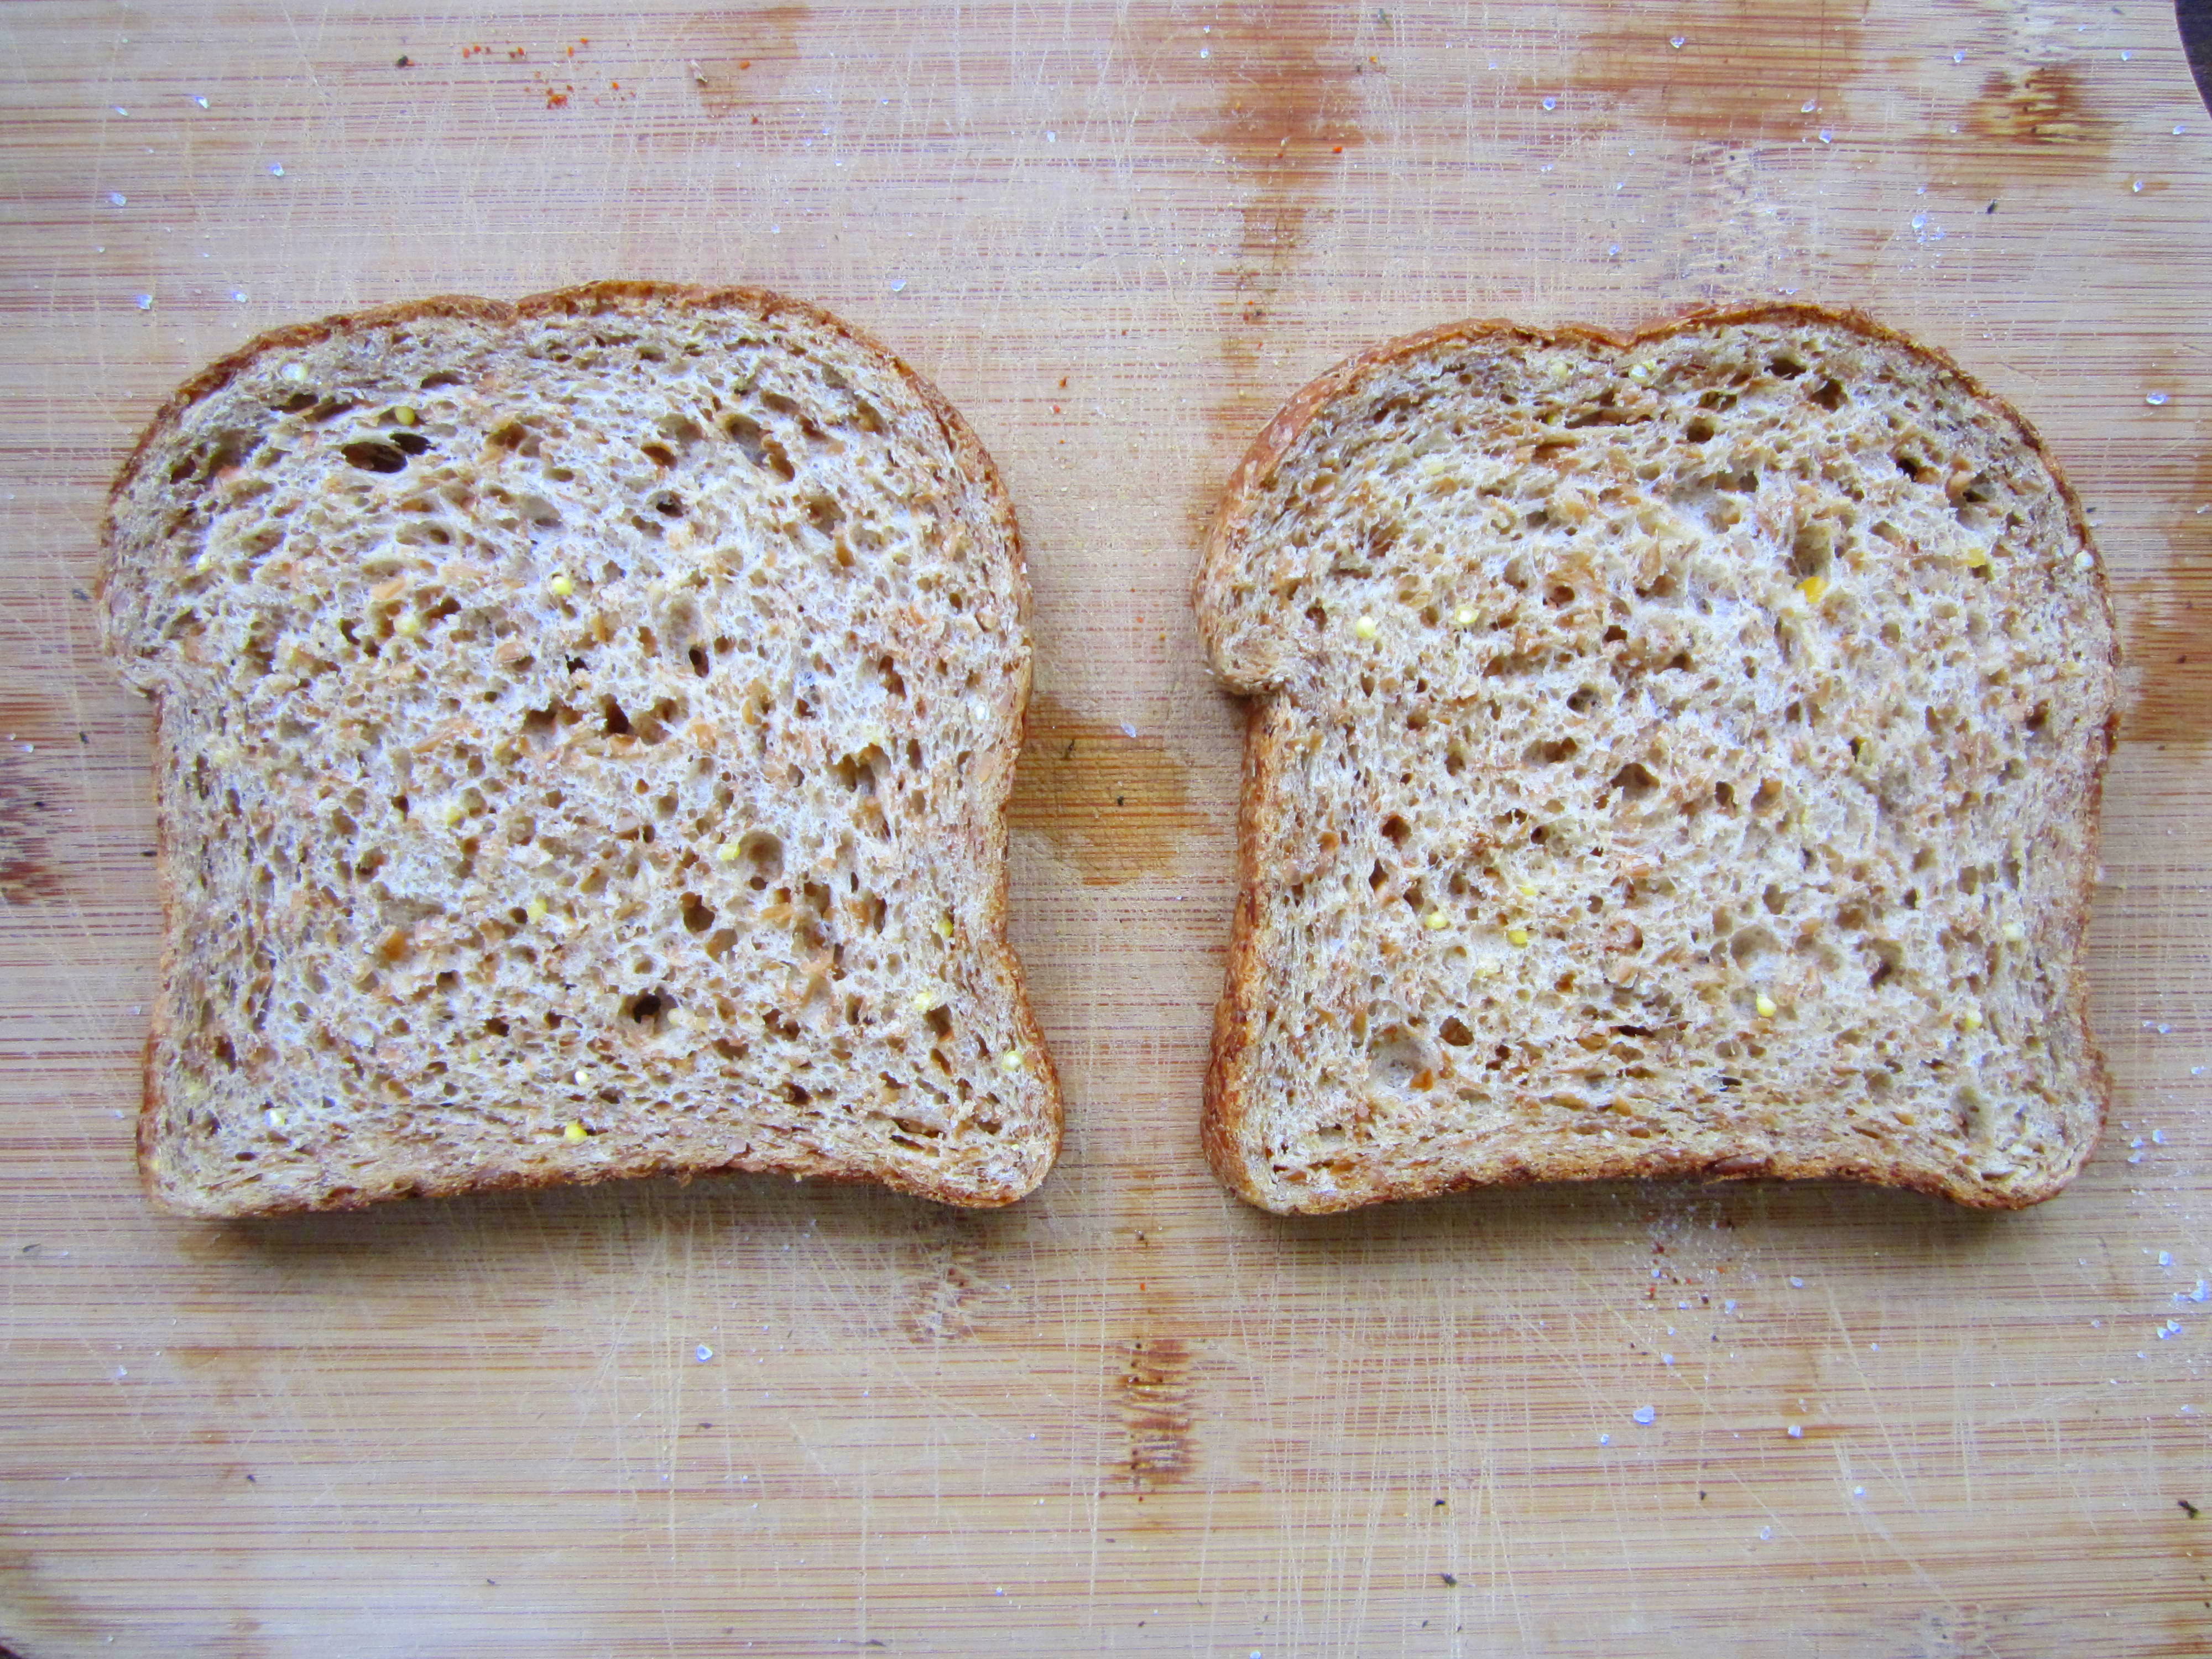
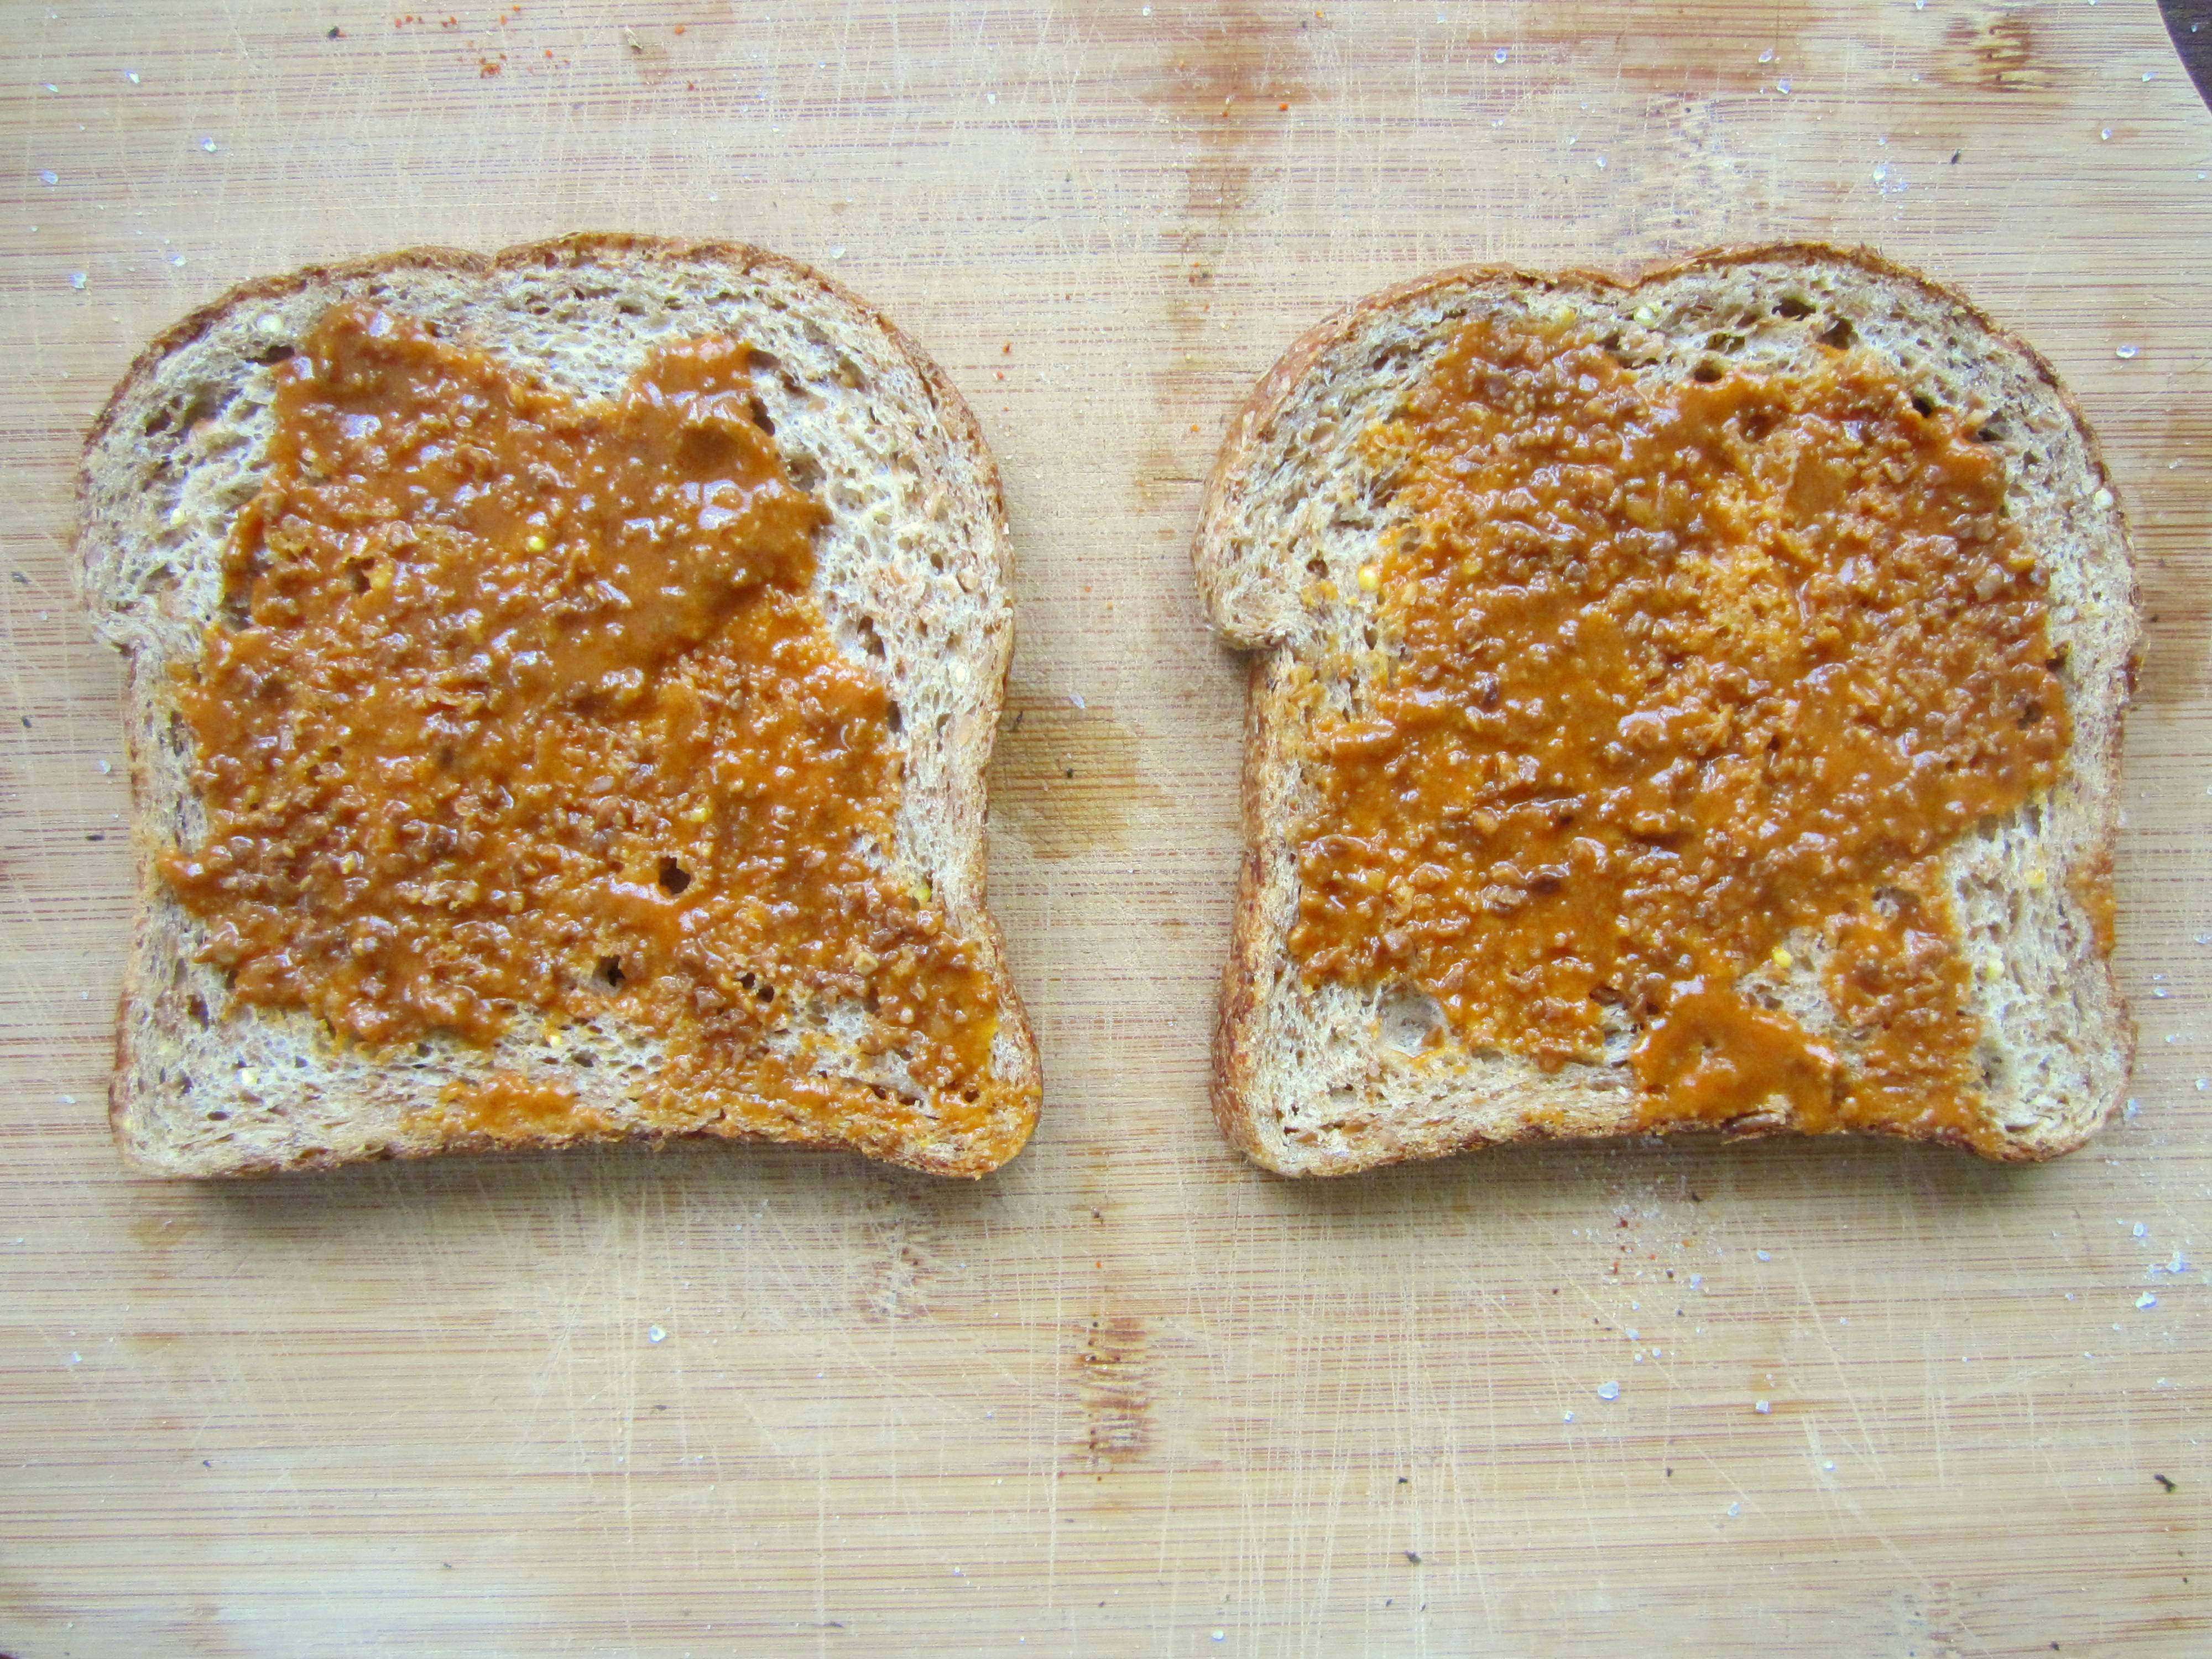
Start with some good bread
Spread some peanut satay sauce (I just used some from a jar)
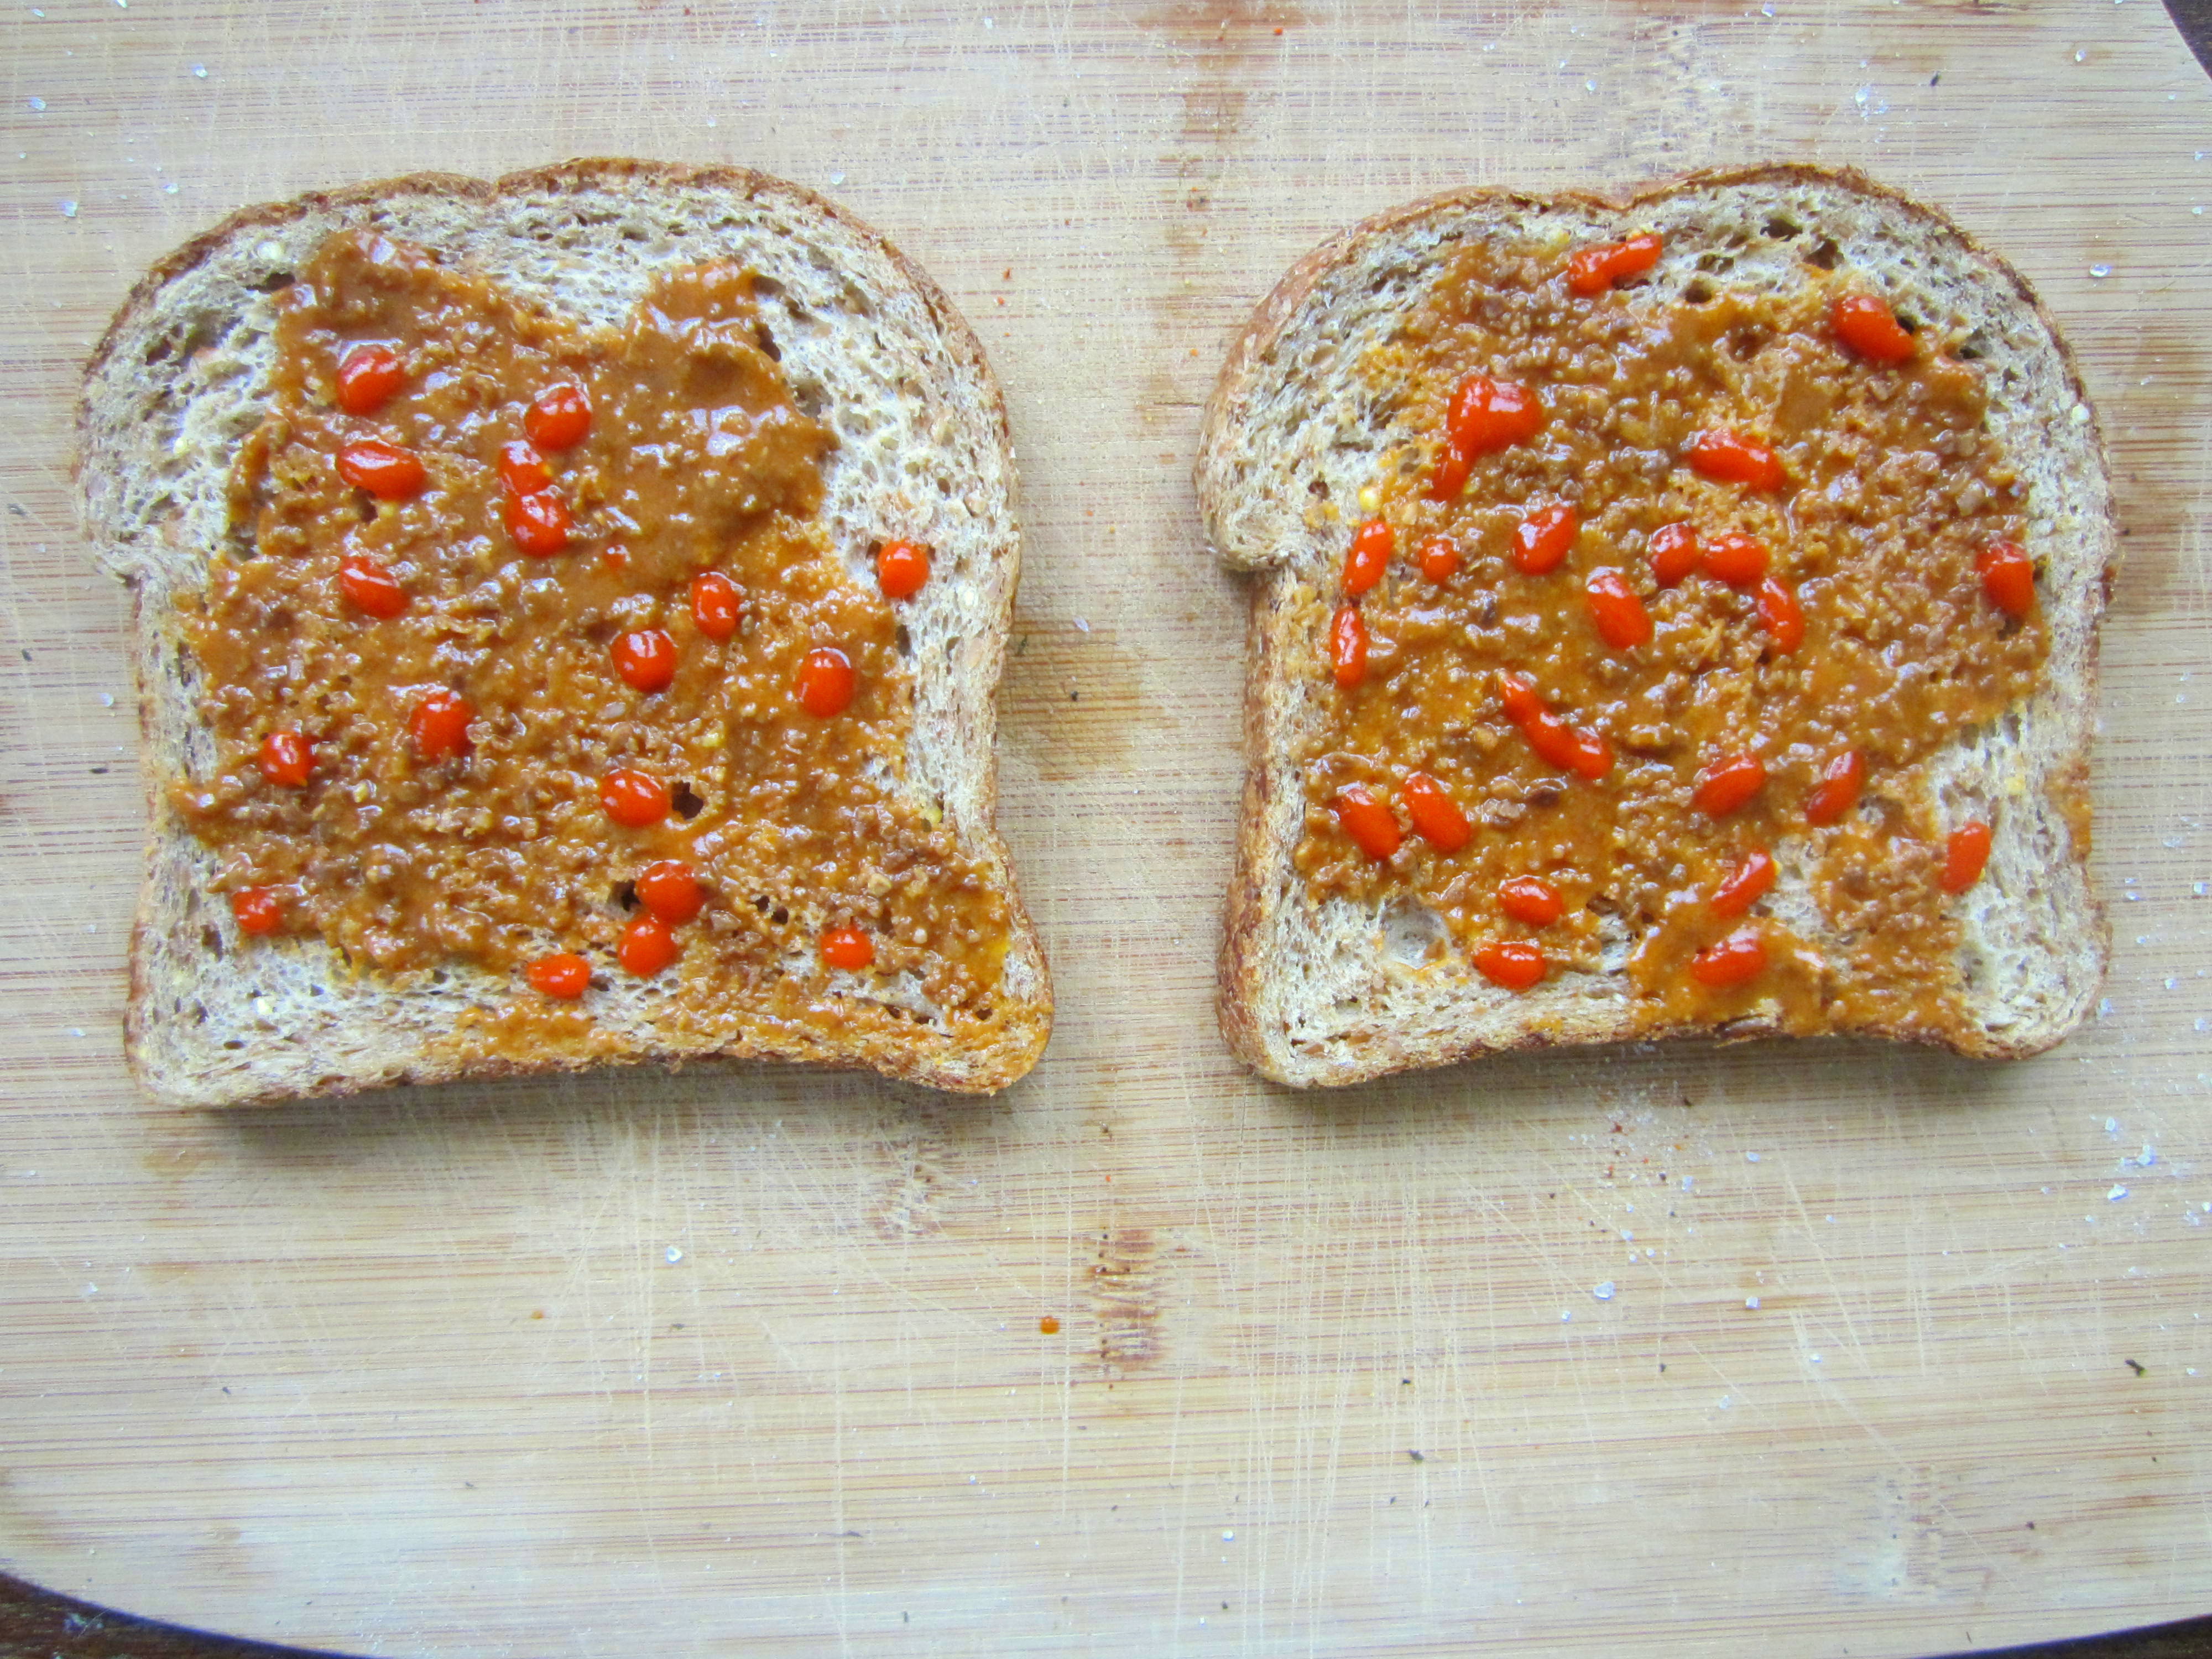
Turn up the heat with some Sriracha
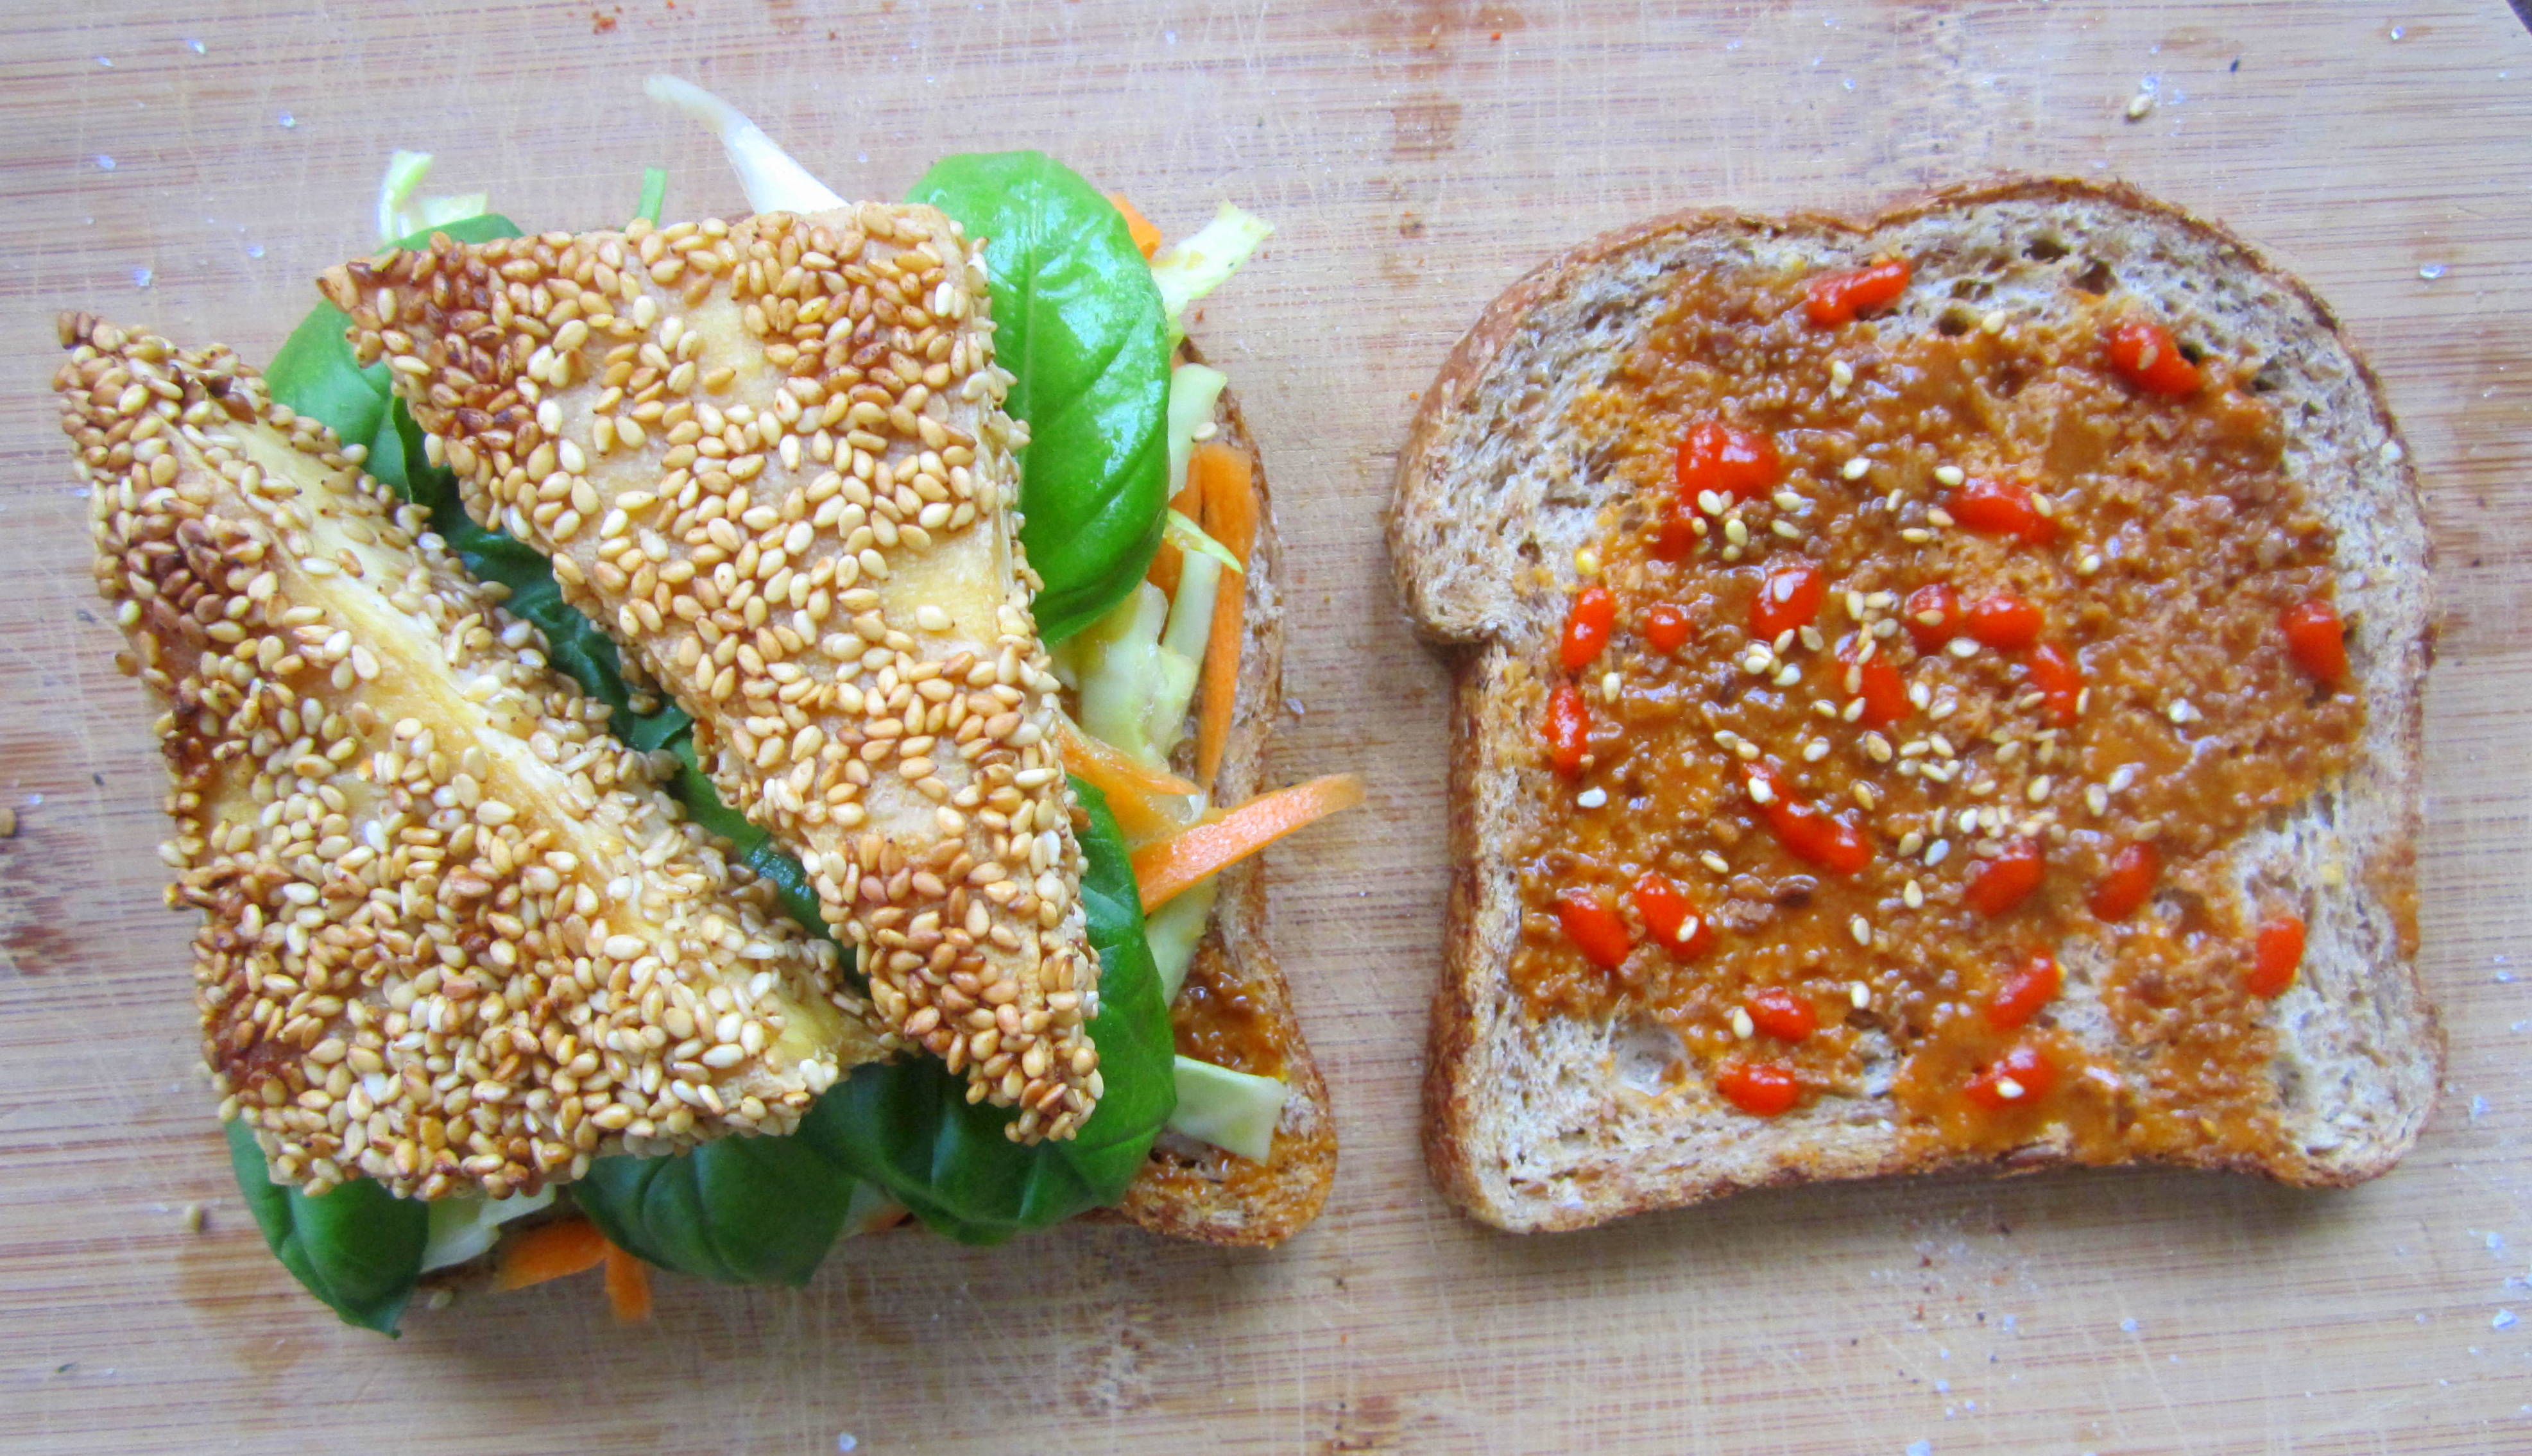
Pile on the saucy veg

Pile on the fresh veg.
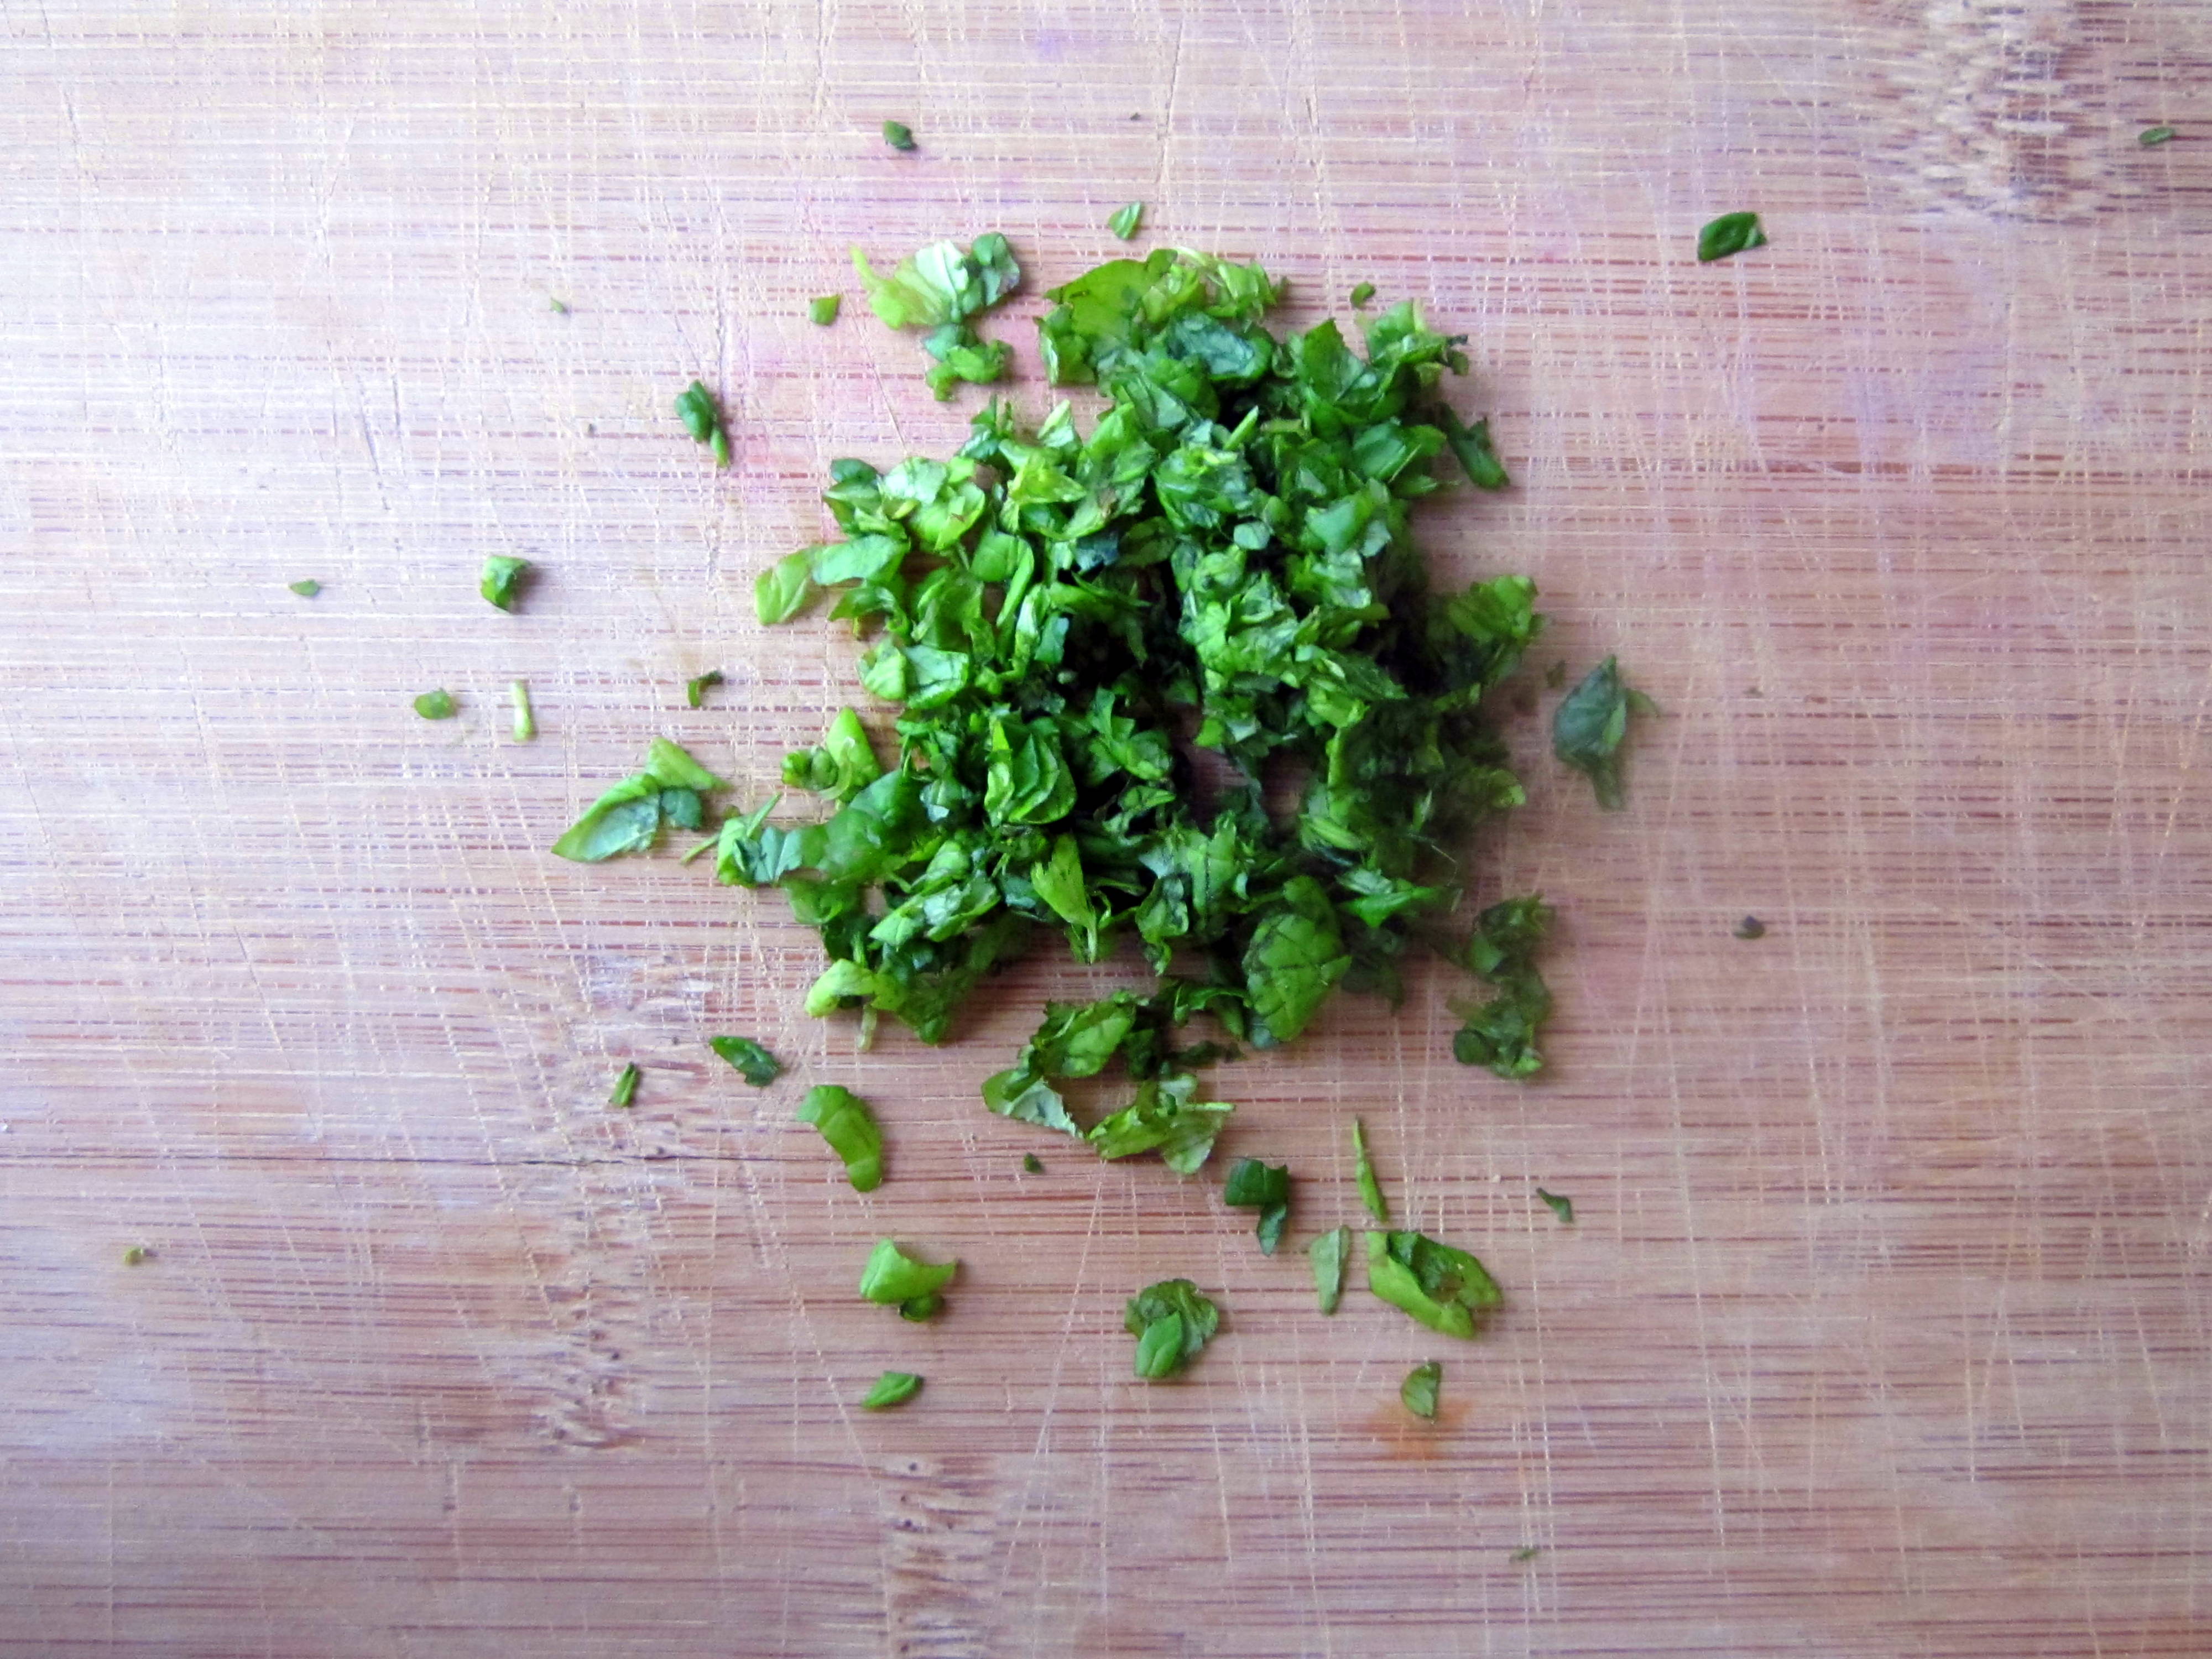
Basil isn’t necessary but it is OUT OF THIS WORLD.

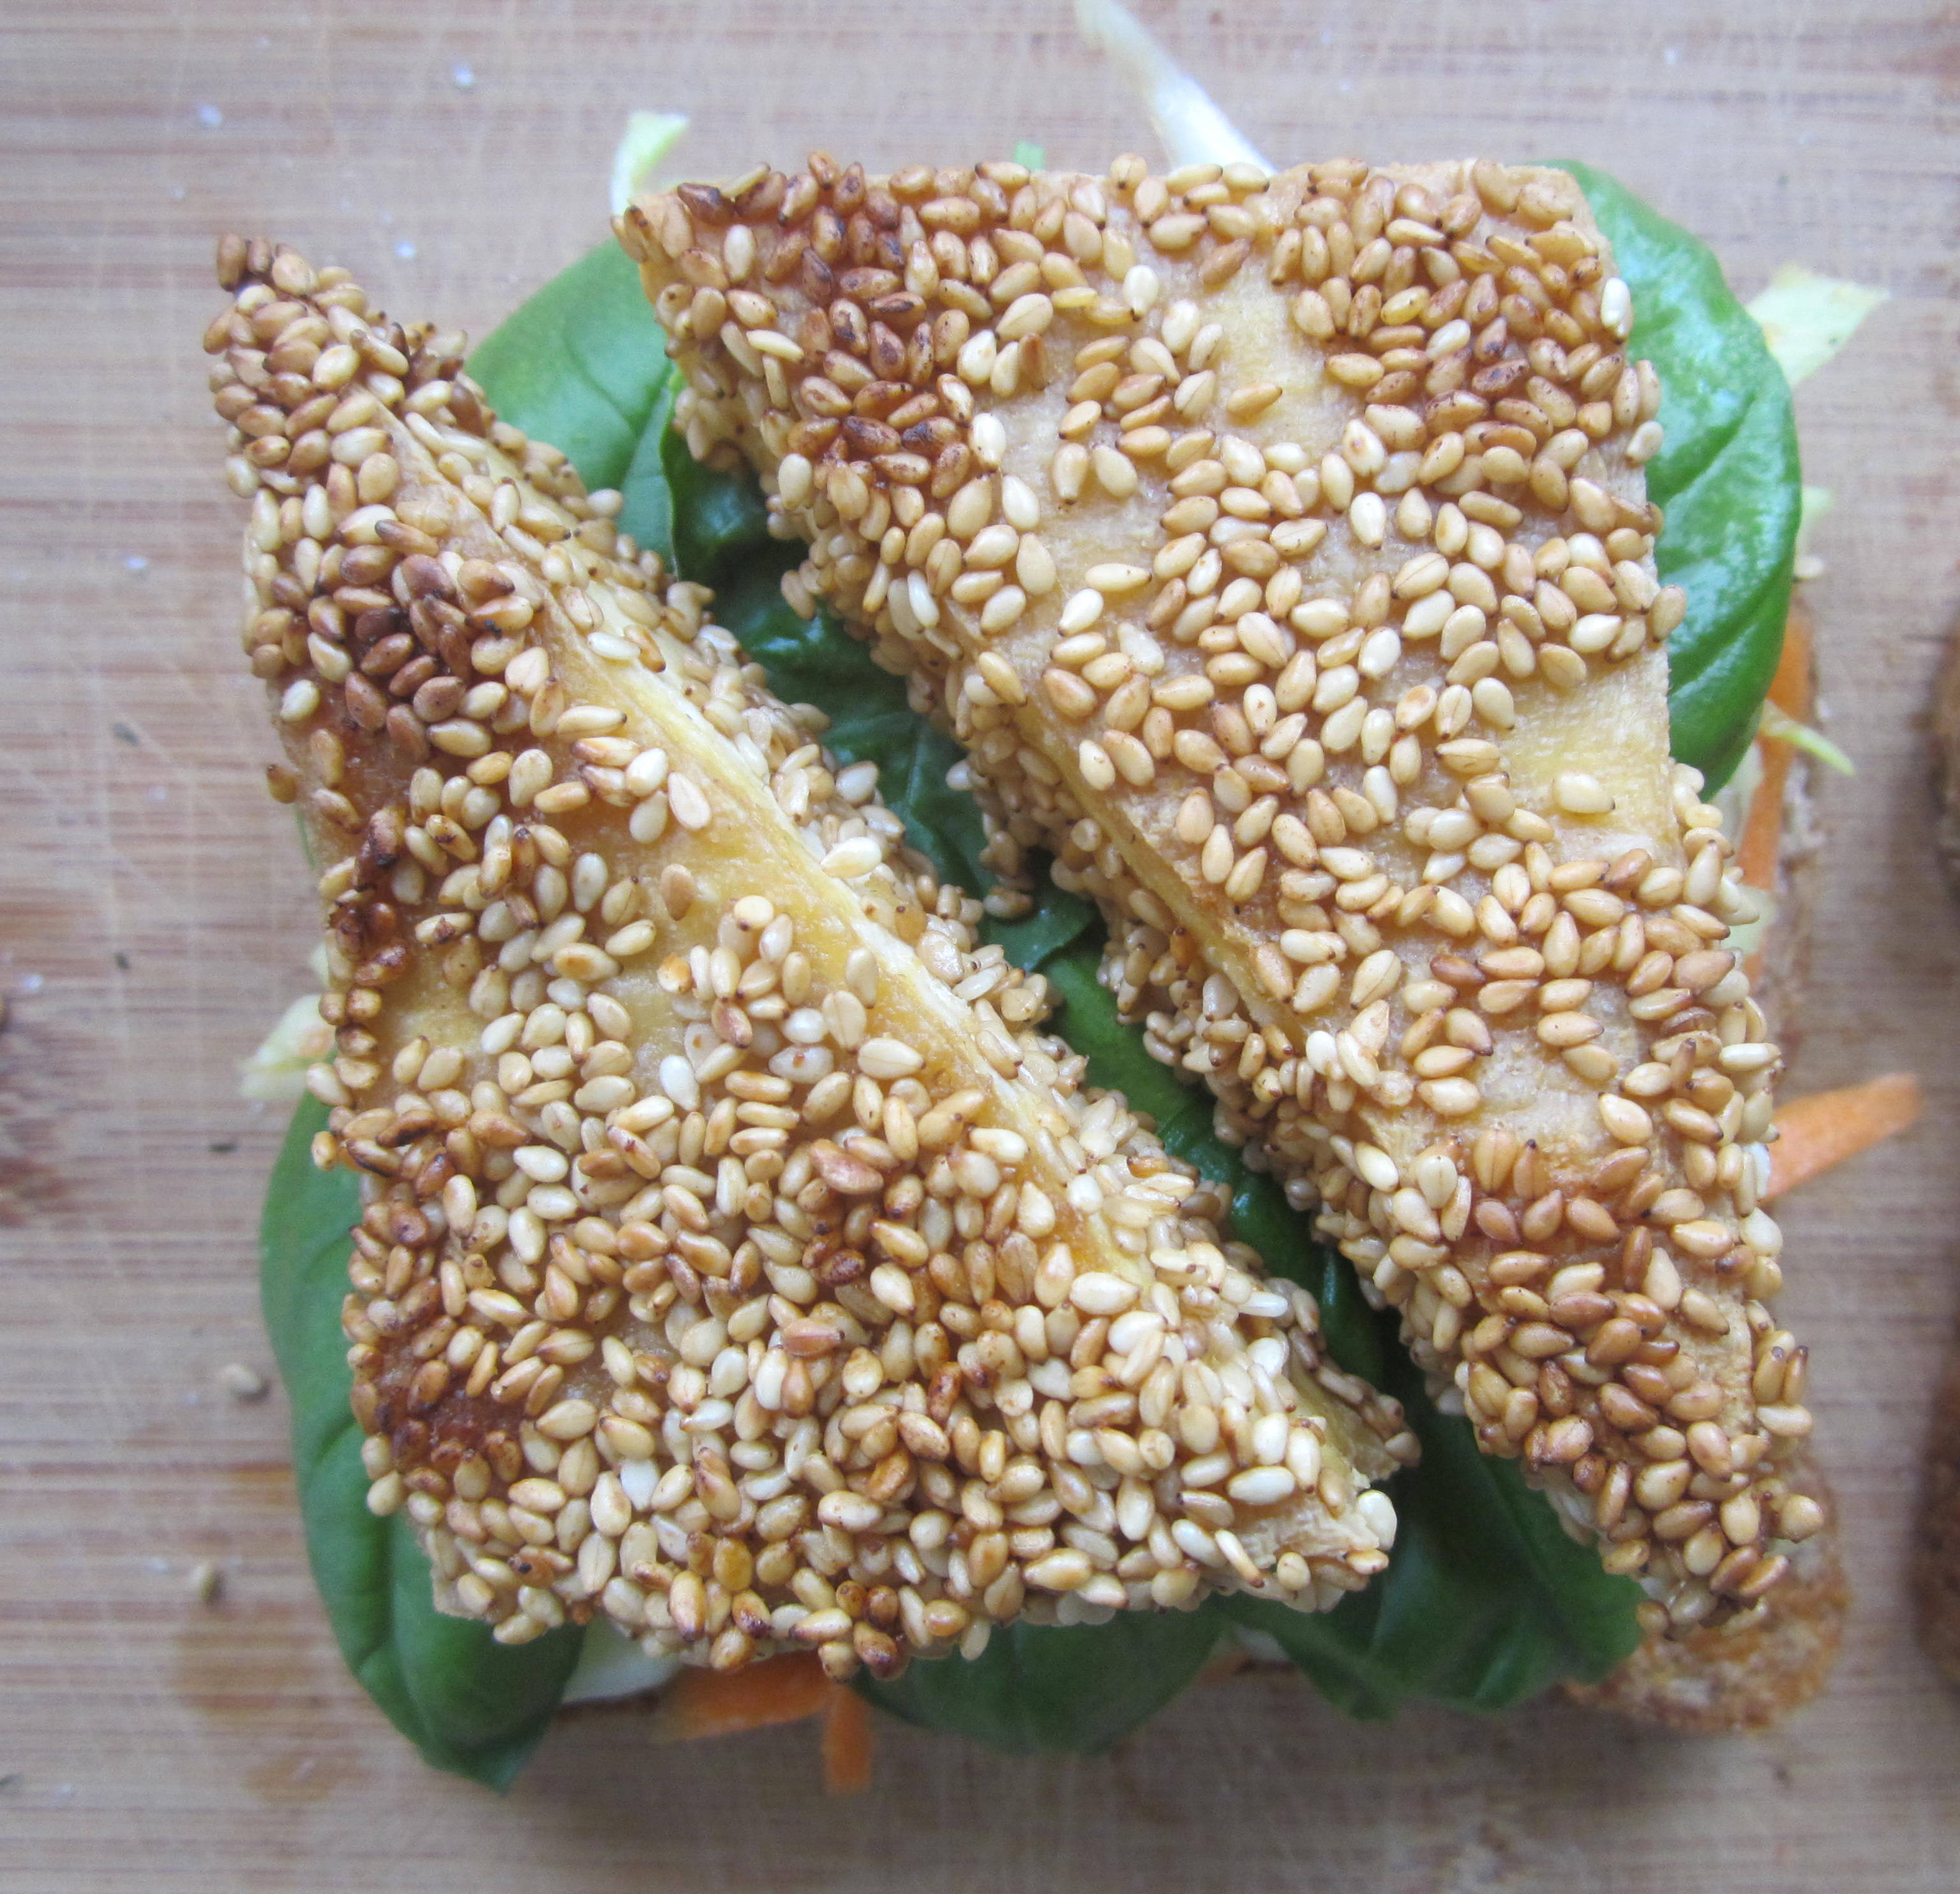
Now the “meat” of the situation
(Make sure it’s nice and toasty)
Close it up and prepare to have your mind blown
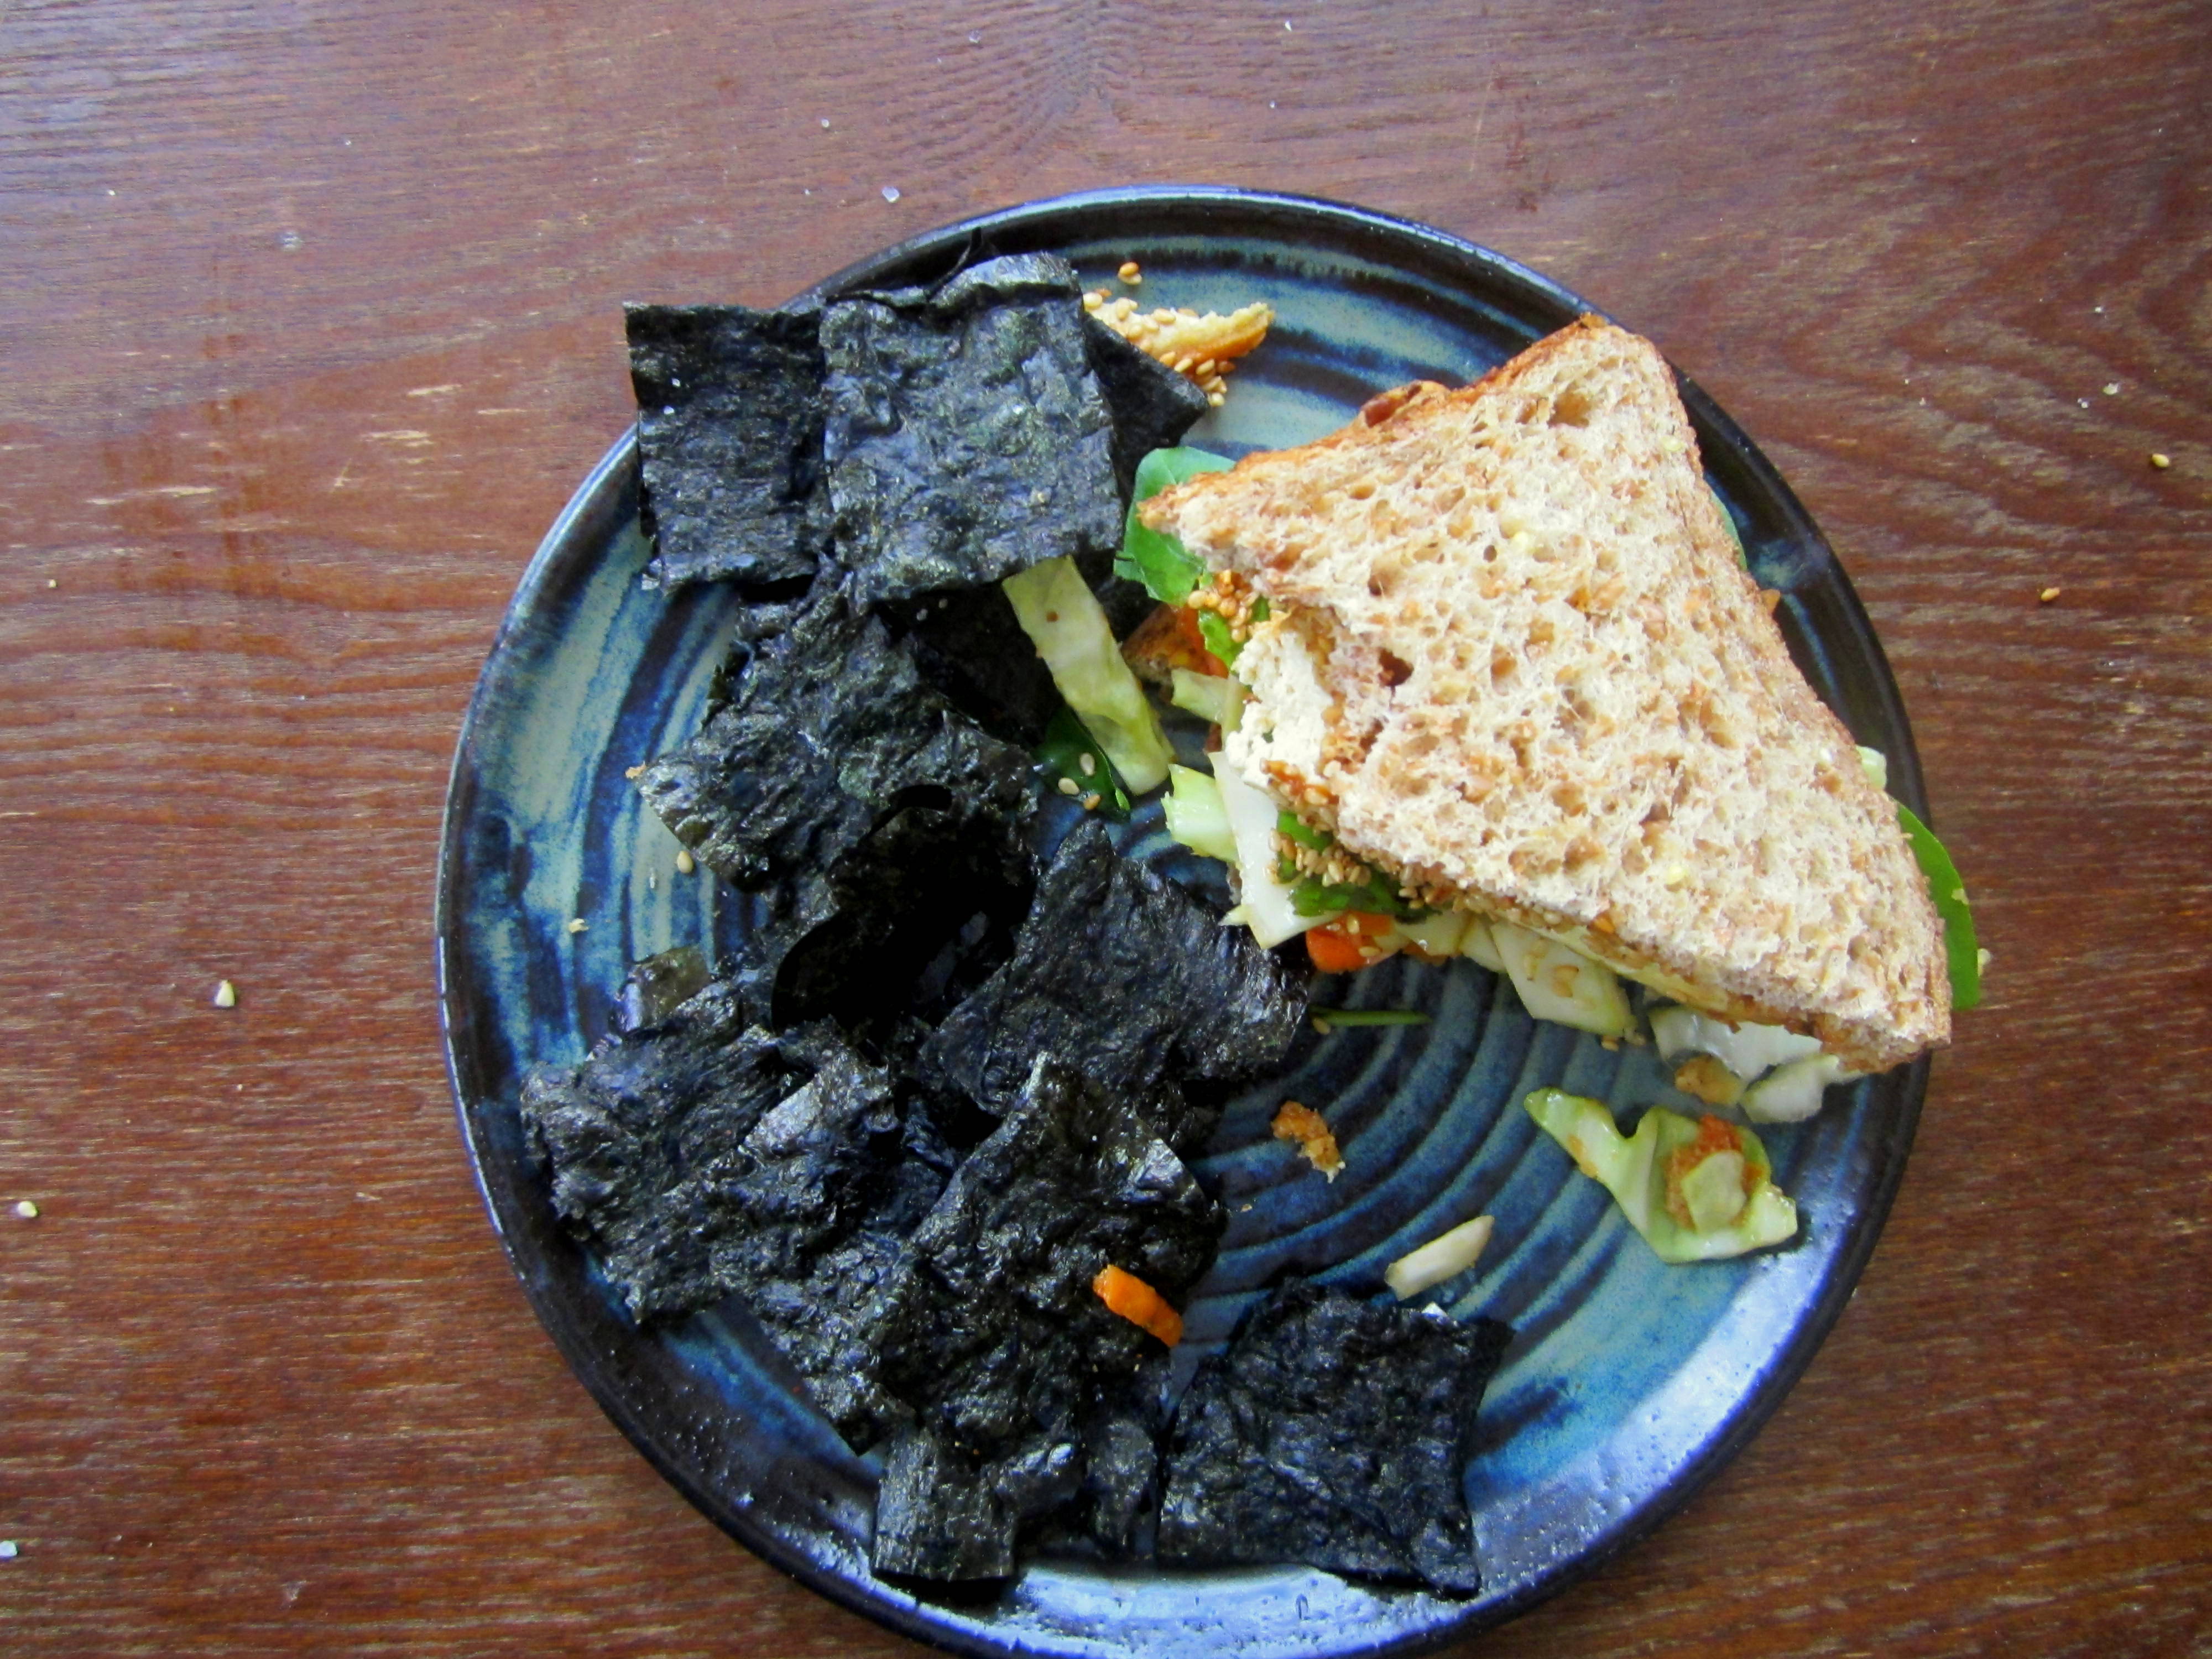
Those chips? We’ll talk about those next time. They’re my newest addiction.
For now enjoy this sloppy, kick in the mouth. Beautiful.
Er..in its own way.
 Enjoy!
❤ Ellen
Sesame Crusted Tofu Sandwich
Recipe from my crazy brain. Sauce based on this recipe
For the tofu (or chicken, calm down):
- 1 tablespoon olive oil
- about 6 shakes of toasted sesame oil
- 1/4 teaspoon salt
- 1/2 teaspoon garlic powder
- 1/4 cup sesame seeds
- 1 block of extra firm tofu
- Preheat the oven to 450 degrees F
- Mix the oils, salt and garlic powder in a dish
- Place the sesame seeds in a separate dish
- Slice your tofu into slabs of your desired thickness and shape
- Completely coat each piece of tofu with a thin layer of oil (I like to brush so it’s even and doesn’t get too greasy but dipping and drizzling work just fine)
- Dip each piece of oiled tofu into the sesame seeds until they are completely coated on all sides
- Place the coated tofu on a parchment lined baking sheet so that they are not touching each other
- Bake for 20 minutes, flip each piece over and bake for another 10 minutes
- Remove from the oven and let cool
For the dressing/sauce/whatever:
- 1 tablespoon brown sugar
- 1 tablespoon grated fresh ginger
- 1 tablespoon sesame oil
- 1 tablespoon soy sauce
- 1 (or 2, to taste) tablespoons rice vinegar
- 1/4 teaspoon fish sauce
Makes about 1/4 cup sauce
- Place all ingredients in a container and whisk until well combined.
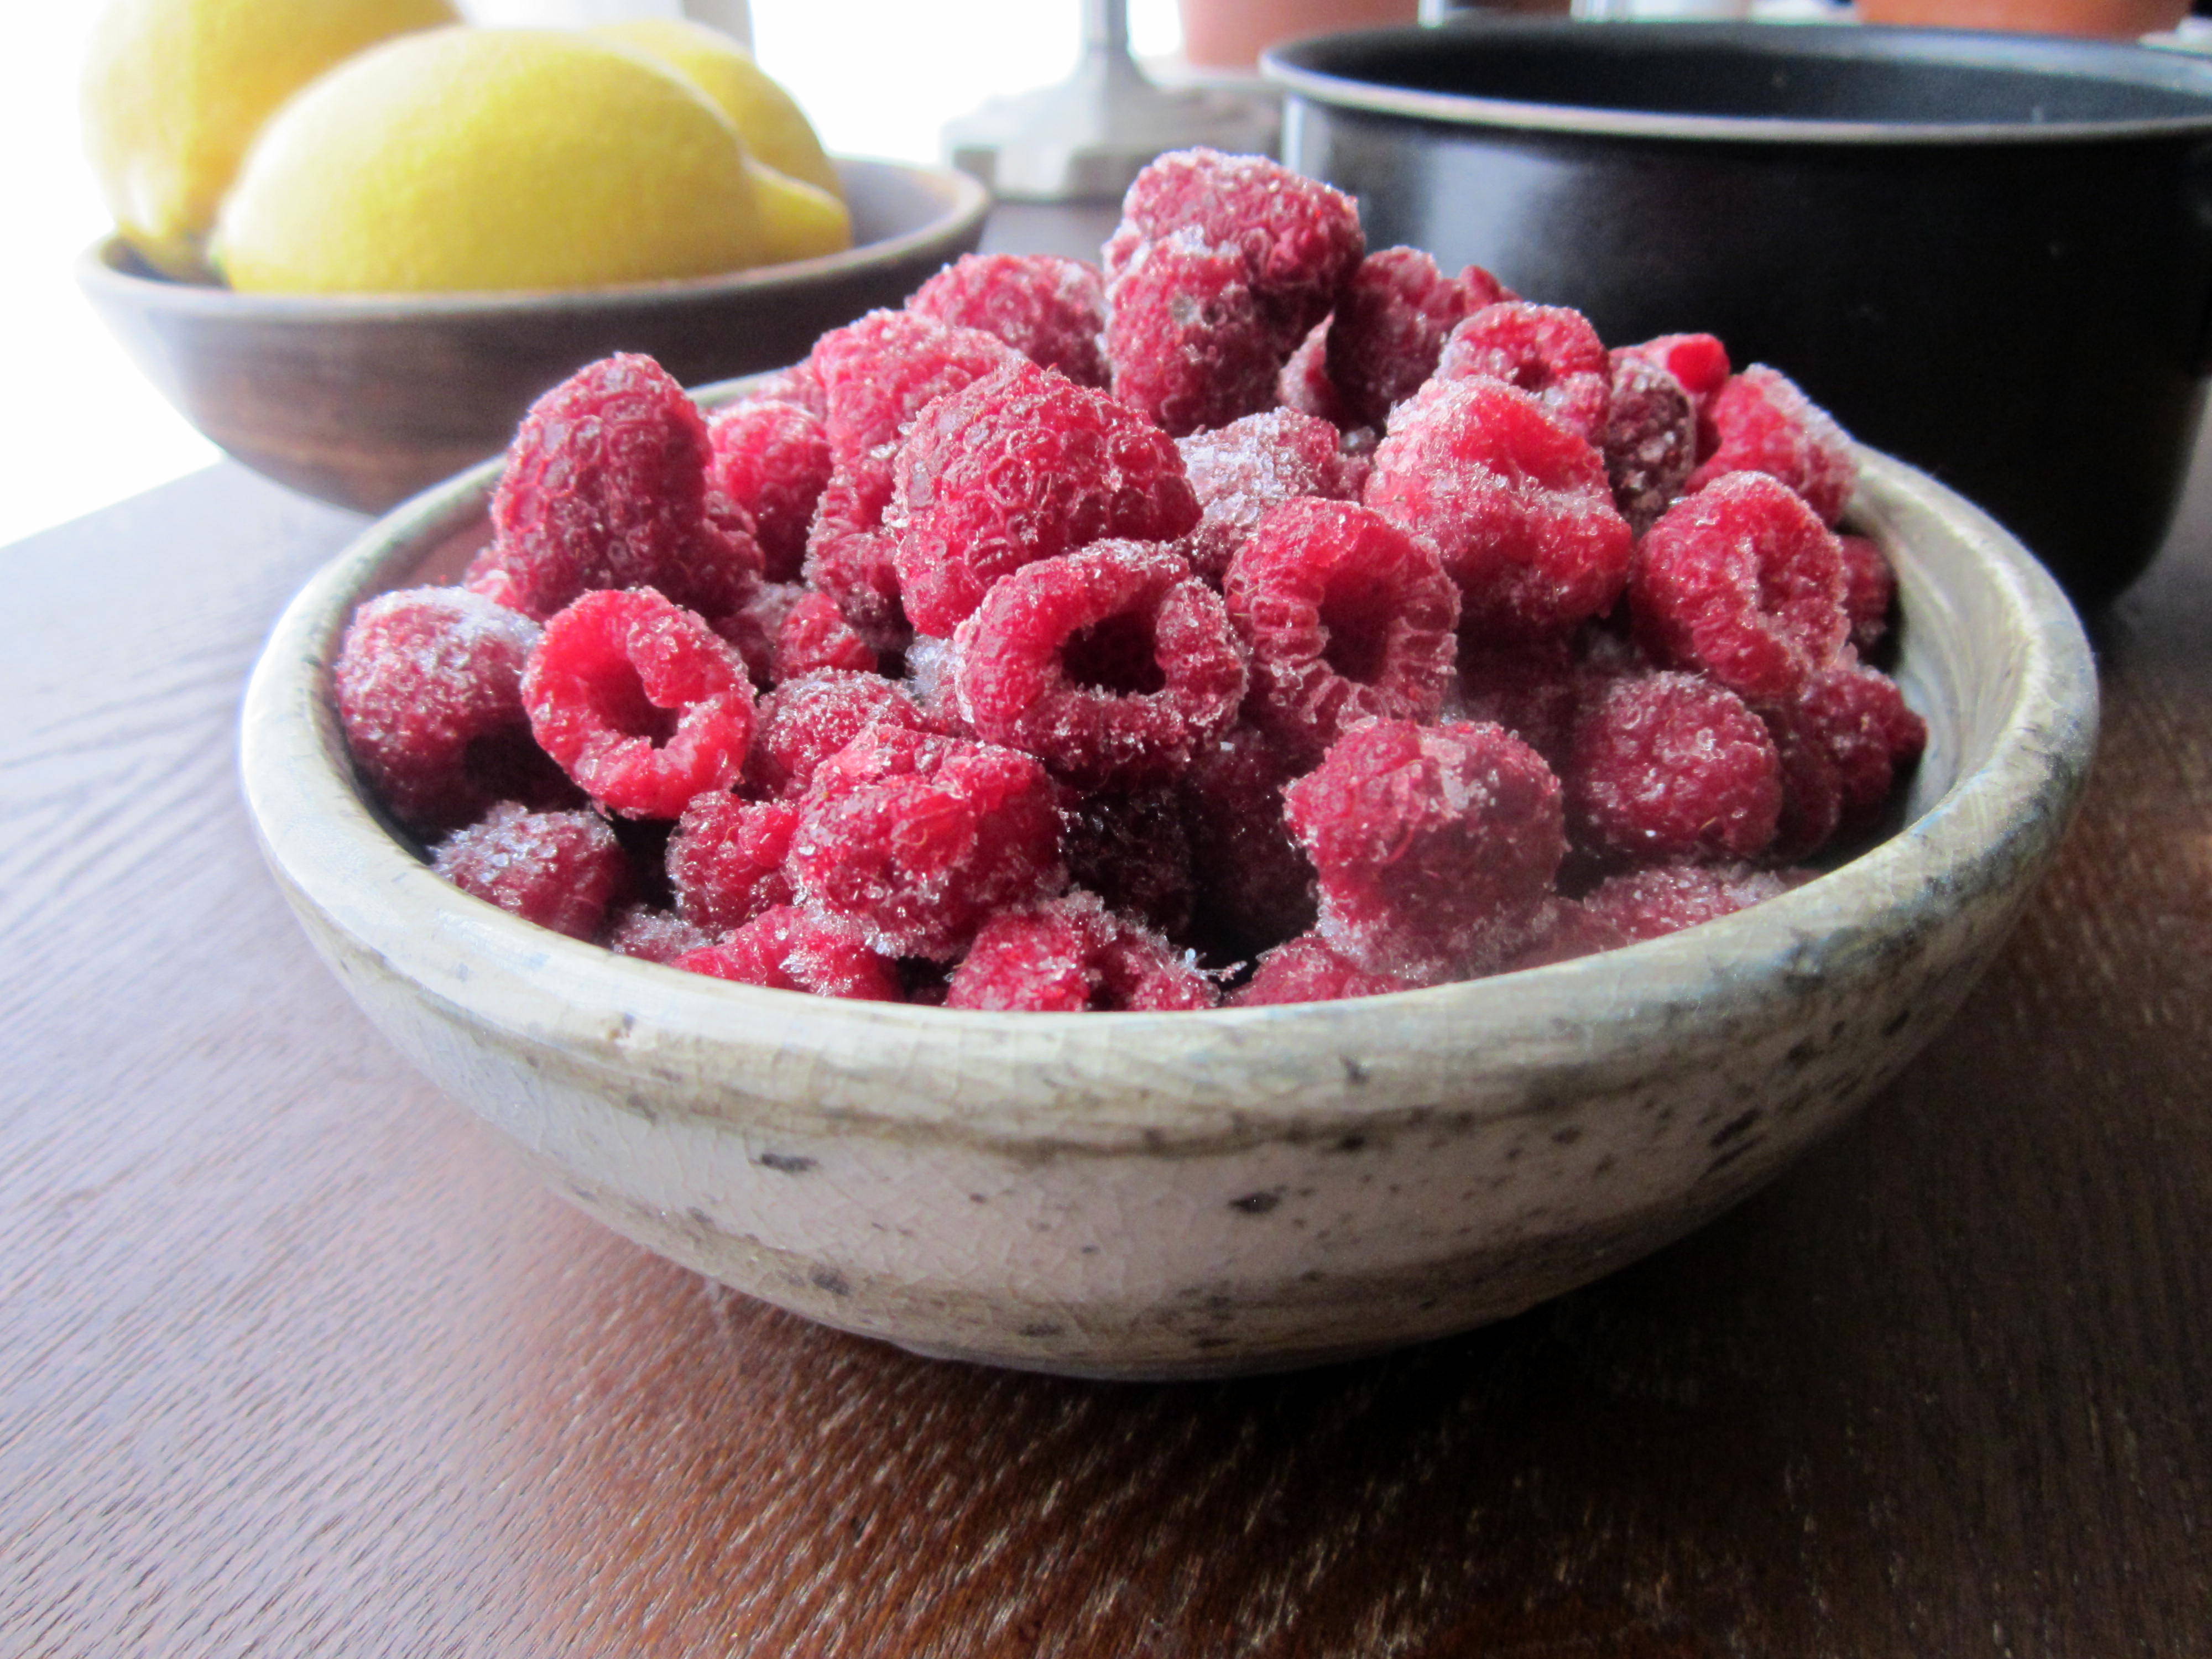
For the Slaw
About 2 cups shredded cabbage2 small carrots, shredded into strips with a vegetable peeler
- Place the cabbage and carrots in a large bowl
- Pour about 2 tablespoons of sauce over the vegetables and toss to coat (adjust the amount of sauce to taste!)
For One Sandwich
- Two slices of bread
- 1 tablespoon peanut satay sauce (or to taste!)
- a handful of slaw from recipe above
- Sriracha
- 2 triangles of sesame crusted tofu
- fresh basil
- extra sauce to drizzle if you want! (I think it’s fine without…depends on how saucy you’re feeling =) )
- Pile it all on top of each other
- Shove it in your face
- (See picture instructions above)