Yesterday

Today

Erm…happy spring?
Let it snow (or not). I’m eatin’ good.

That sweet potato is overflowing because it just can’t contain the FLAVOR!
Flavor blasted, Indian inspired, sweet and spicy, creamy and crunchy, oh and HEALTHY!? I’ll take two.

This blog post brought to you by: roasting.
I can’t stop, won’t stop roasting allll of the things.
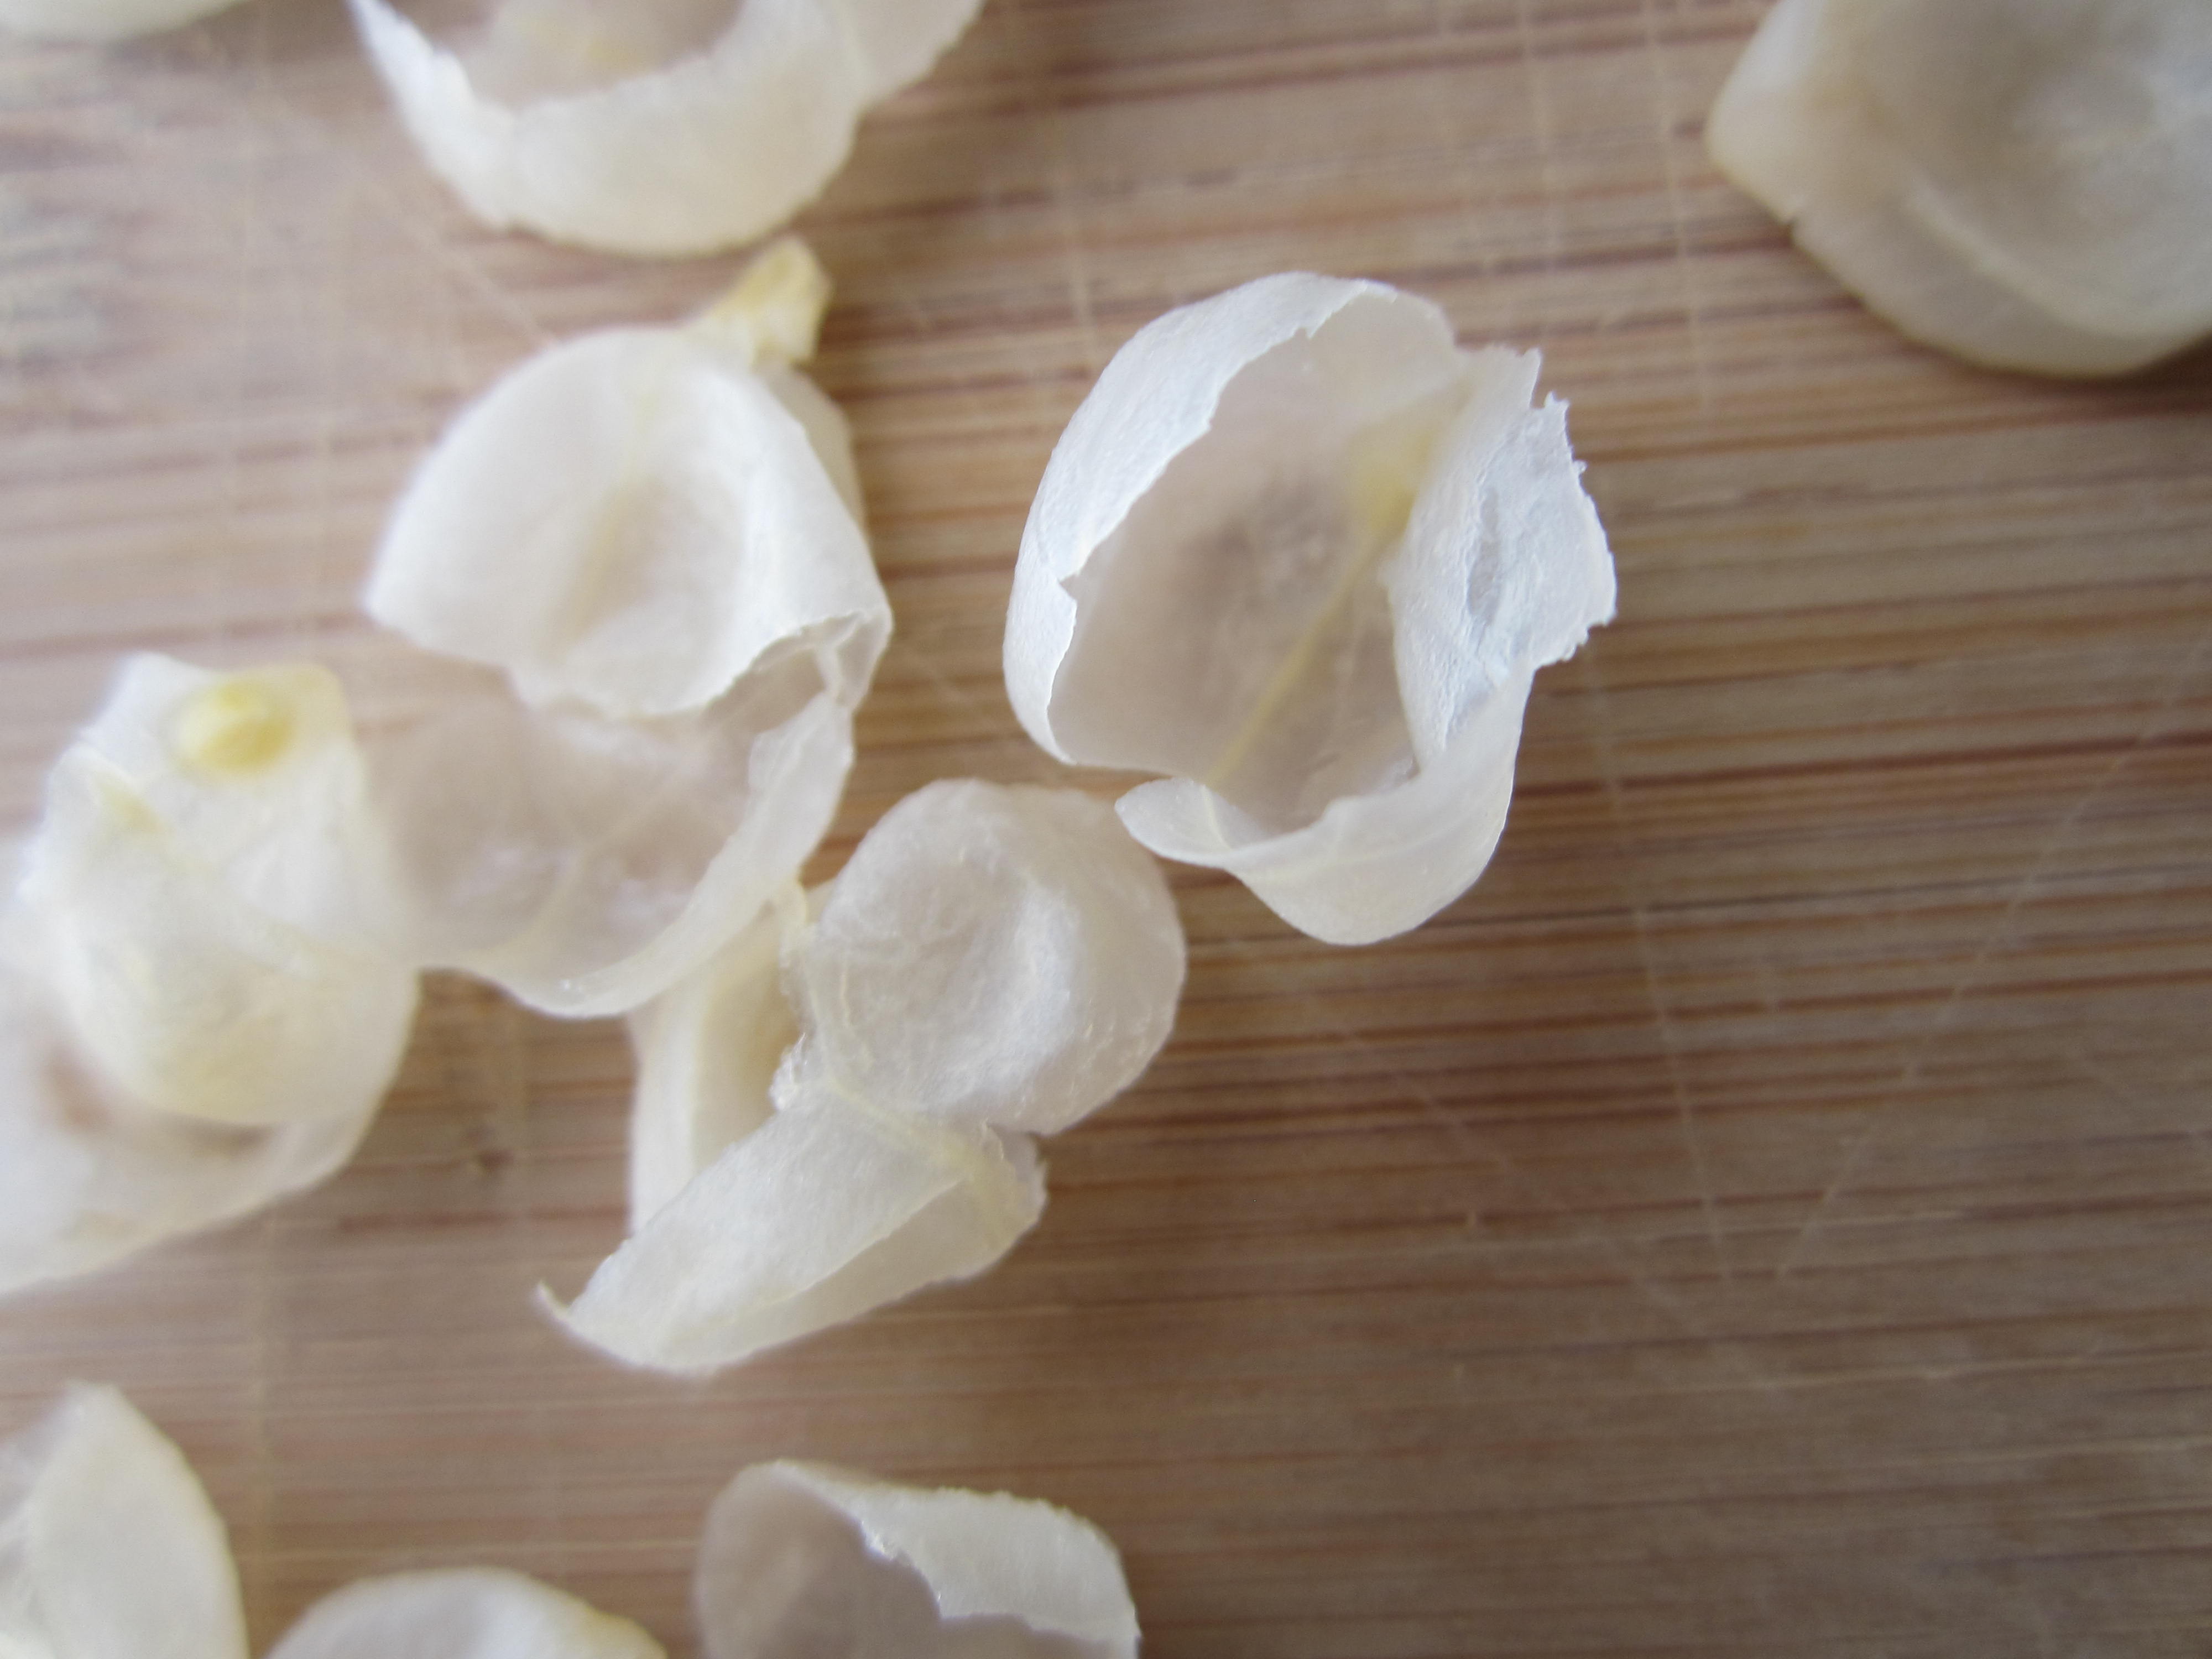
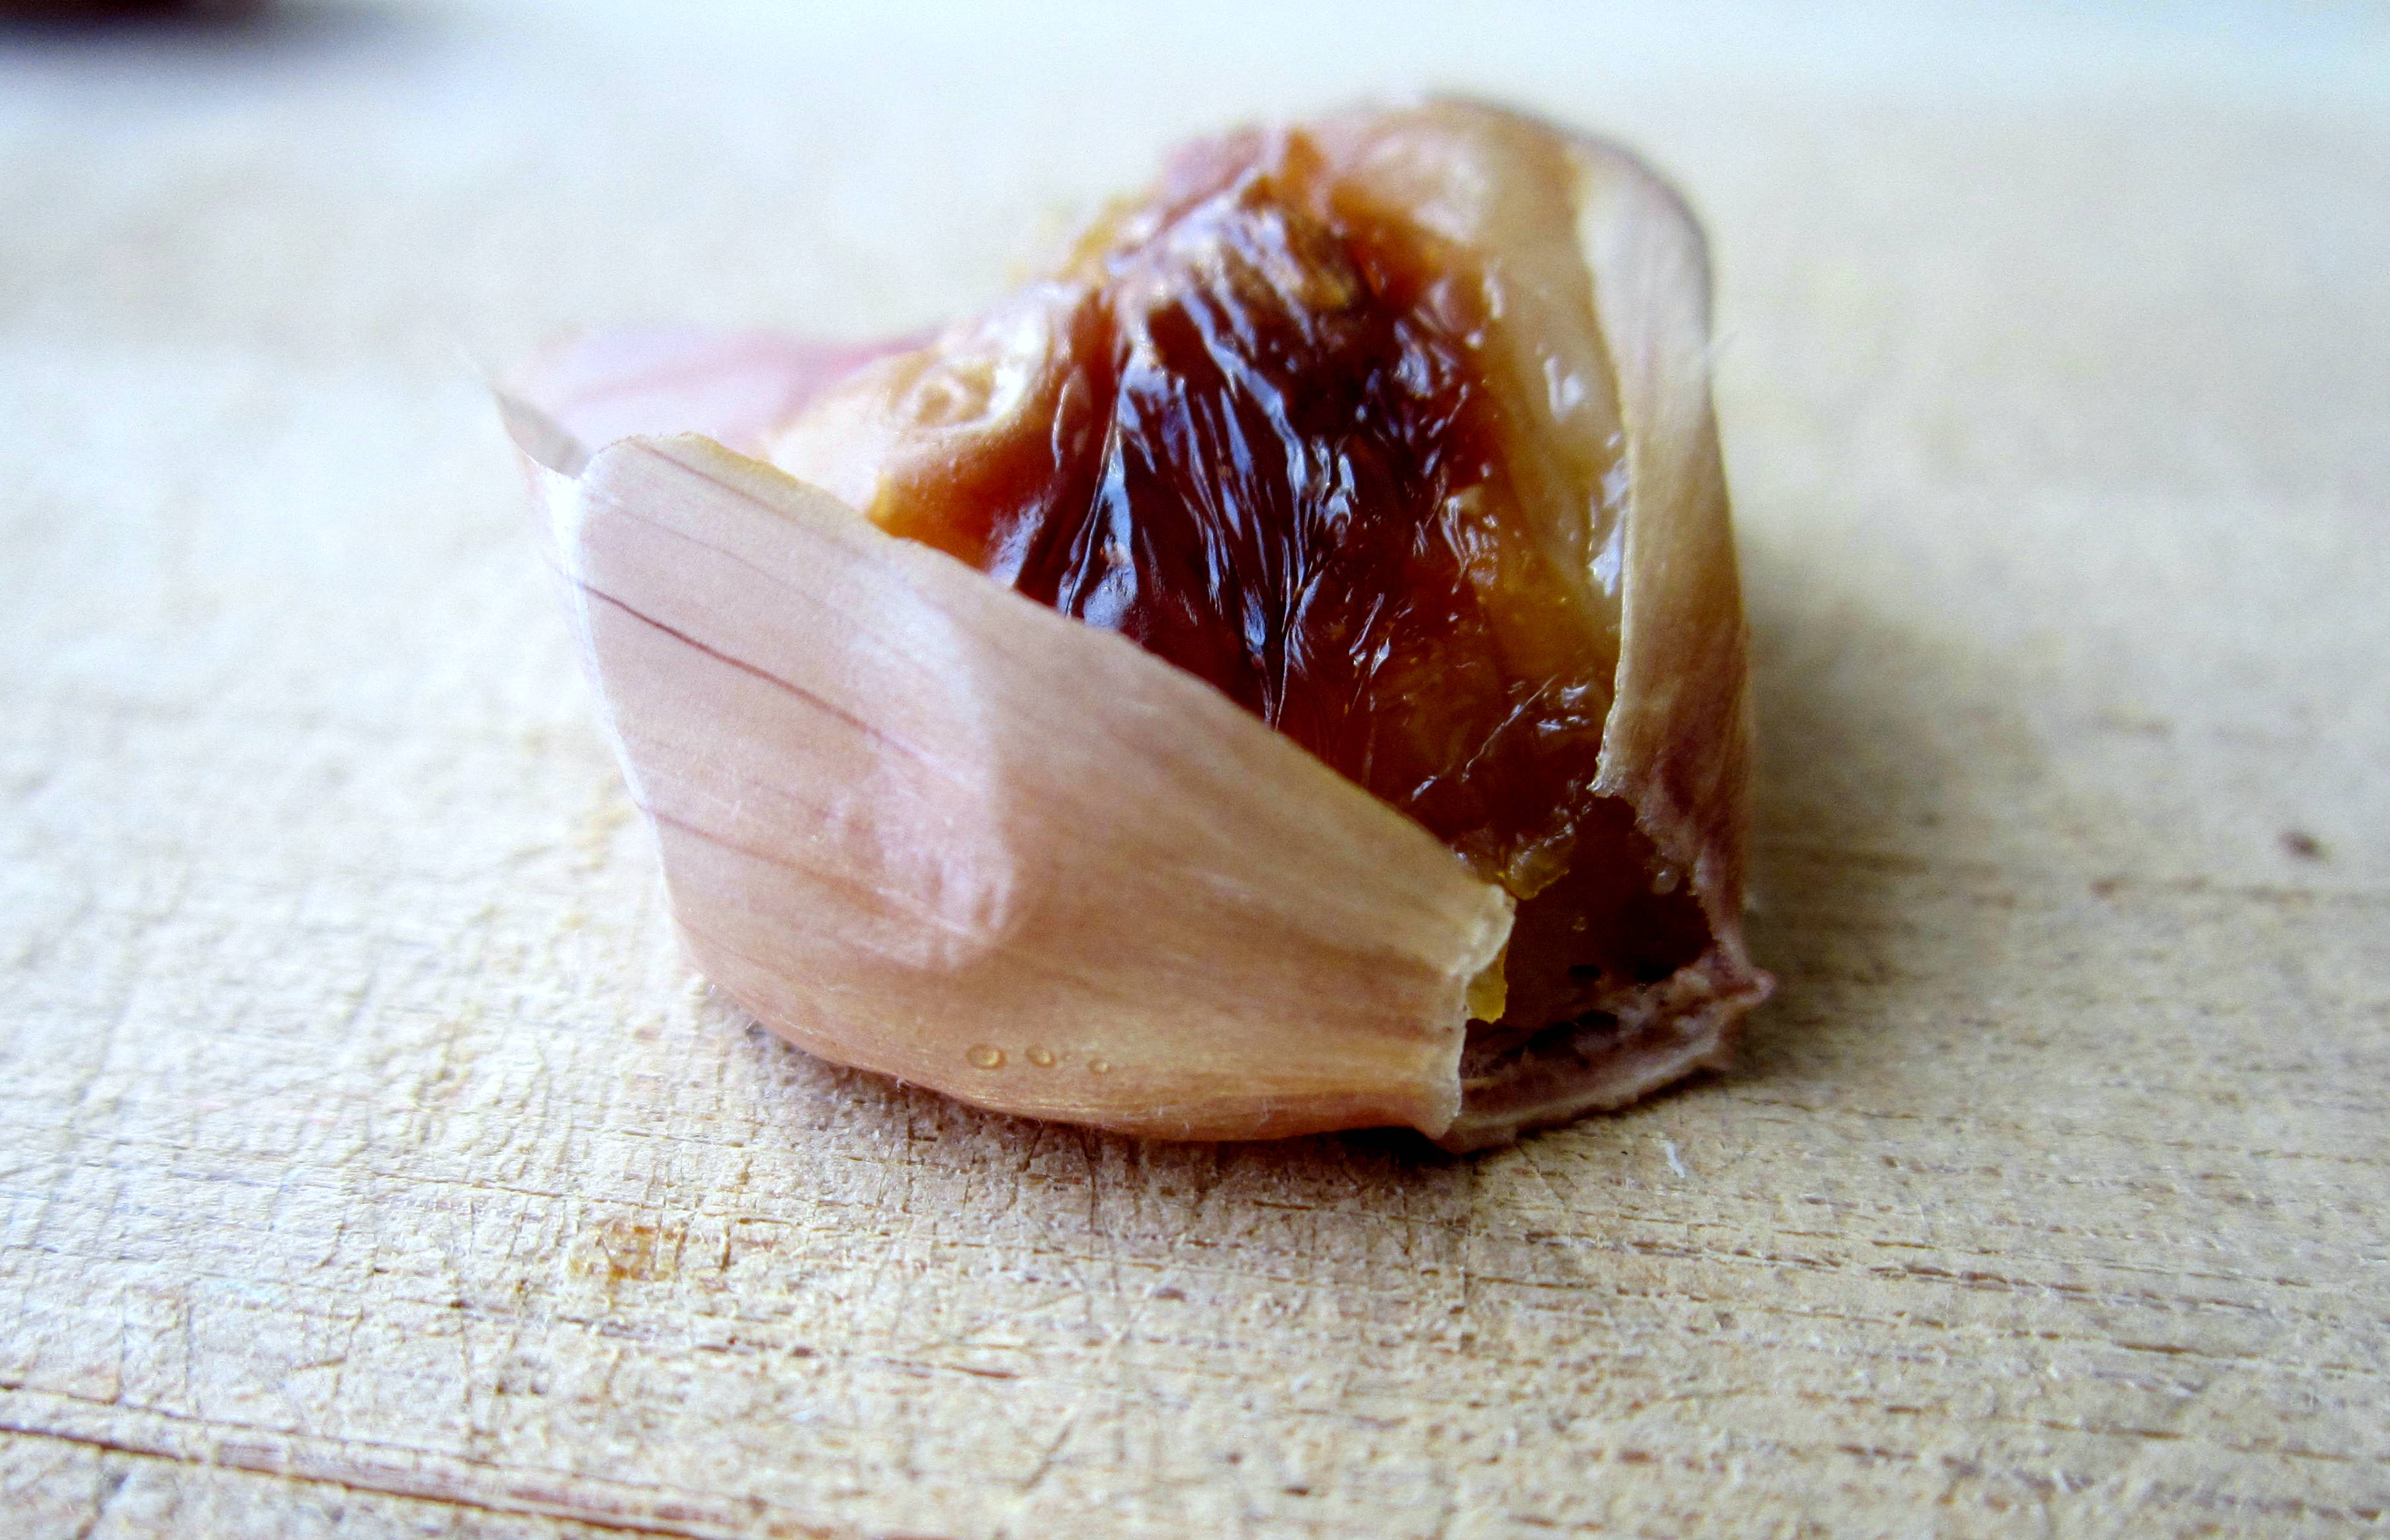
Garlic?
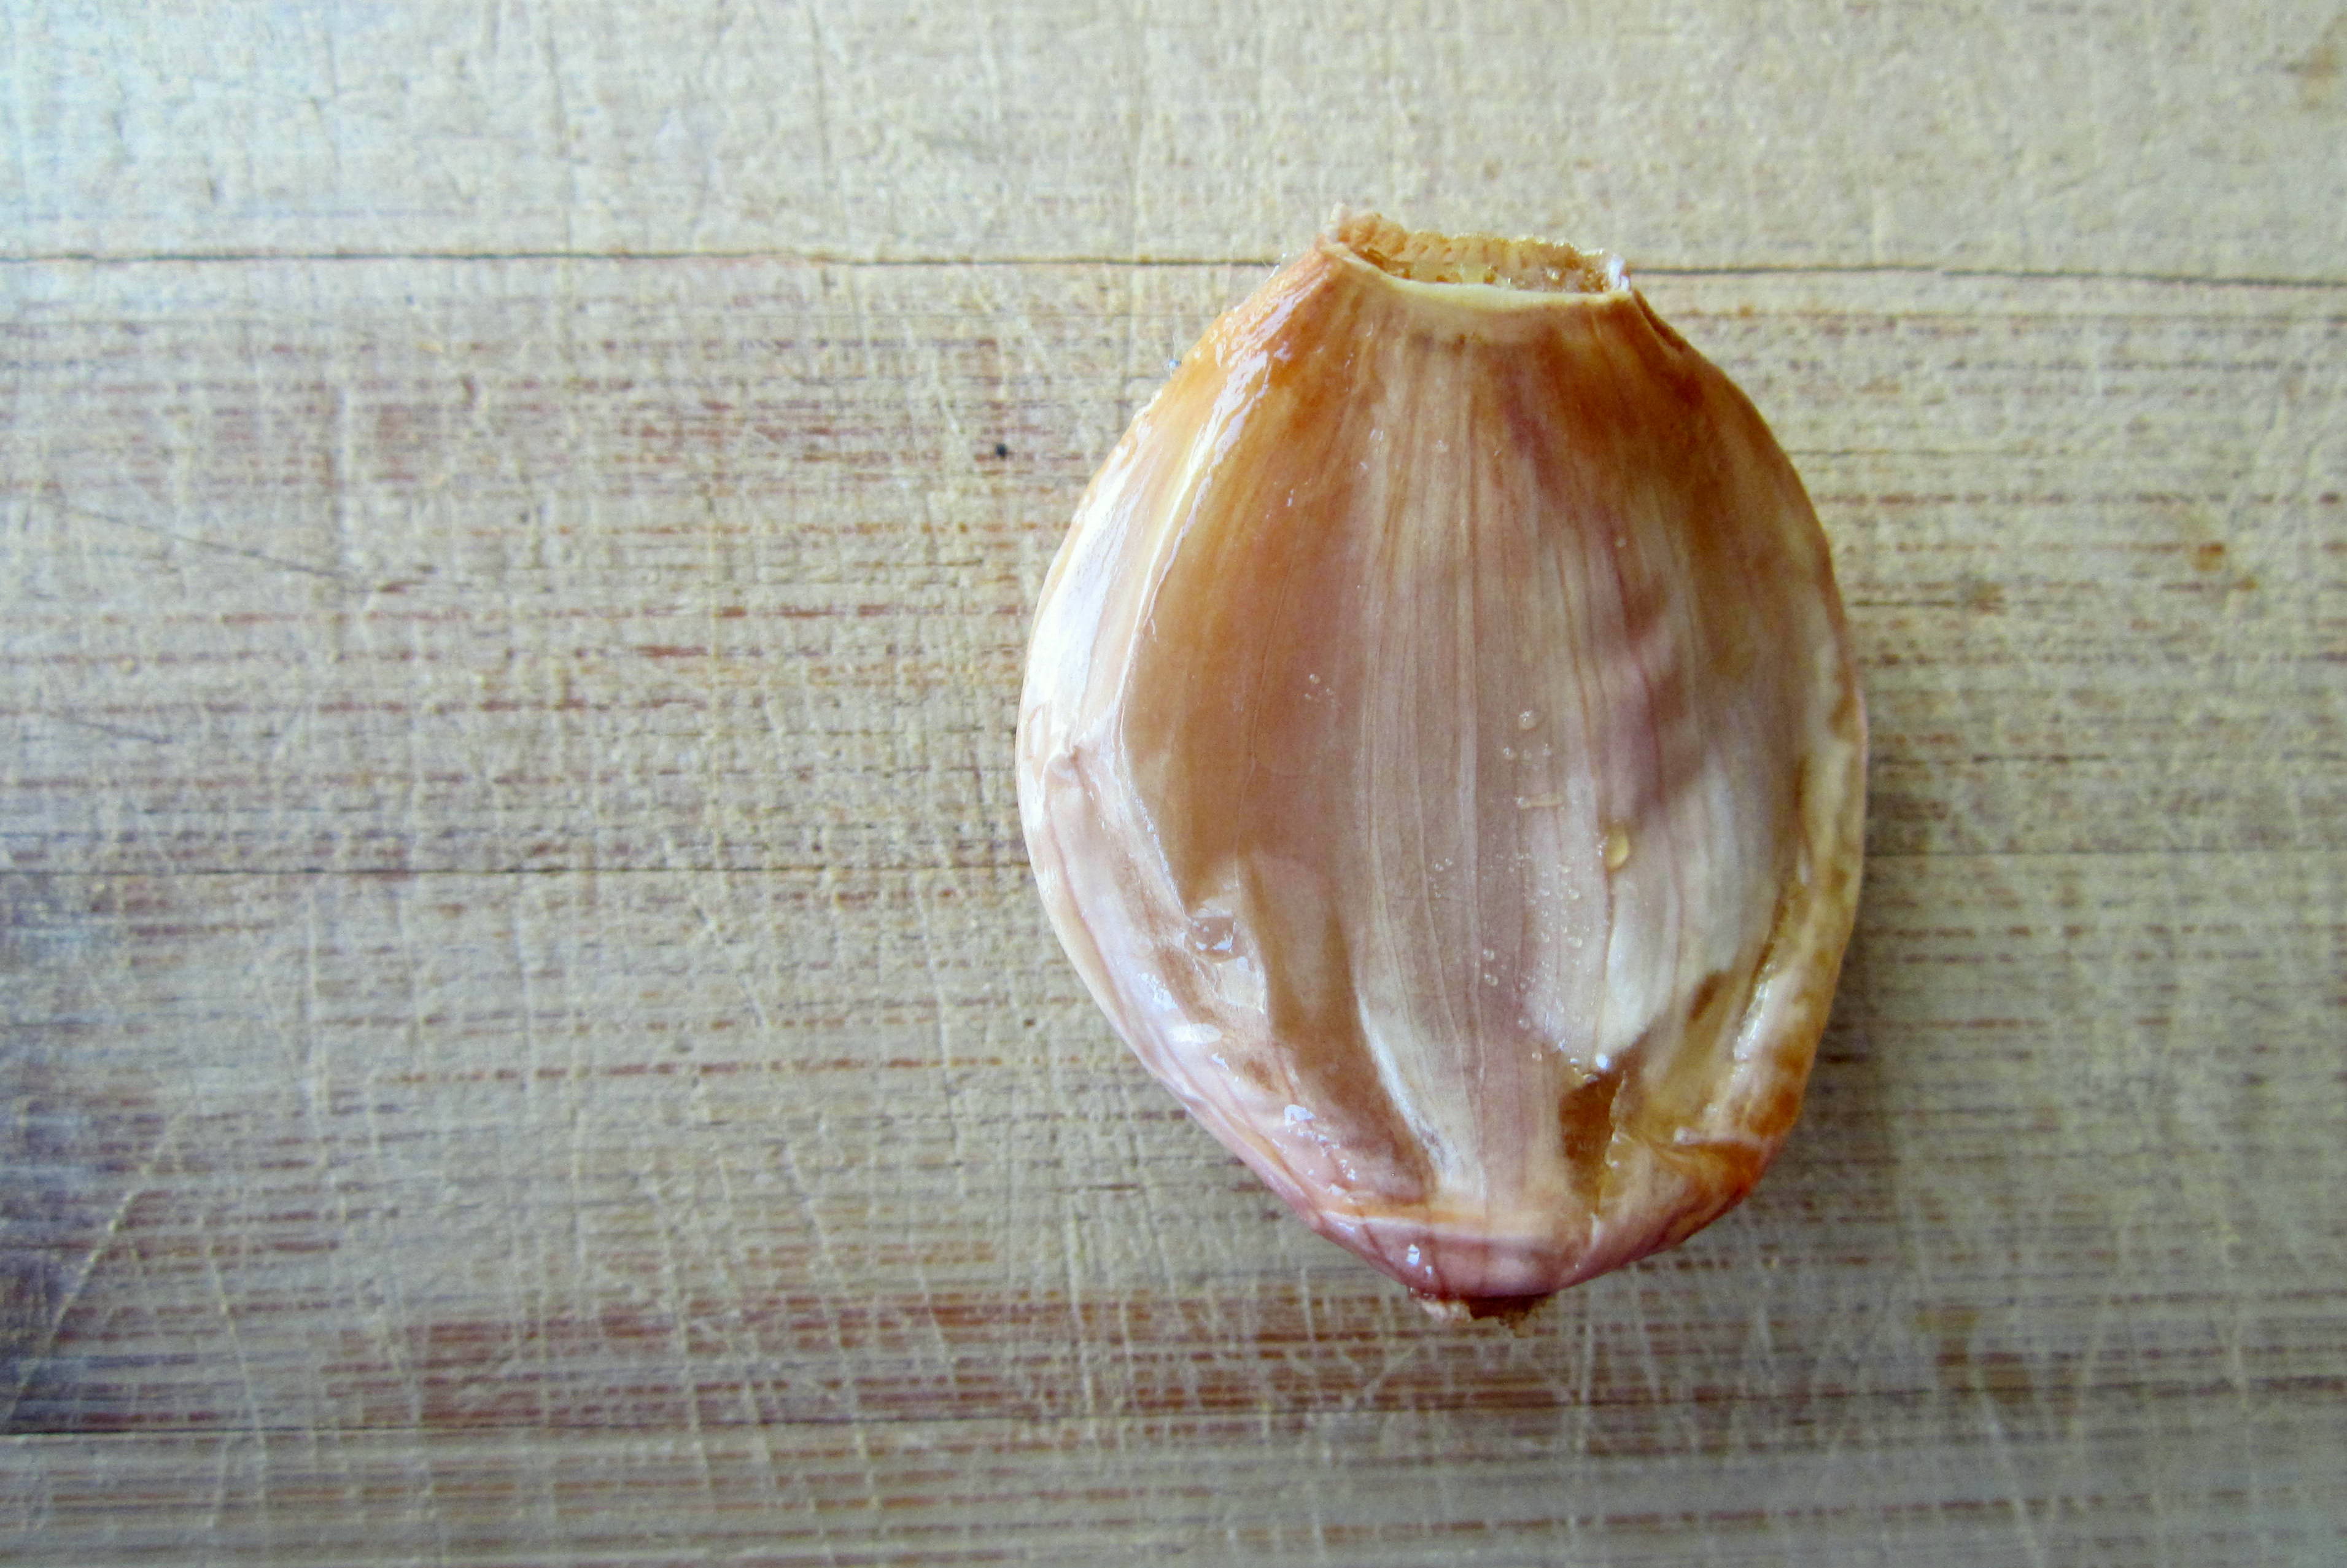
Bam. Roasted.
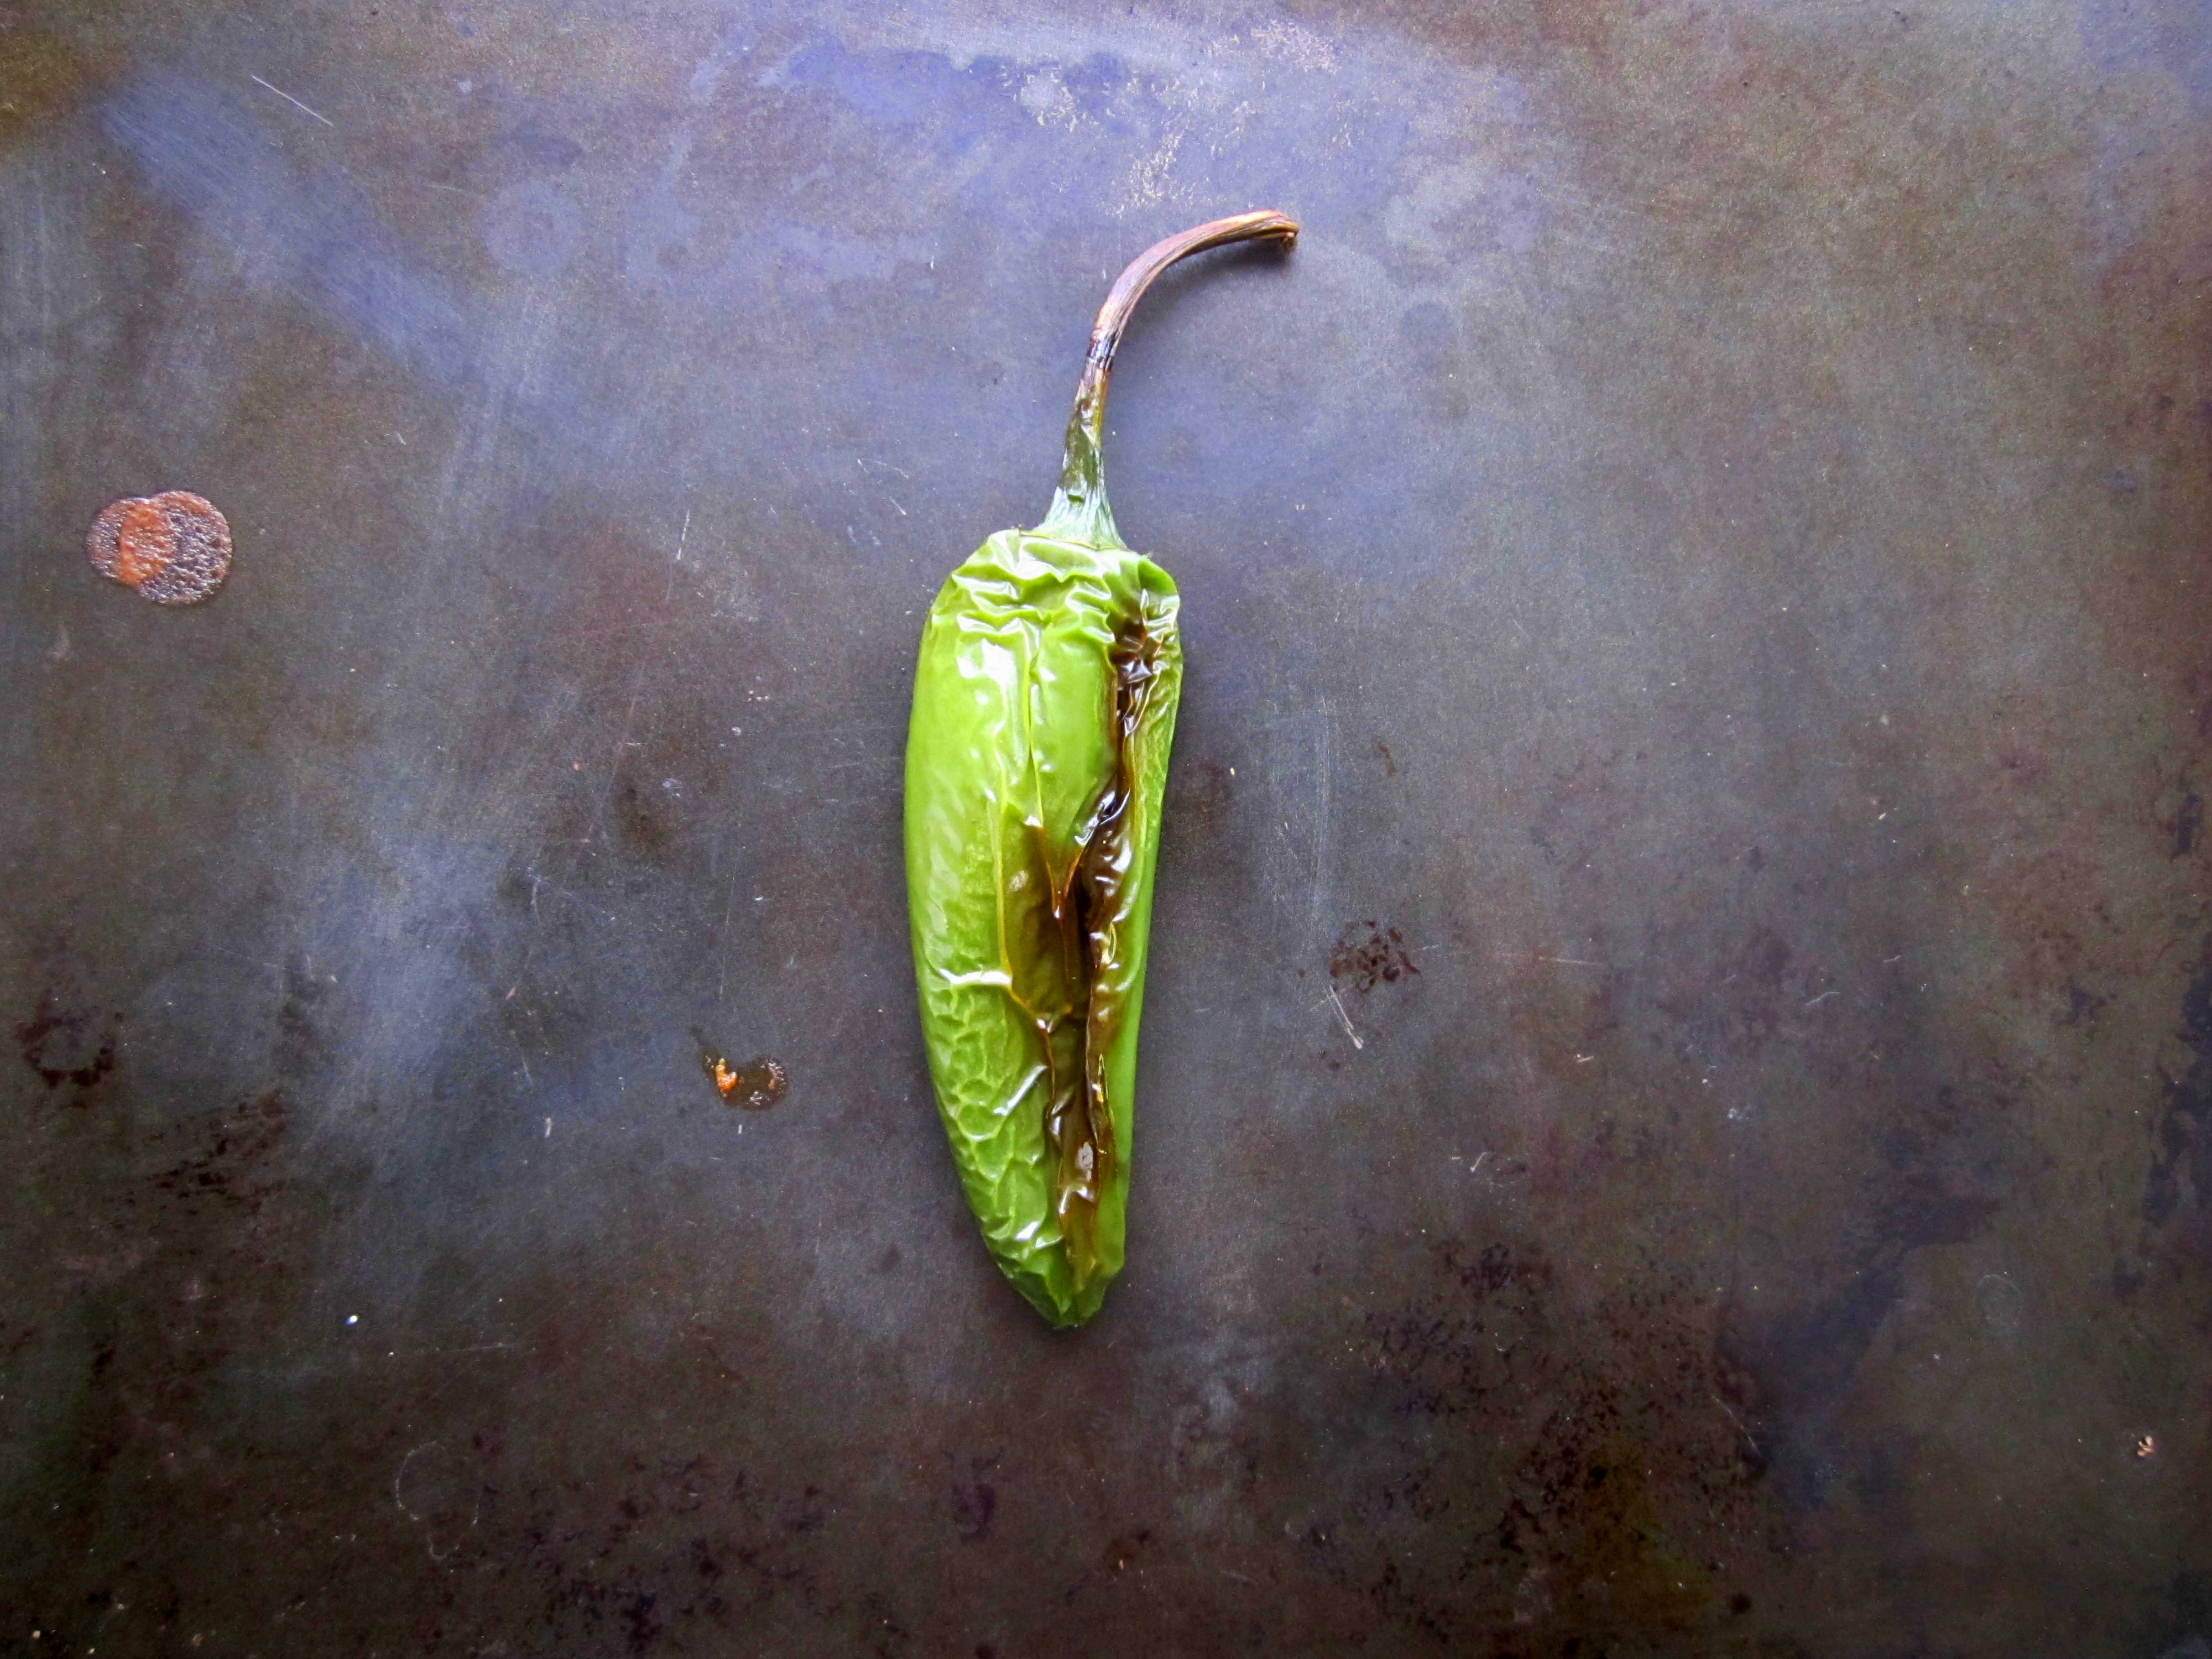
Jalapeno?
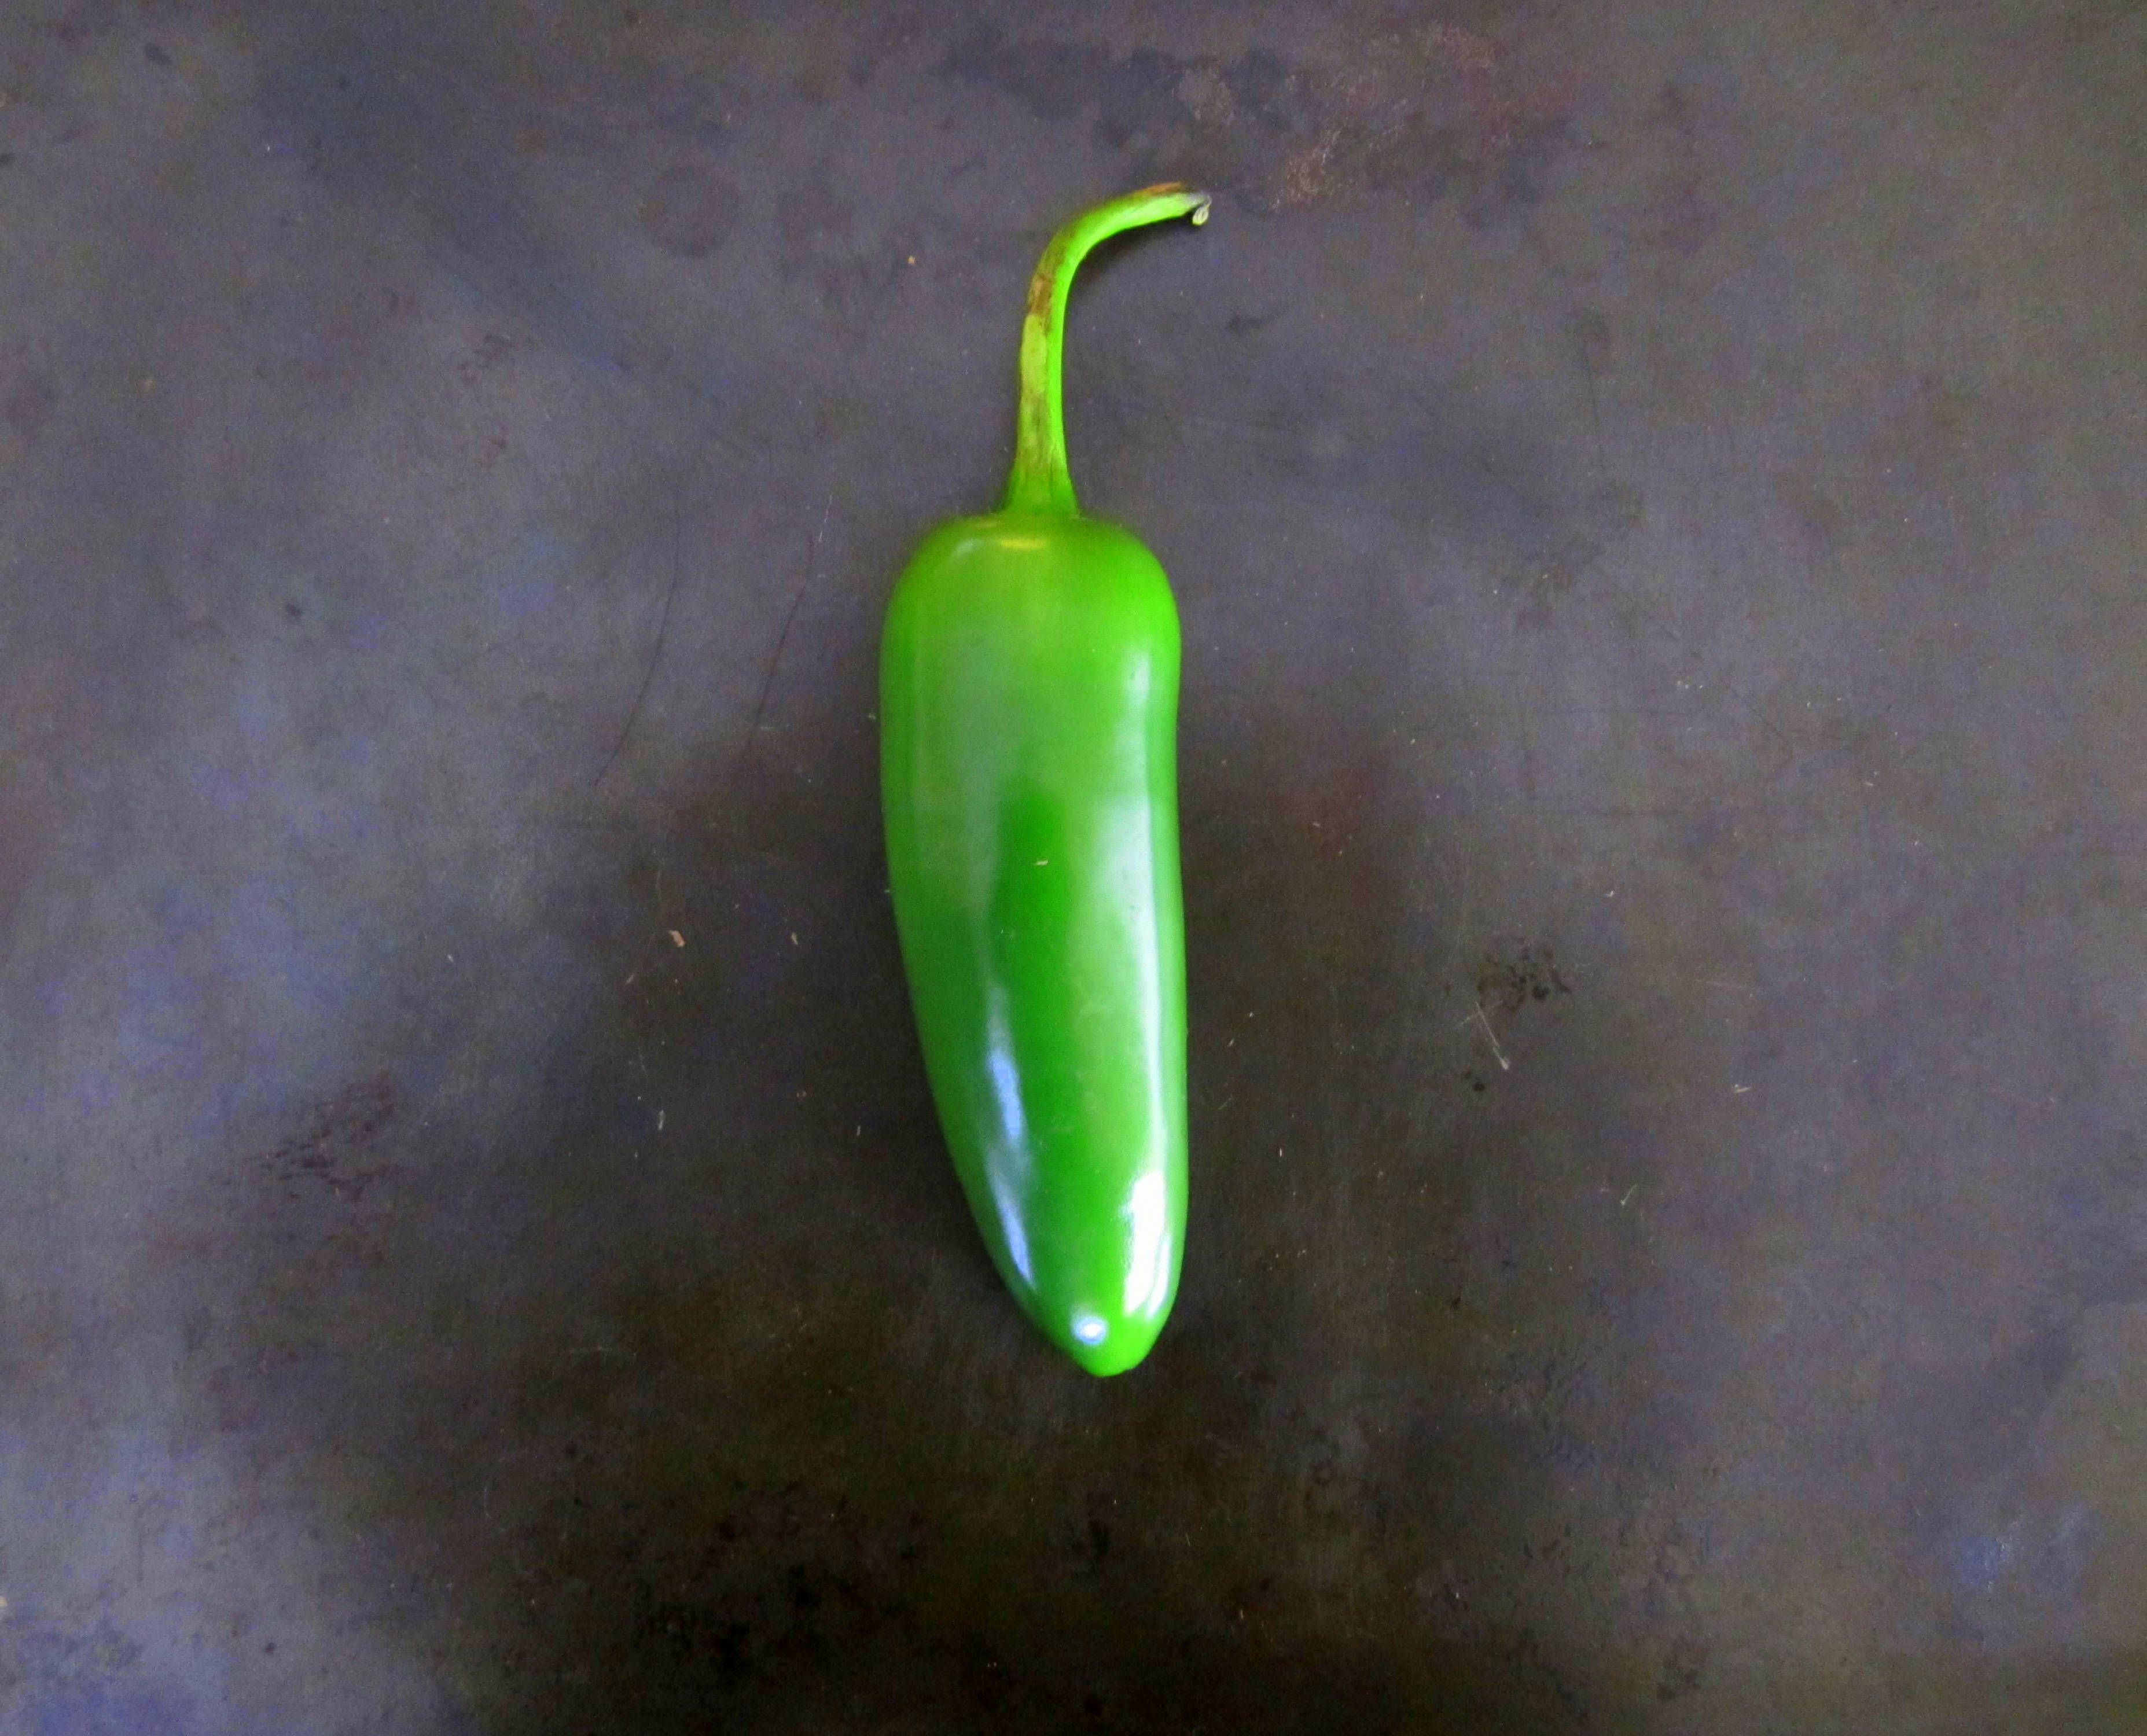
Roast city.
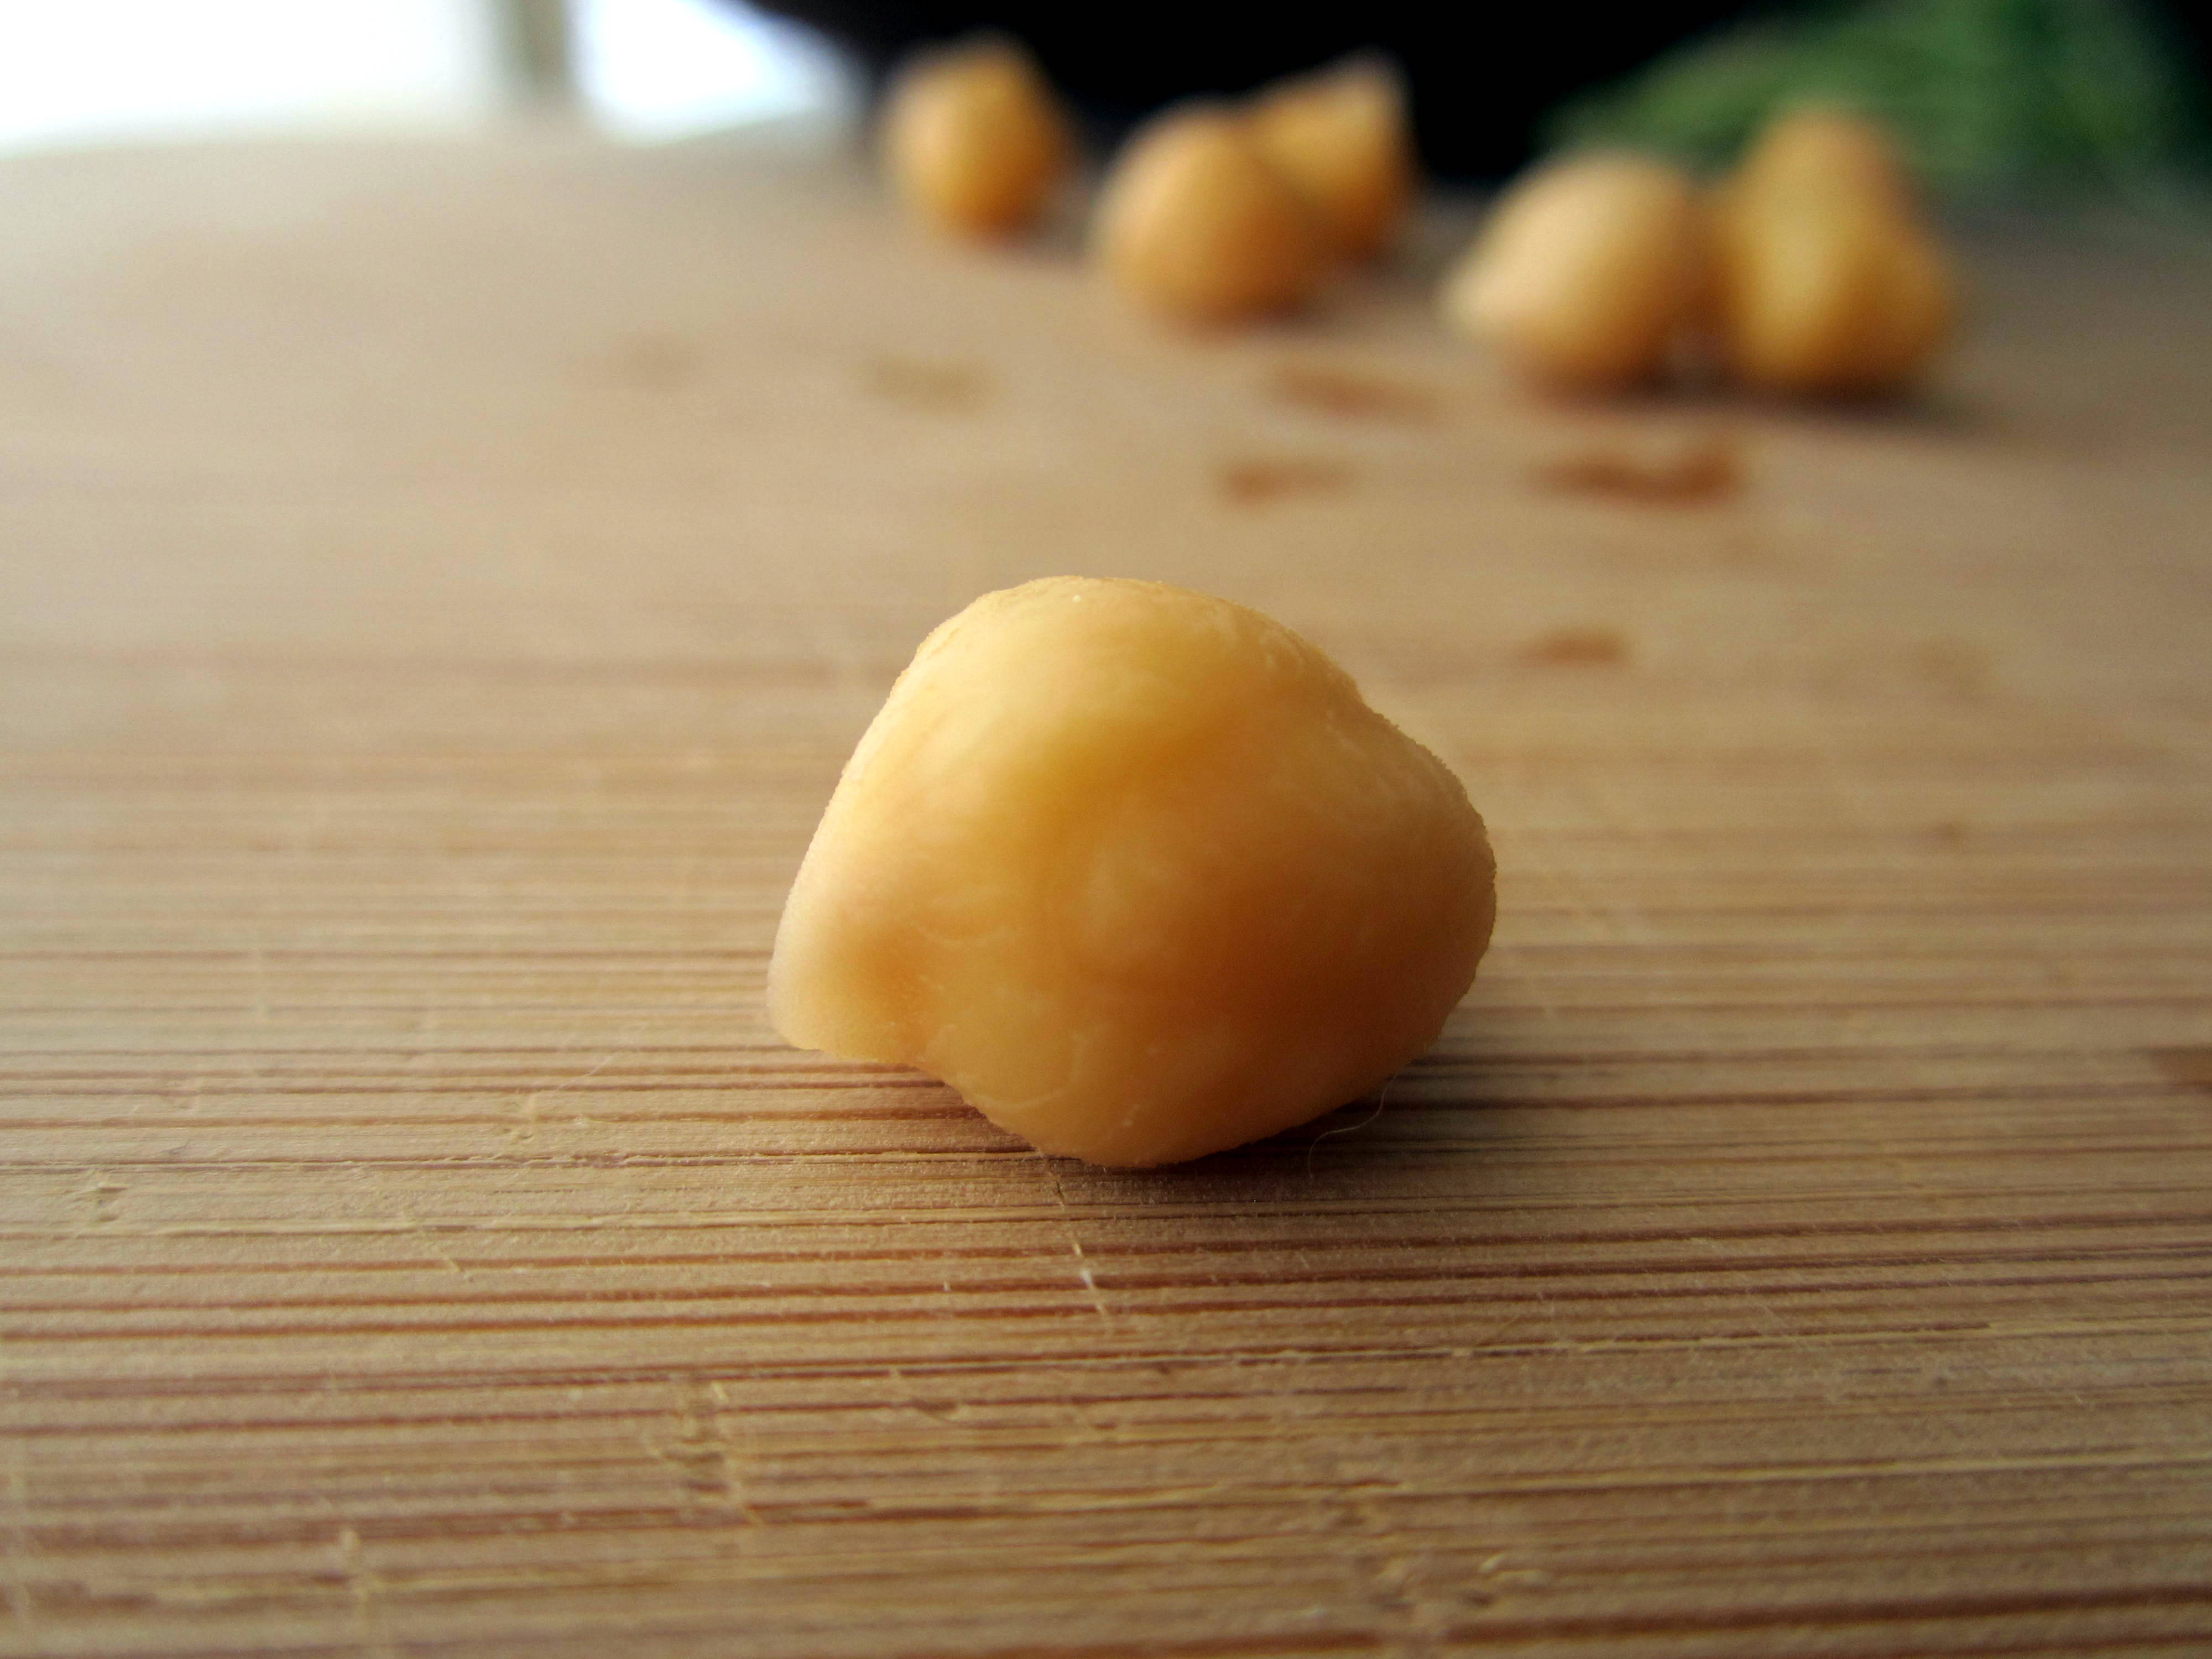
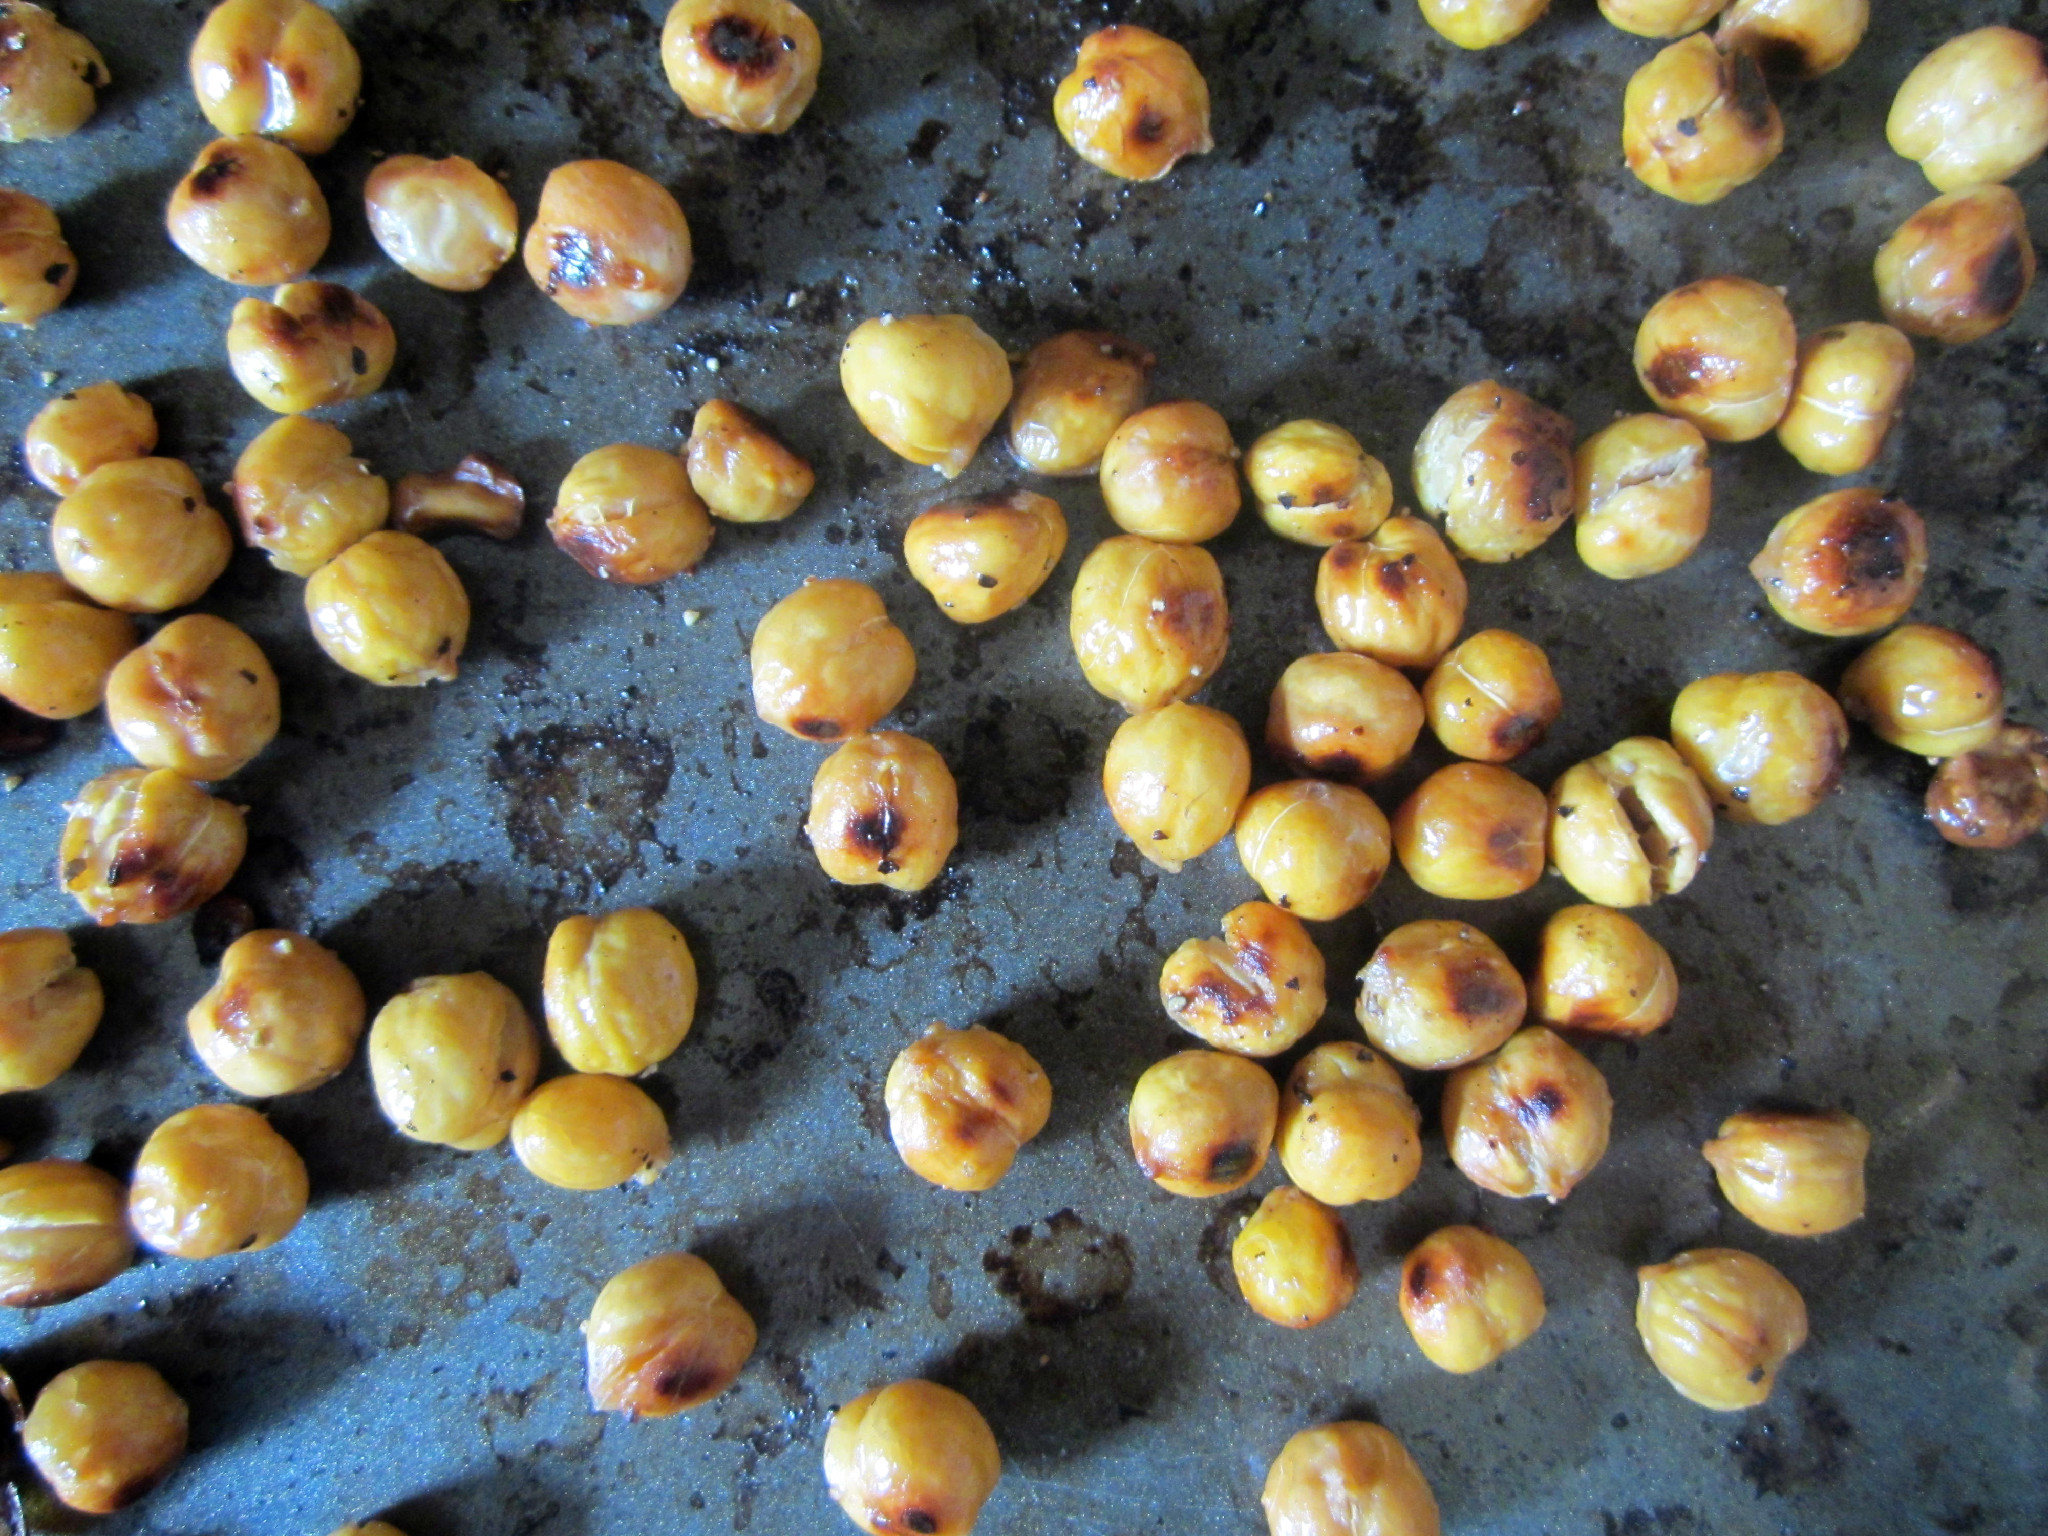
Chickpeas?
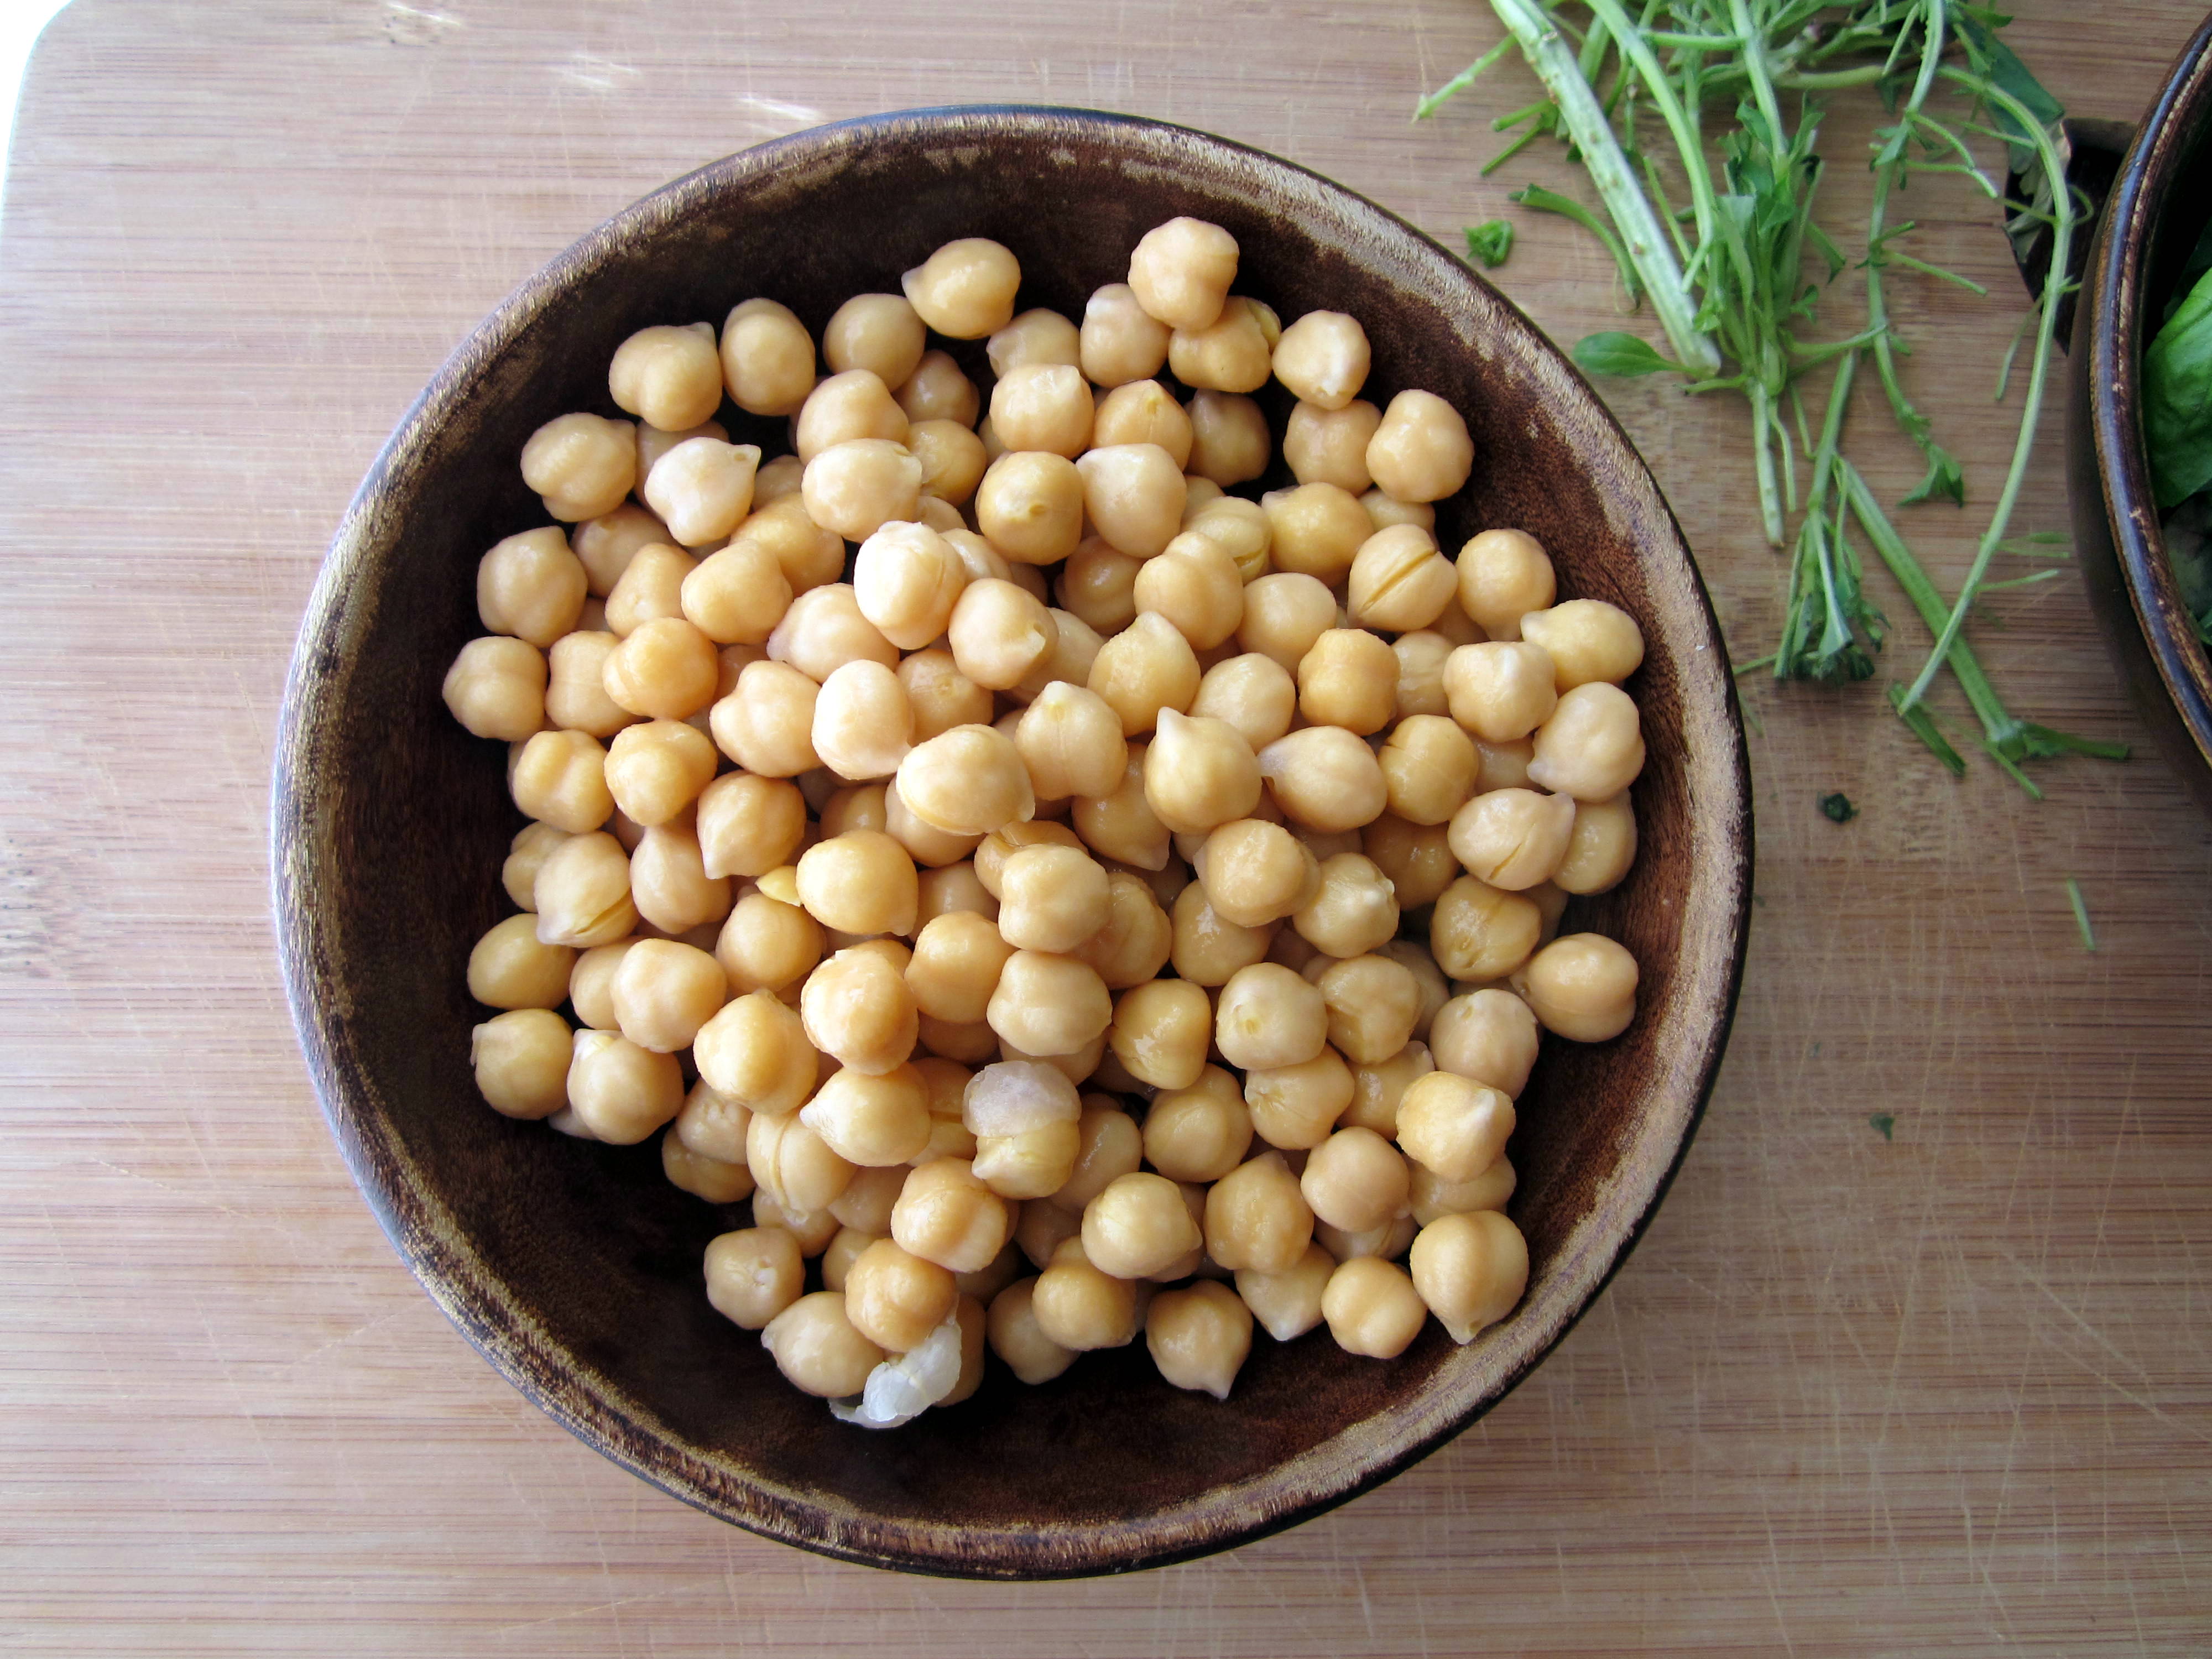
Roastalicious.
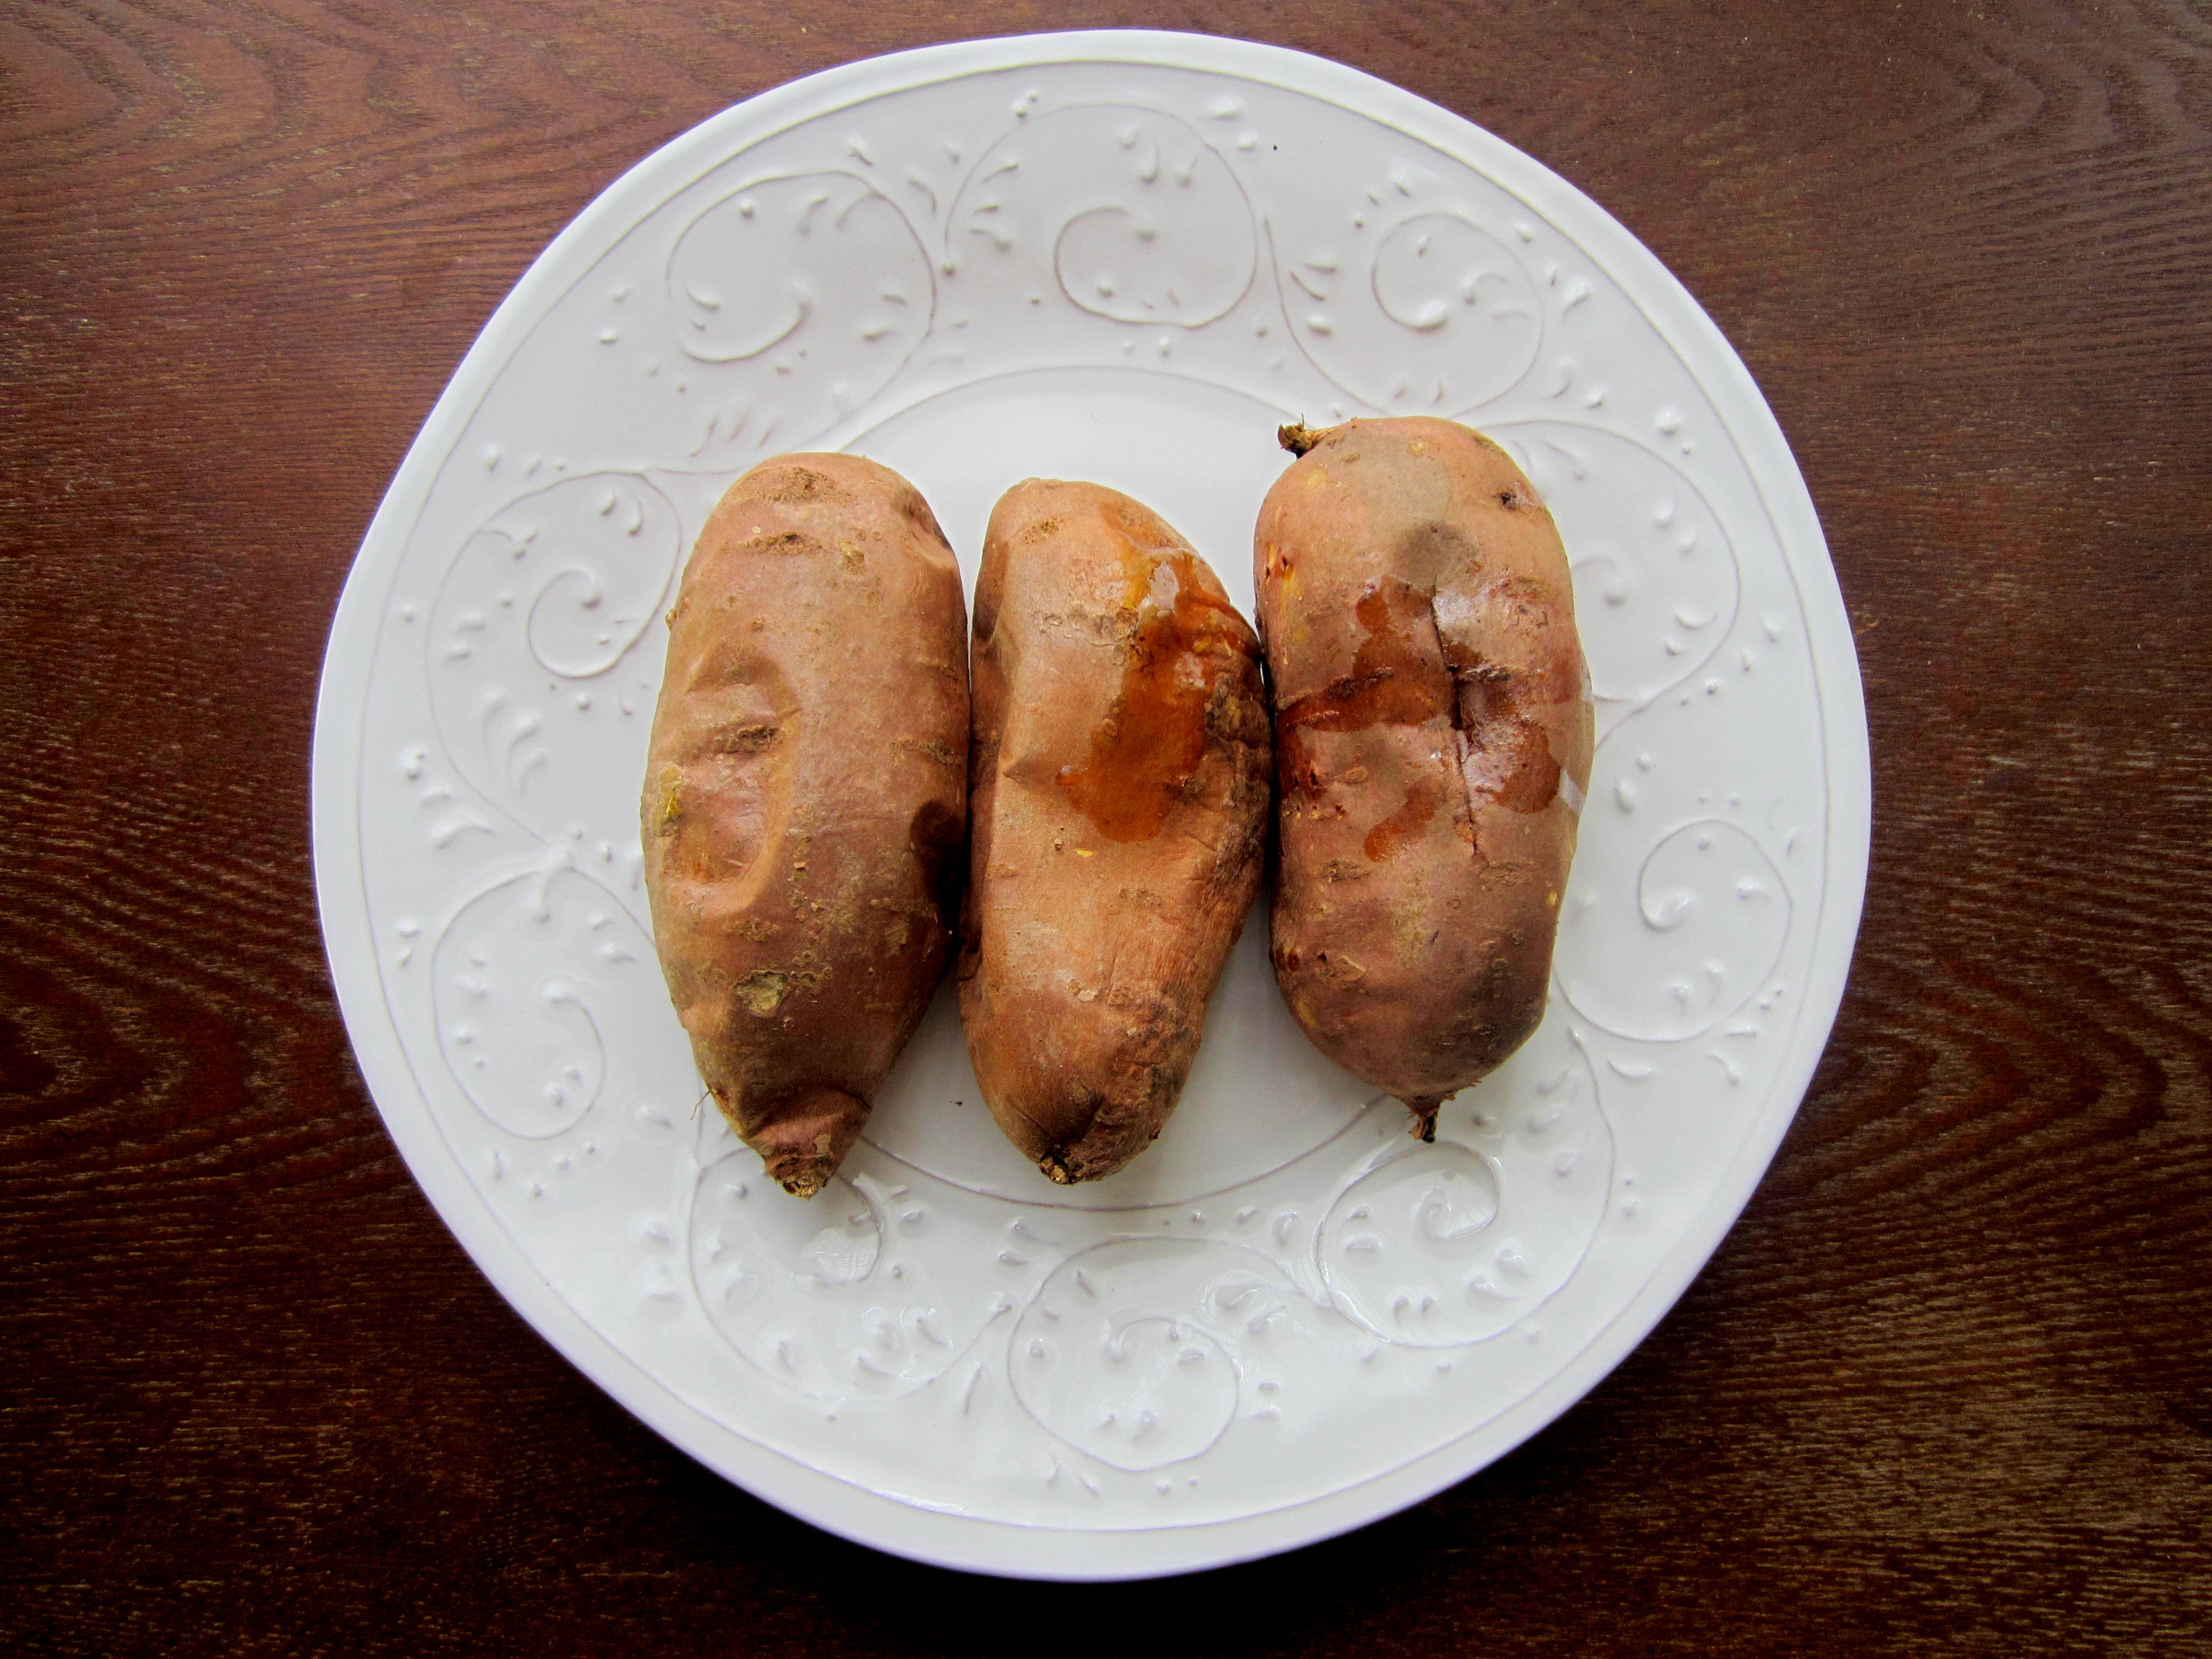
Sweet potato?

Obviously roasted.
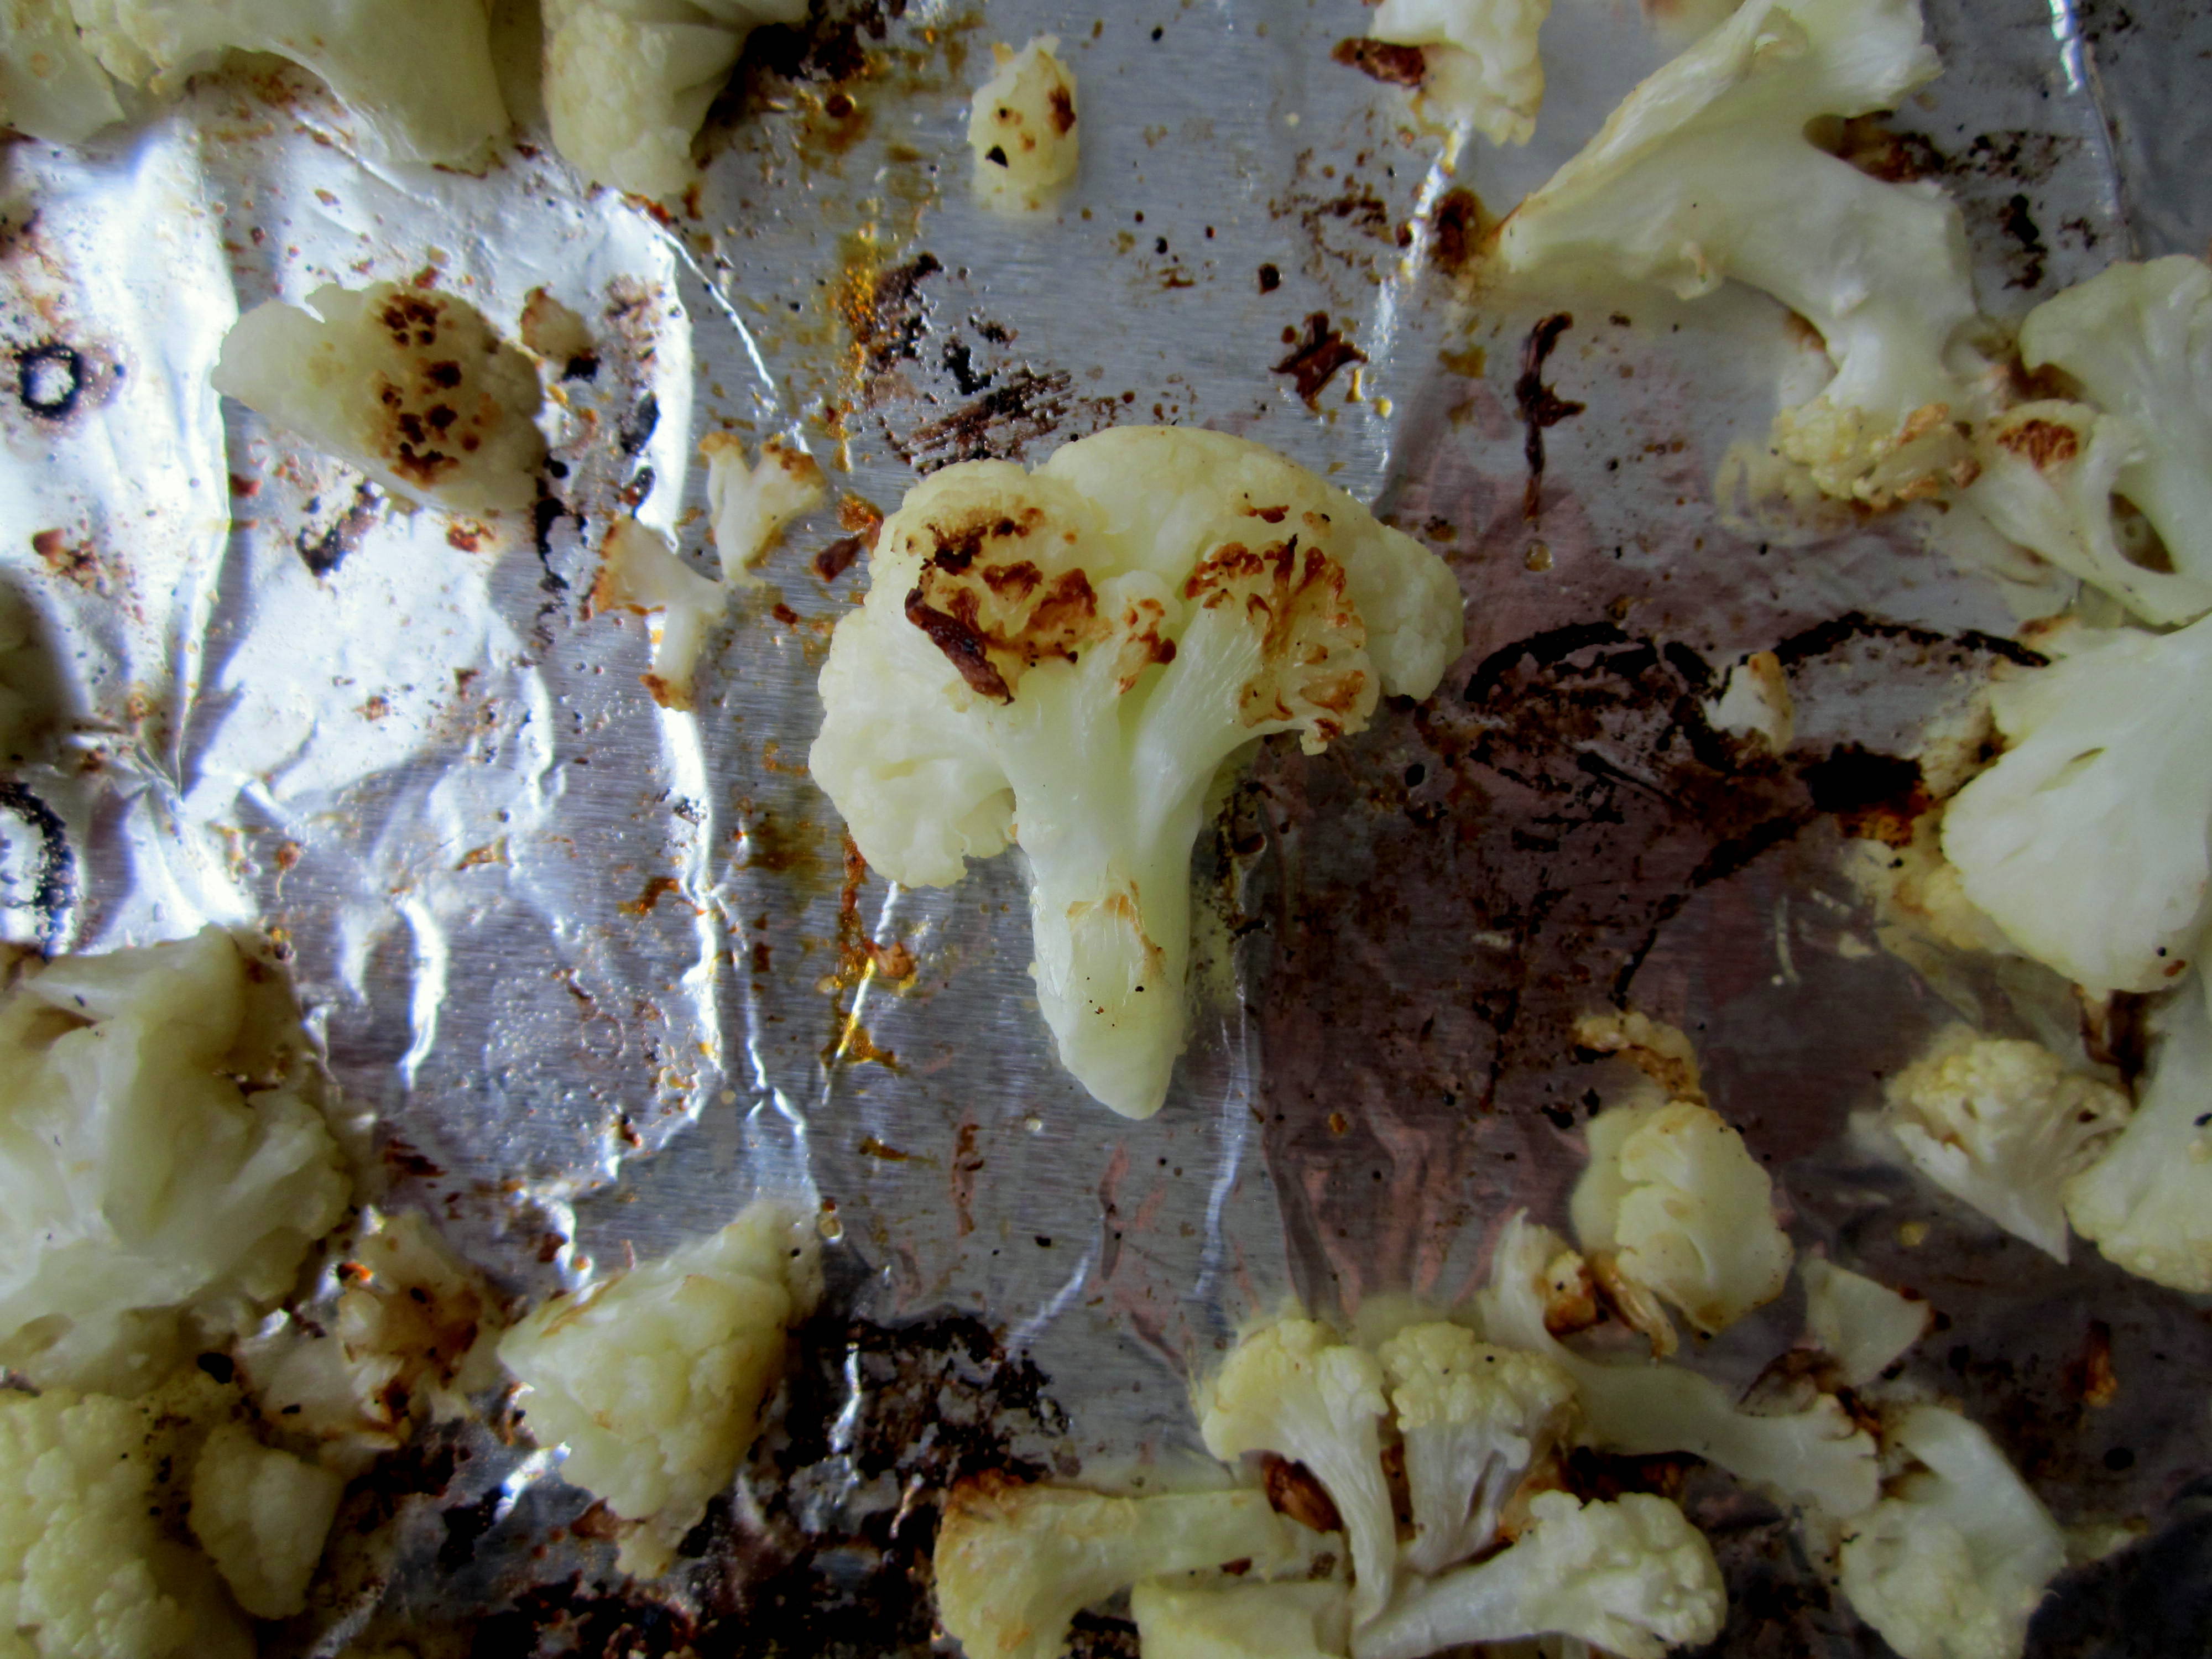
Cauliflower?

Yes. The cauliflower too.
Nothing is safe.
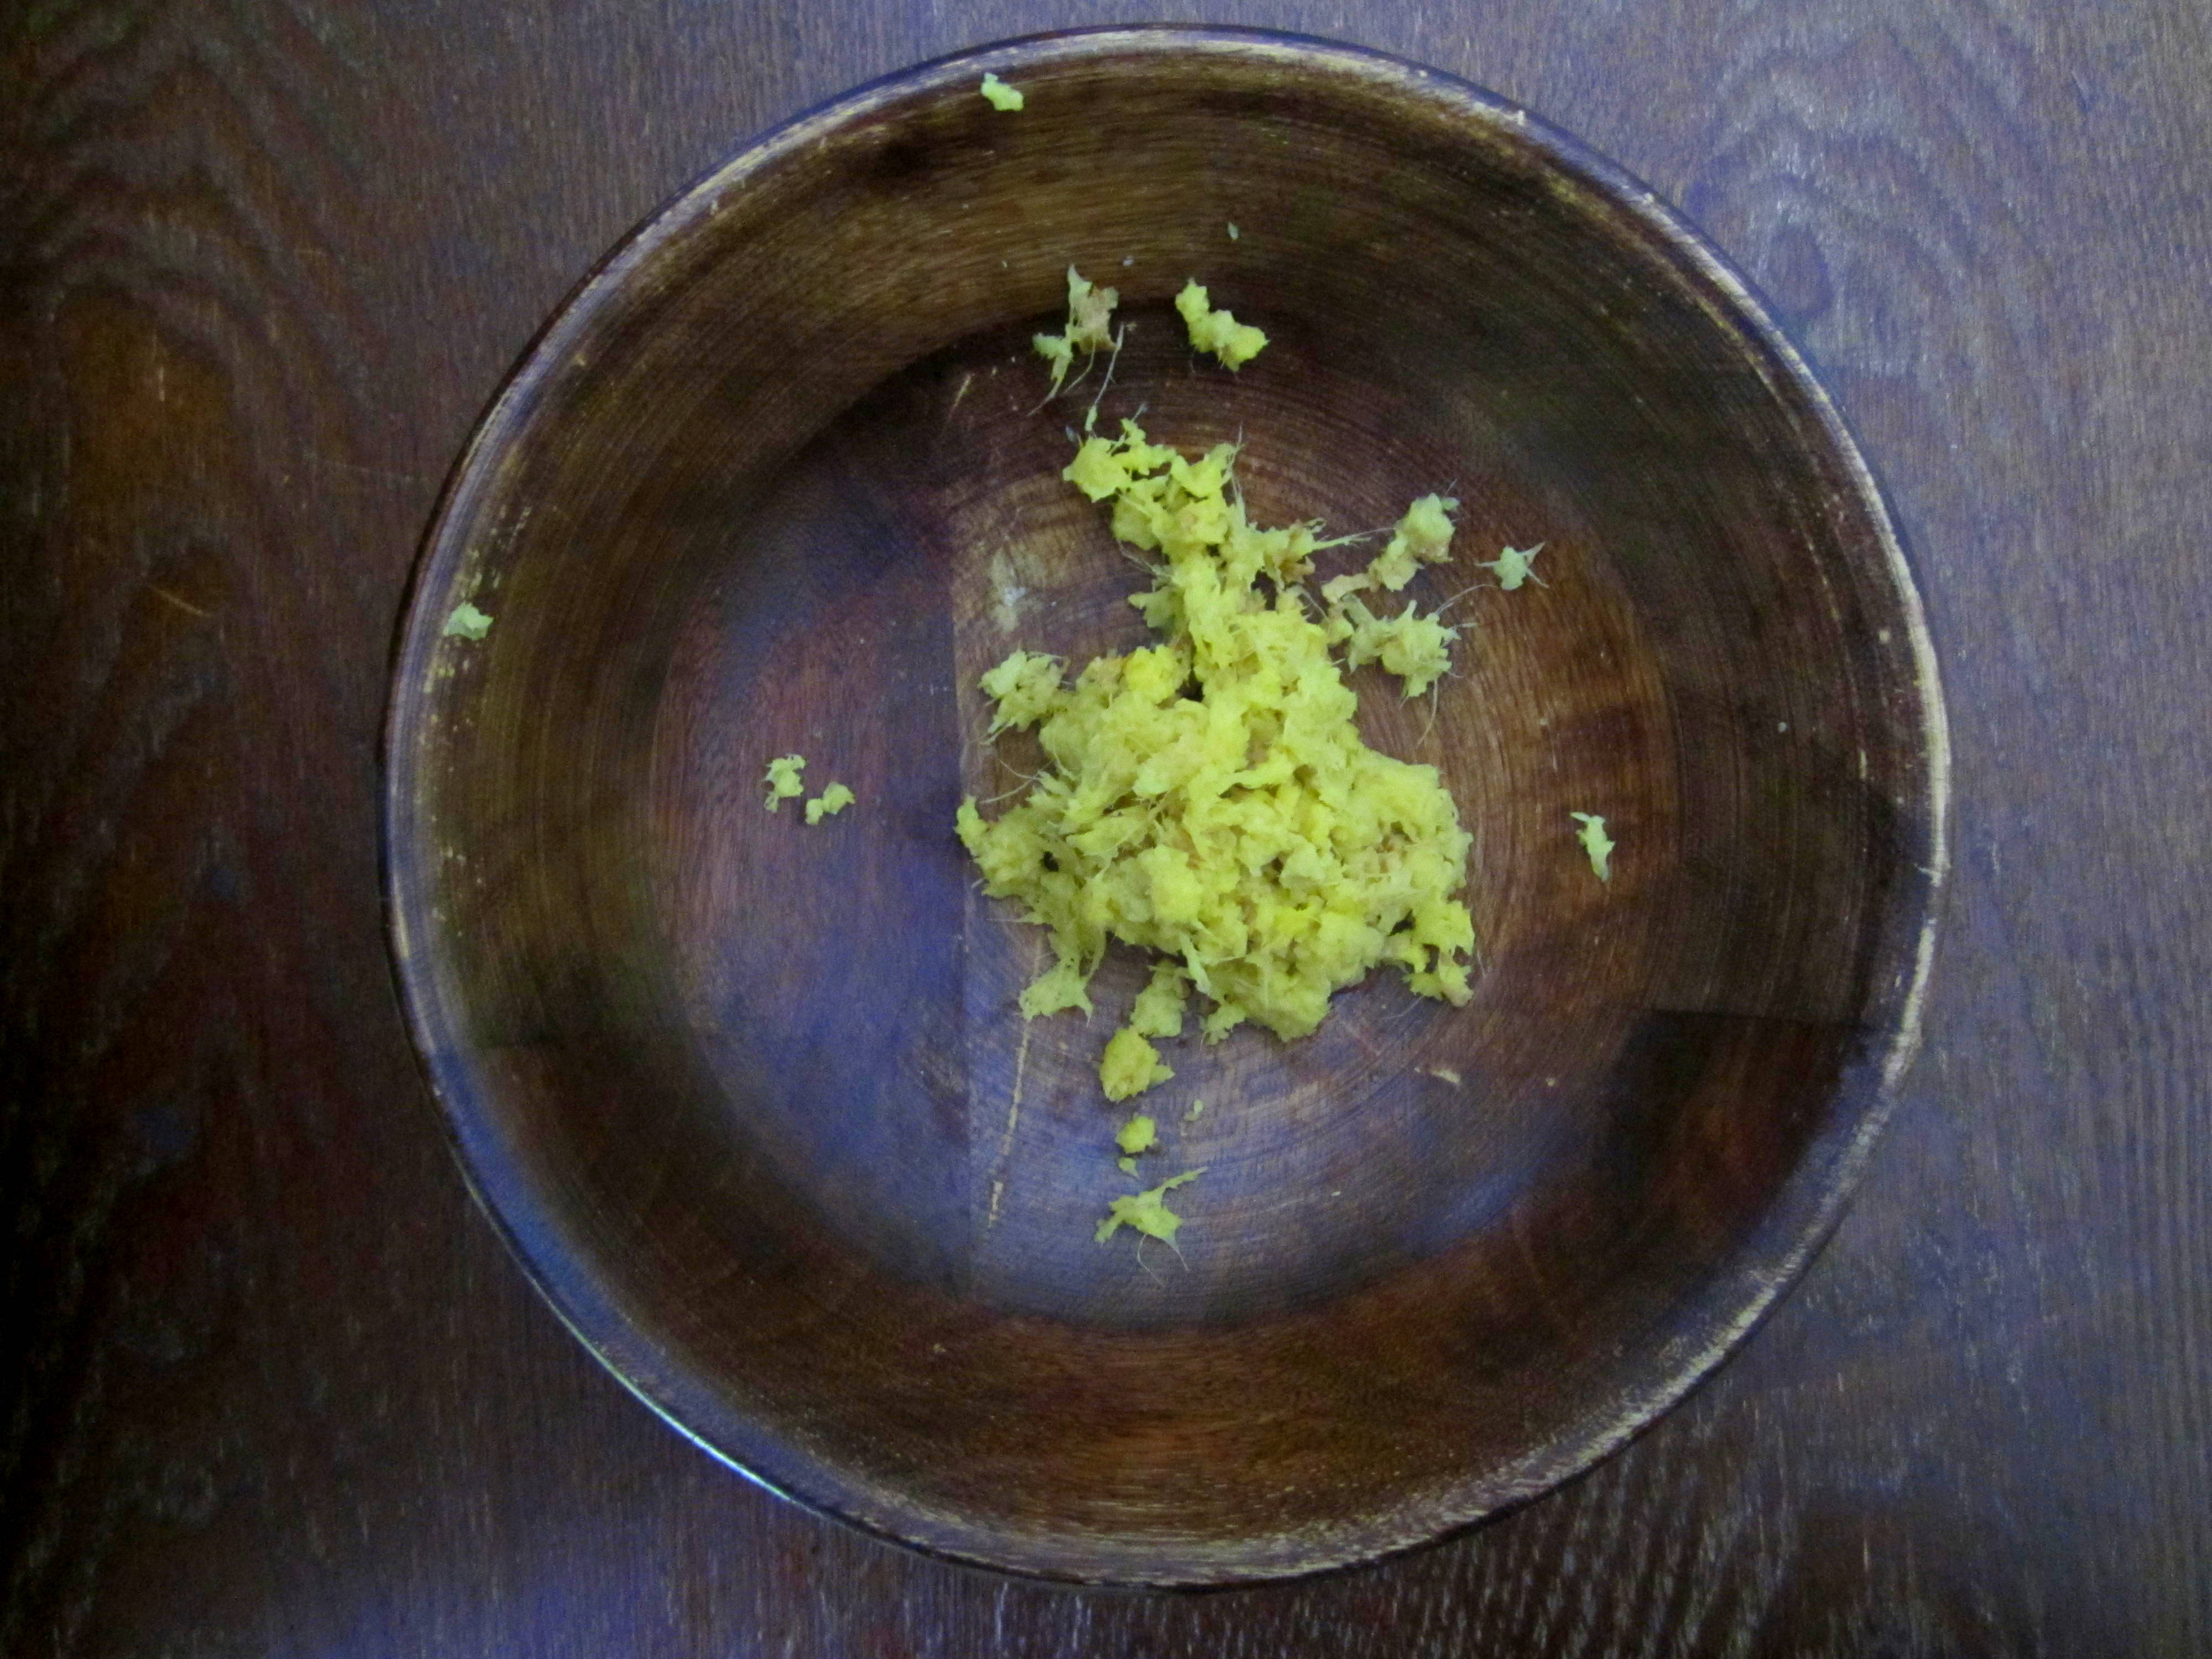
GINGER!?
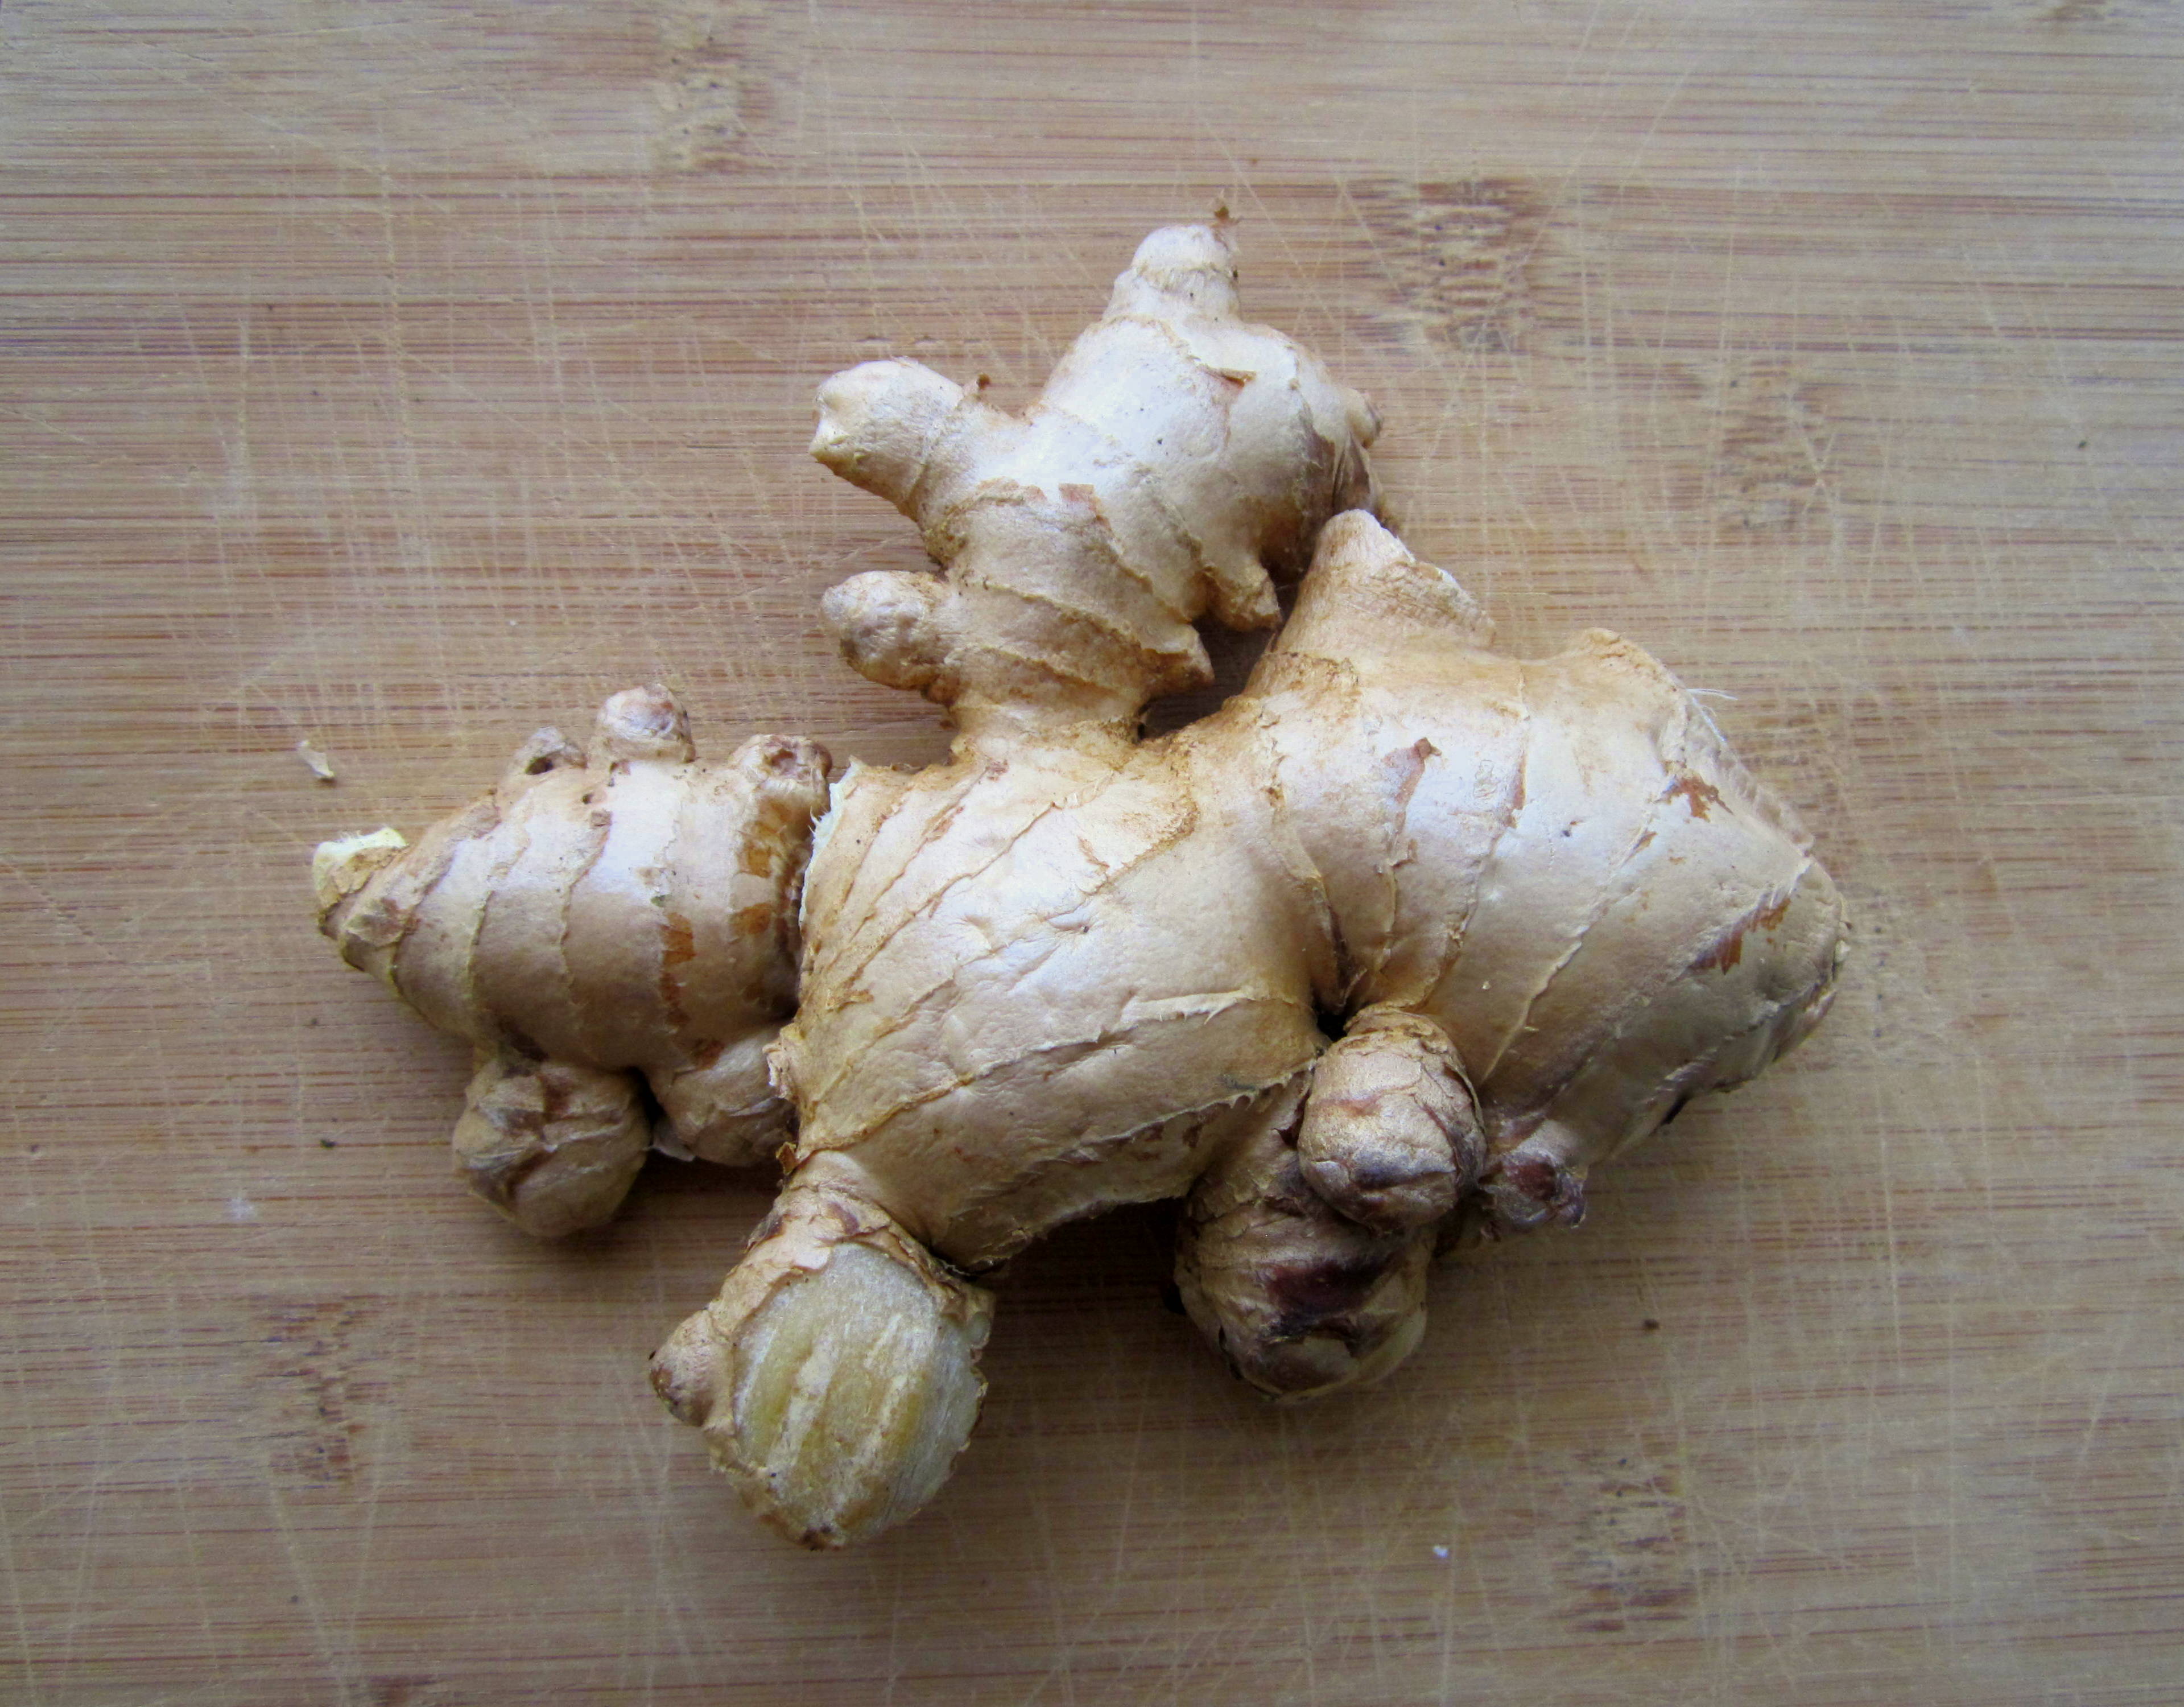
Ok…not roasted. Just grated.
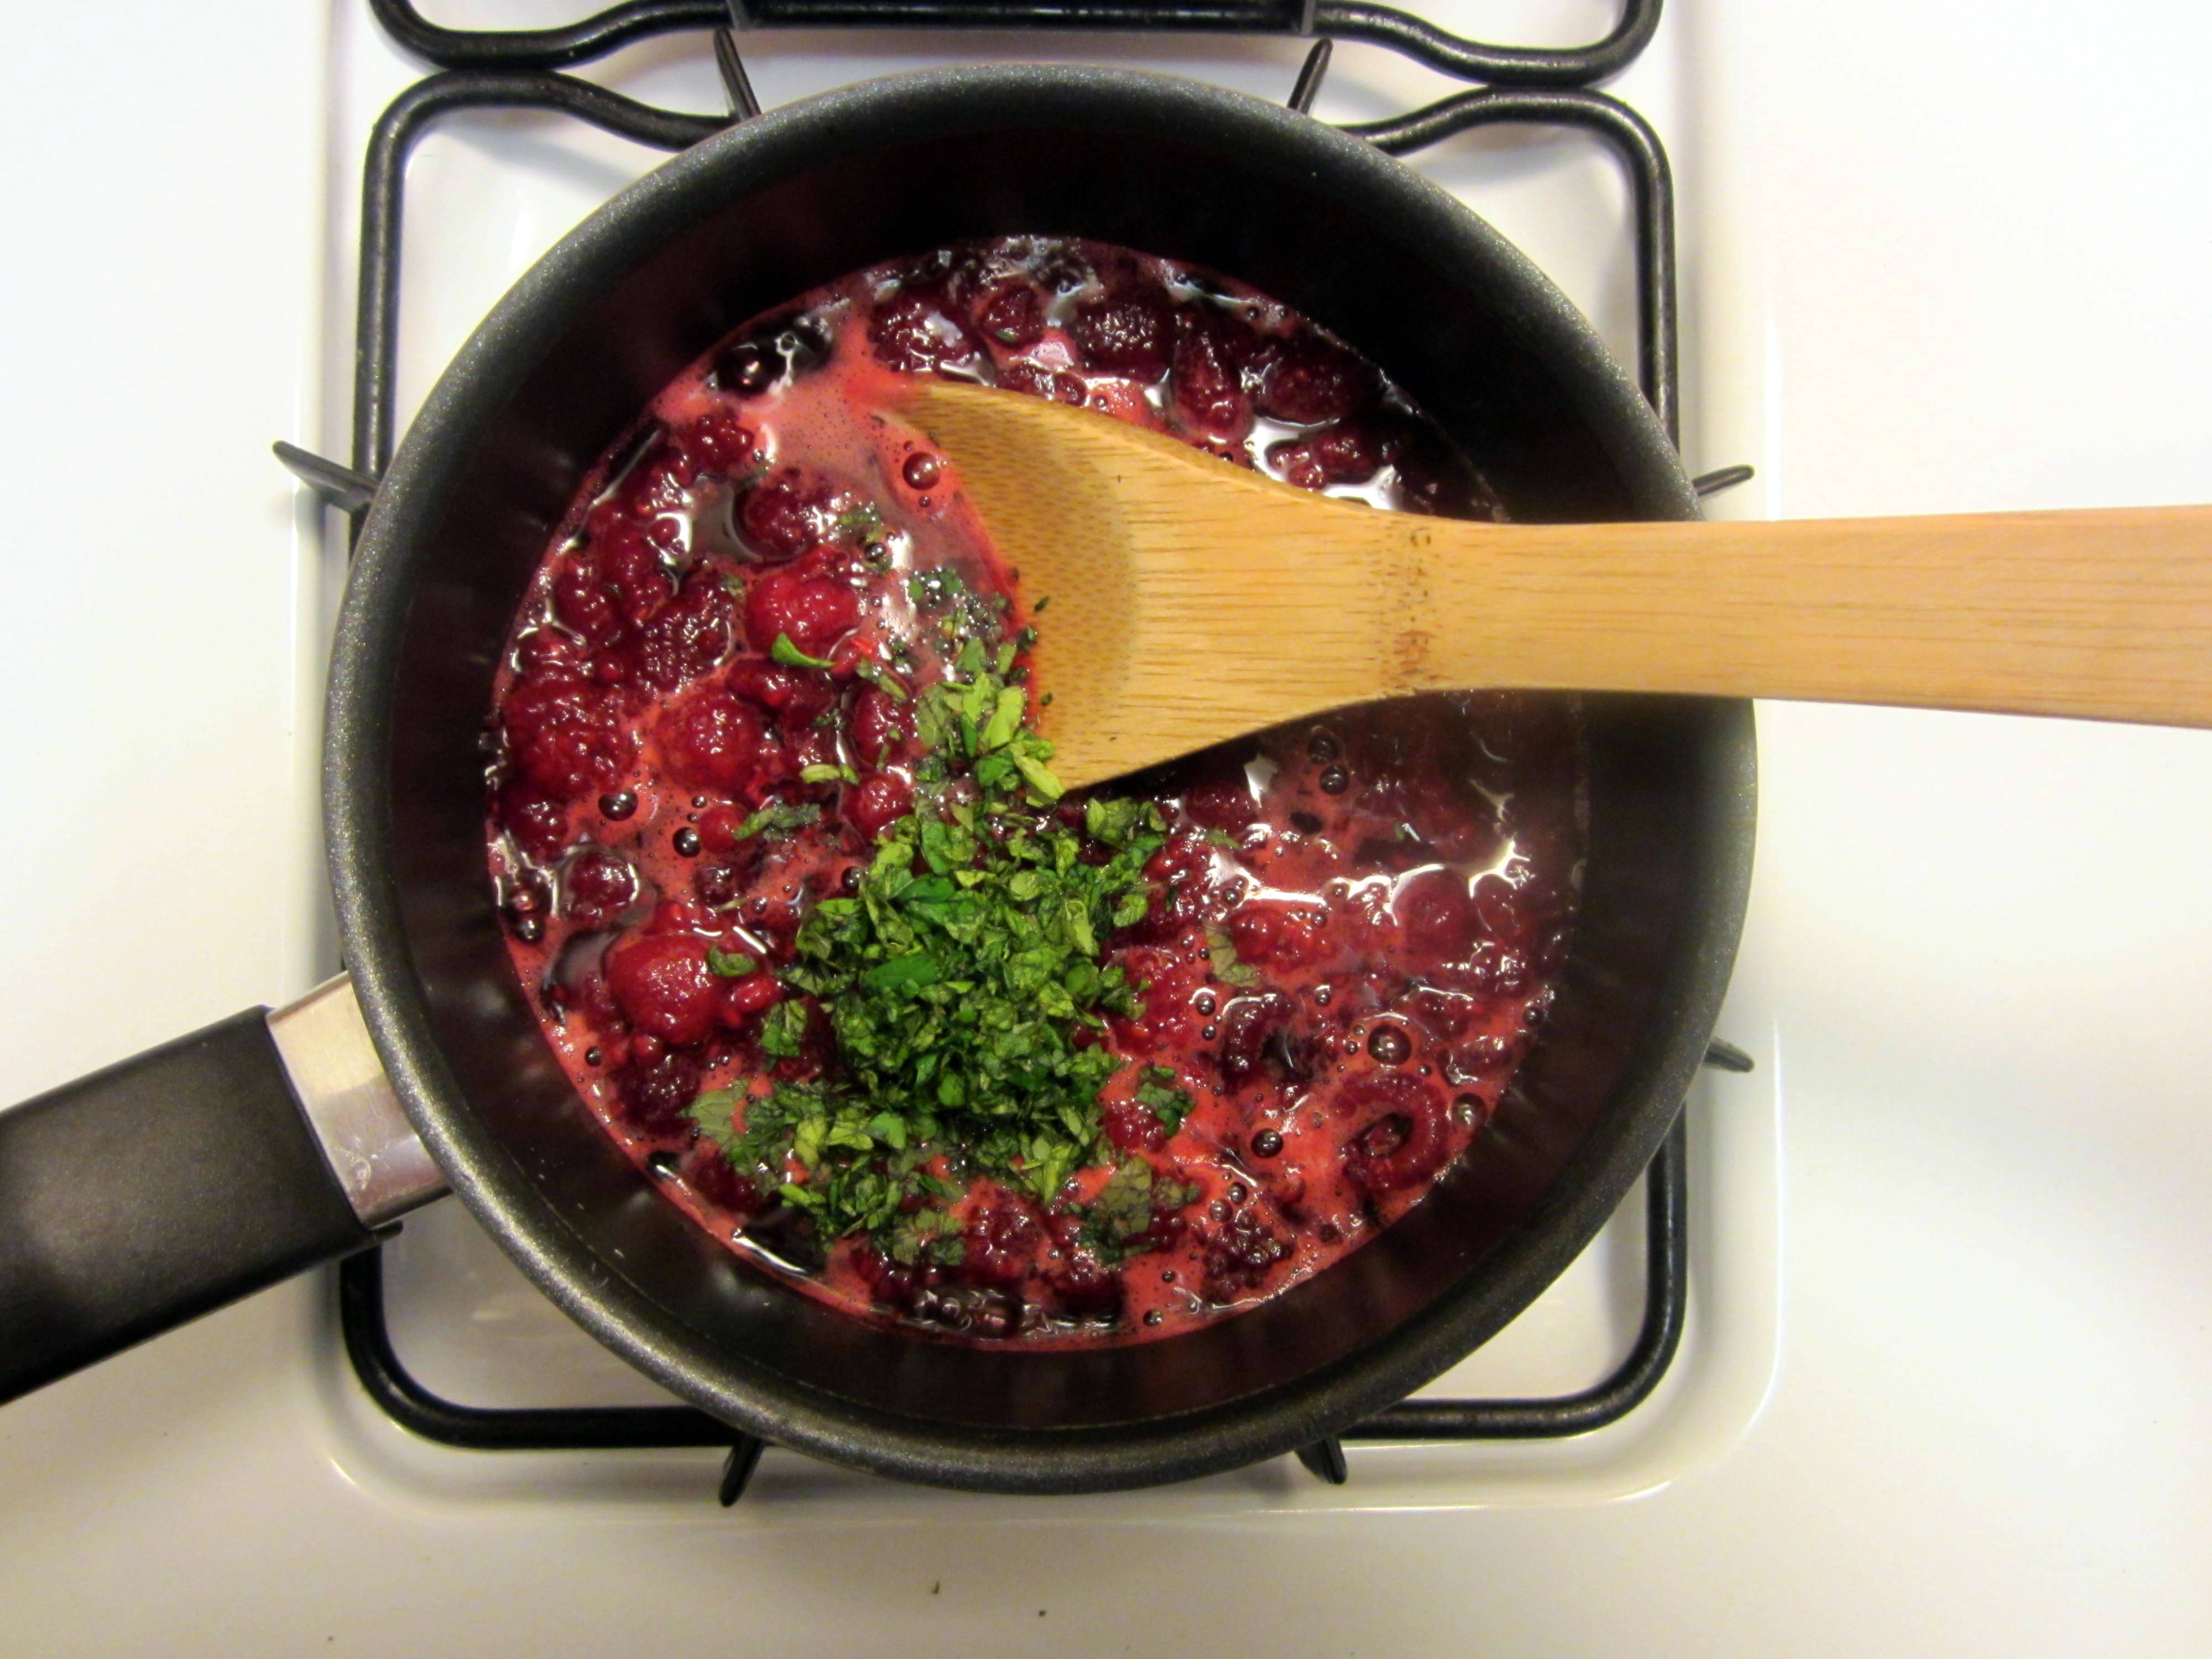
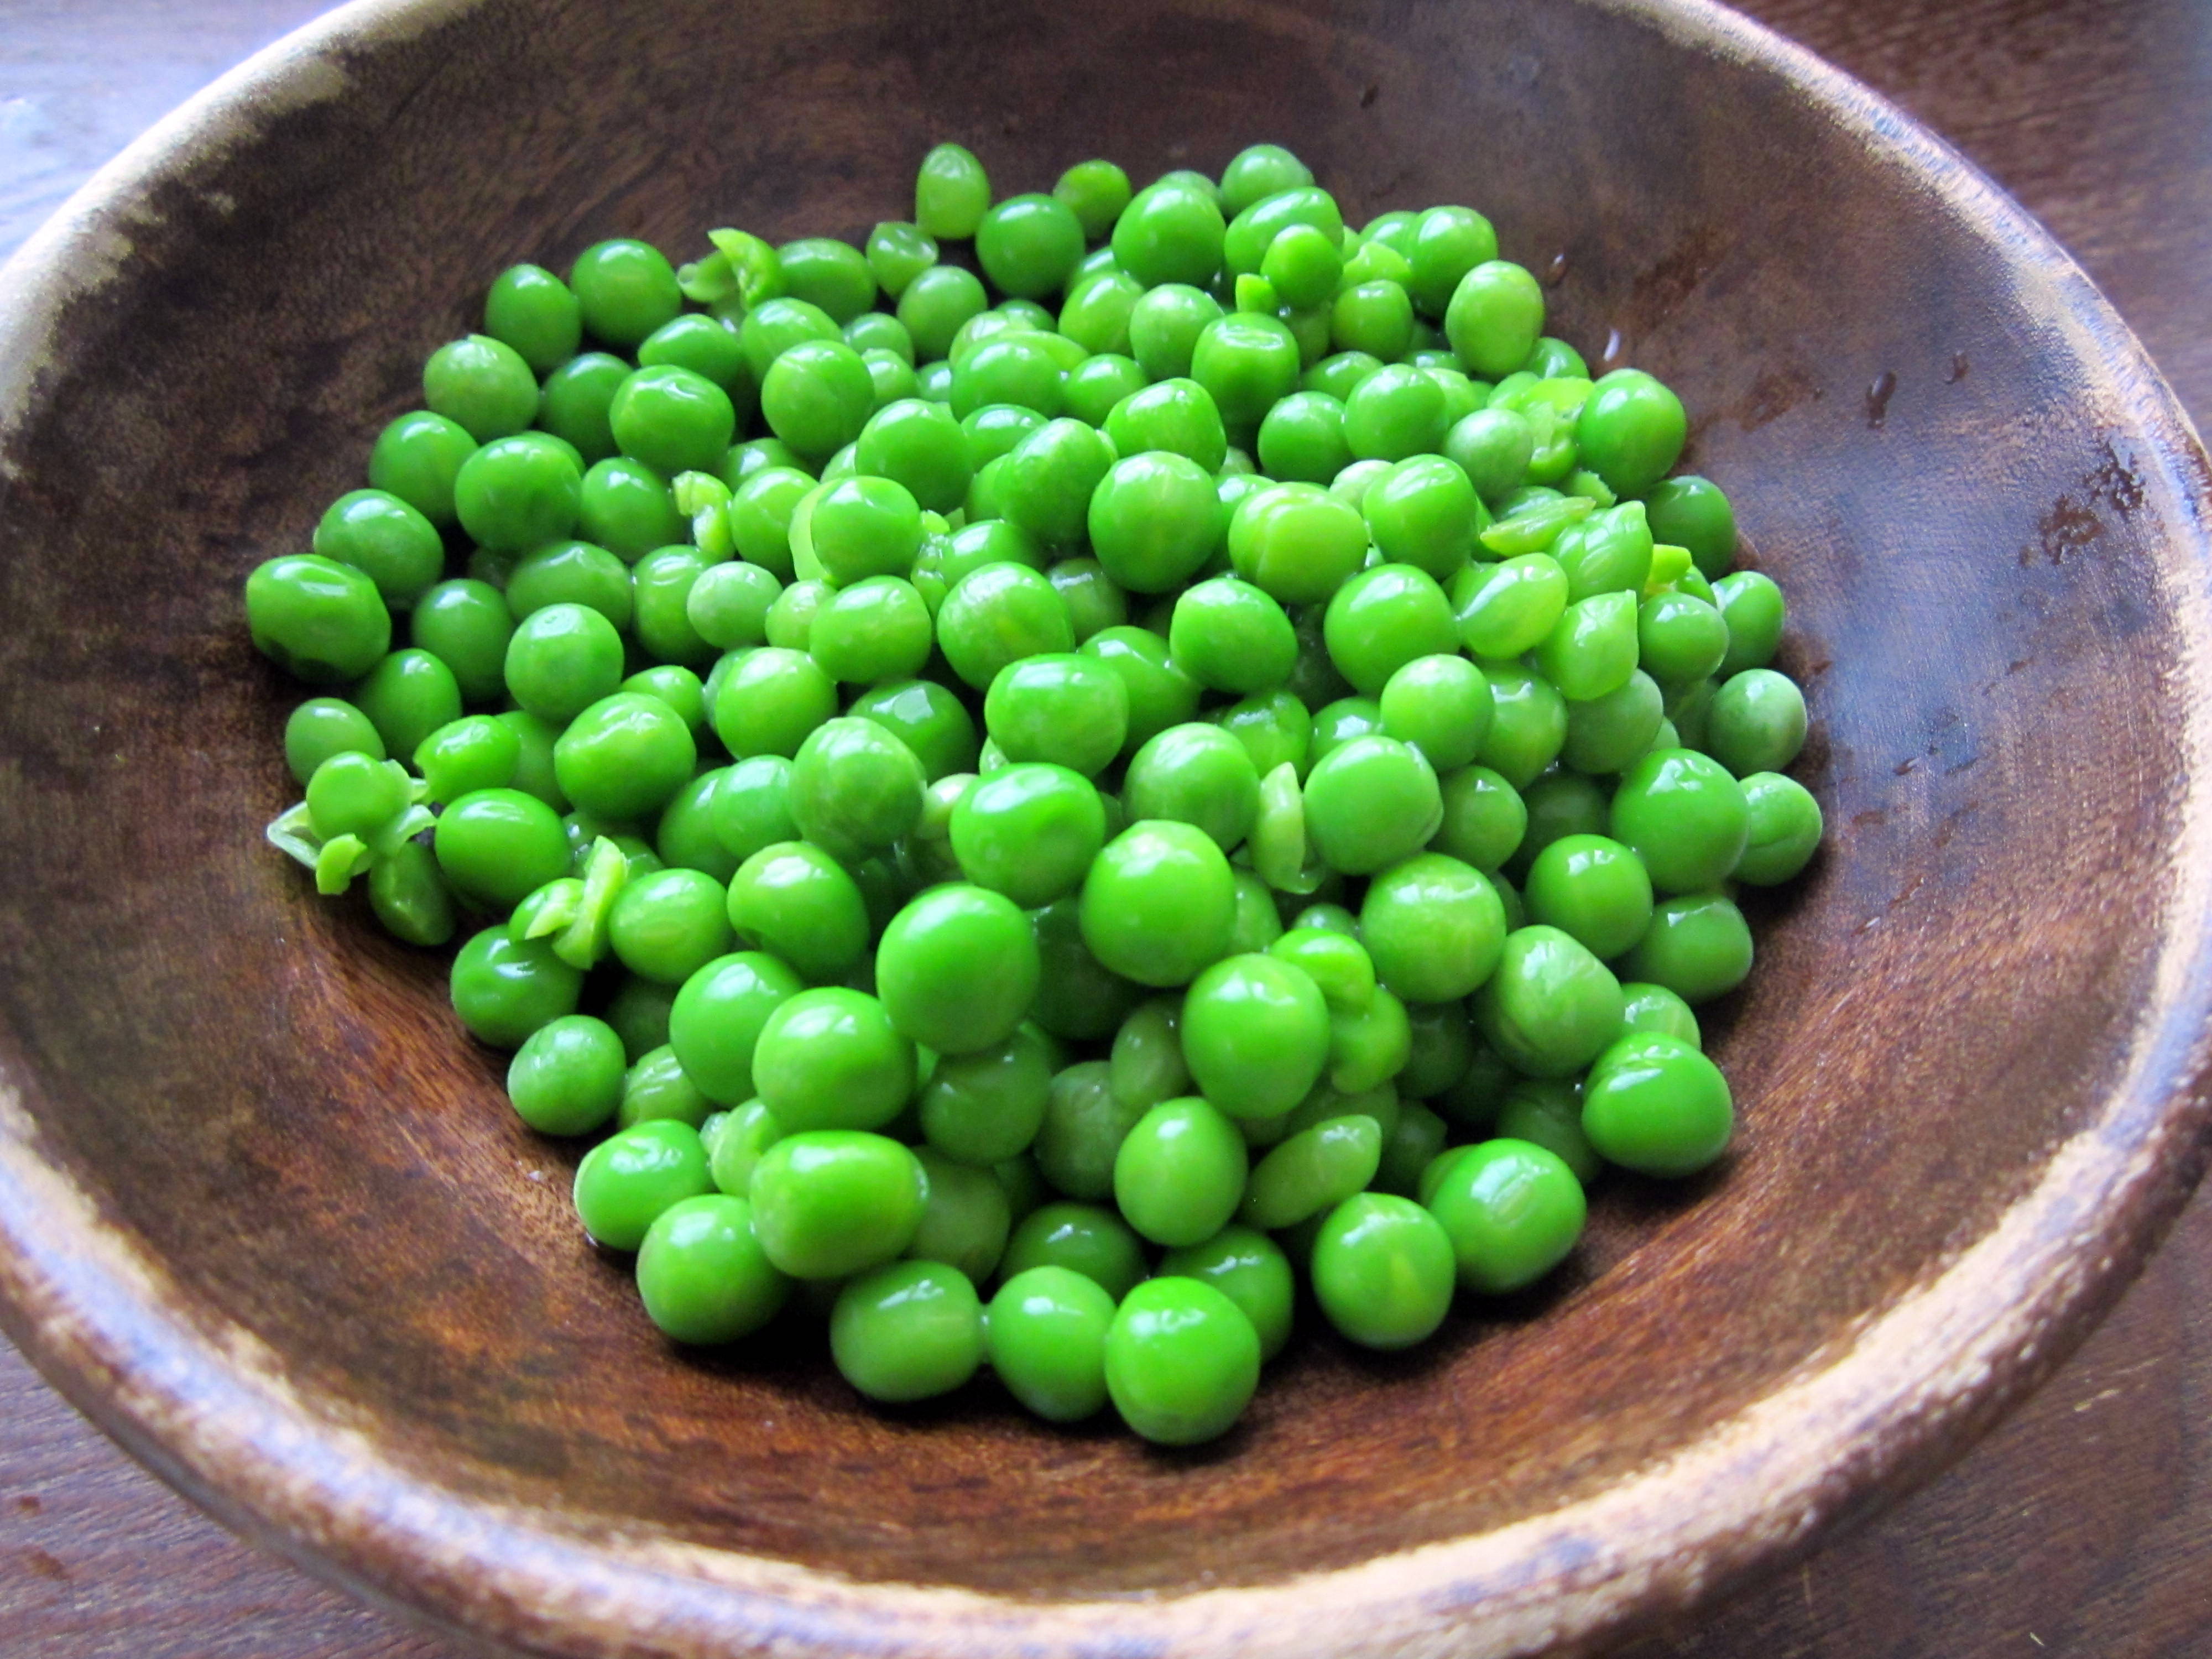
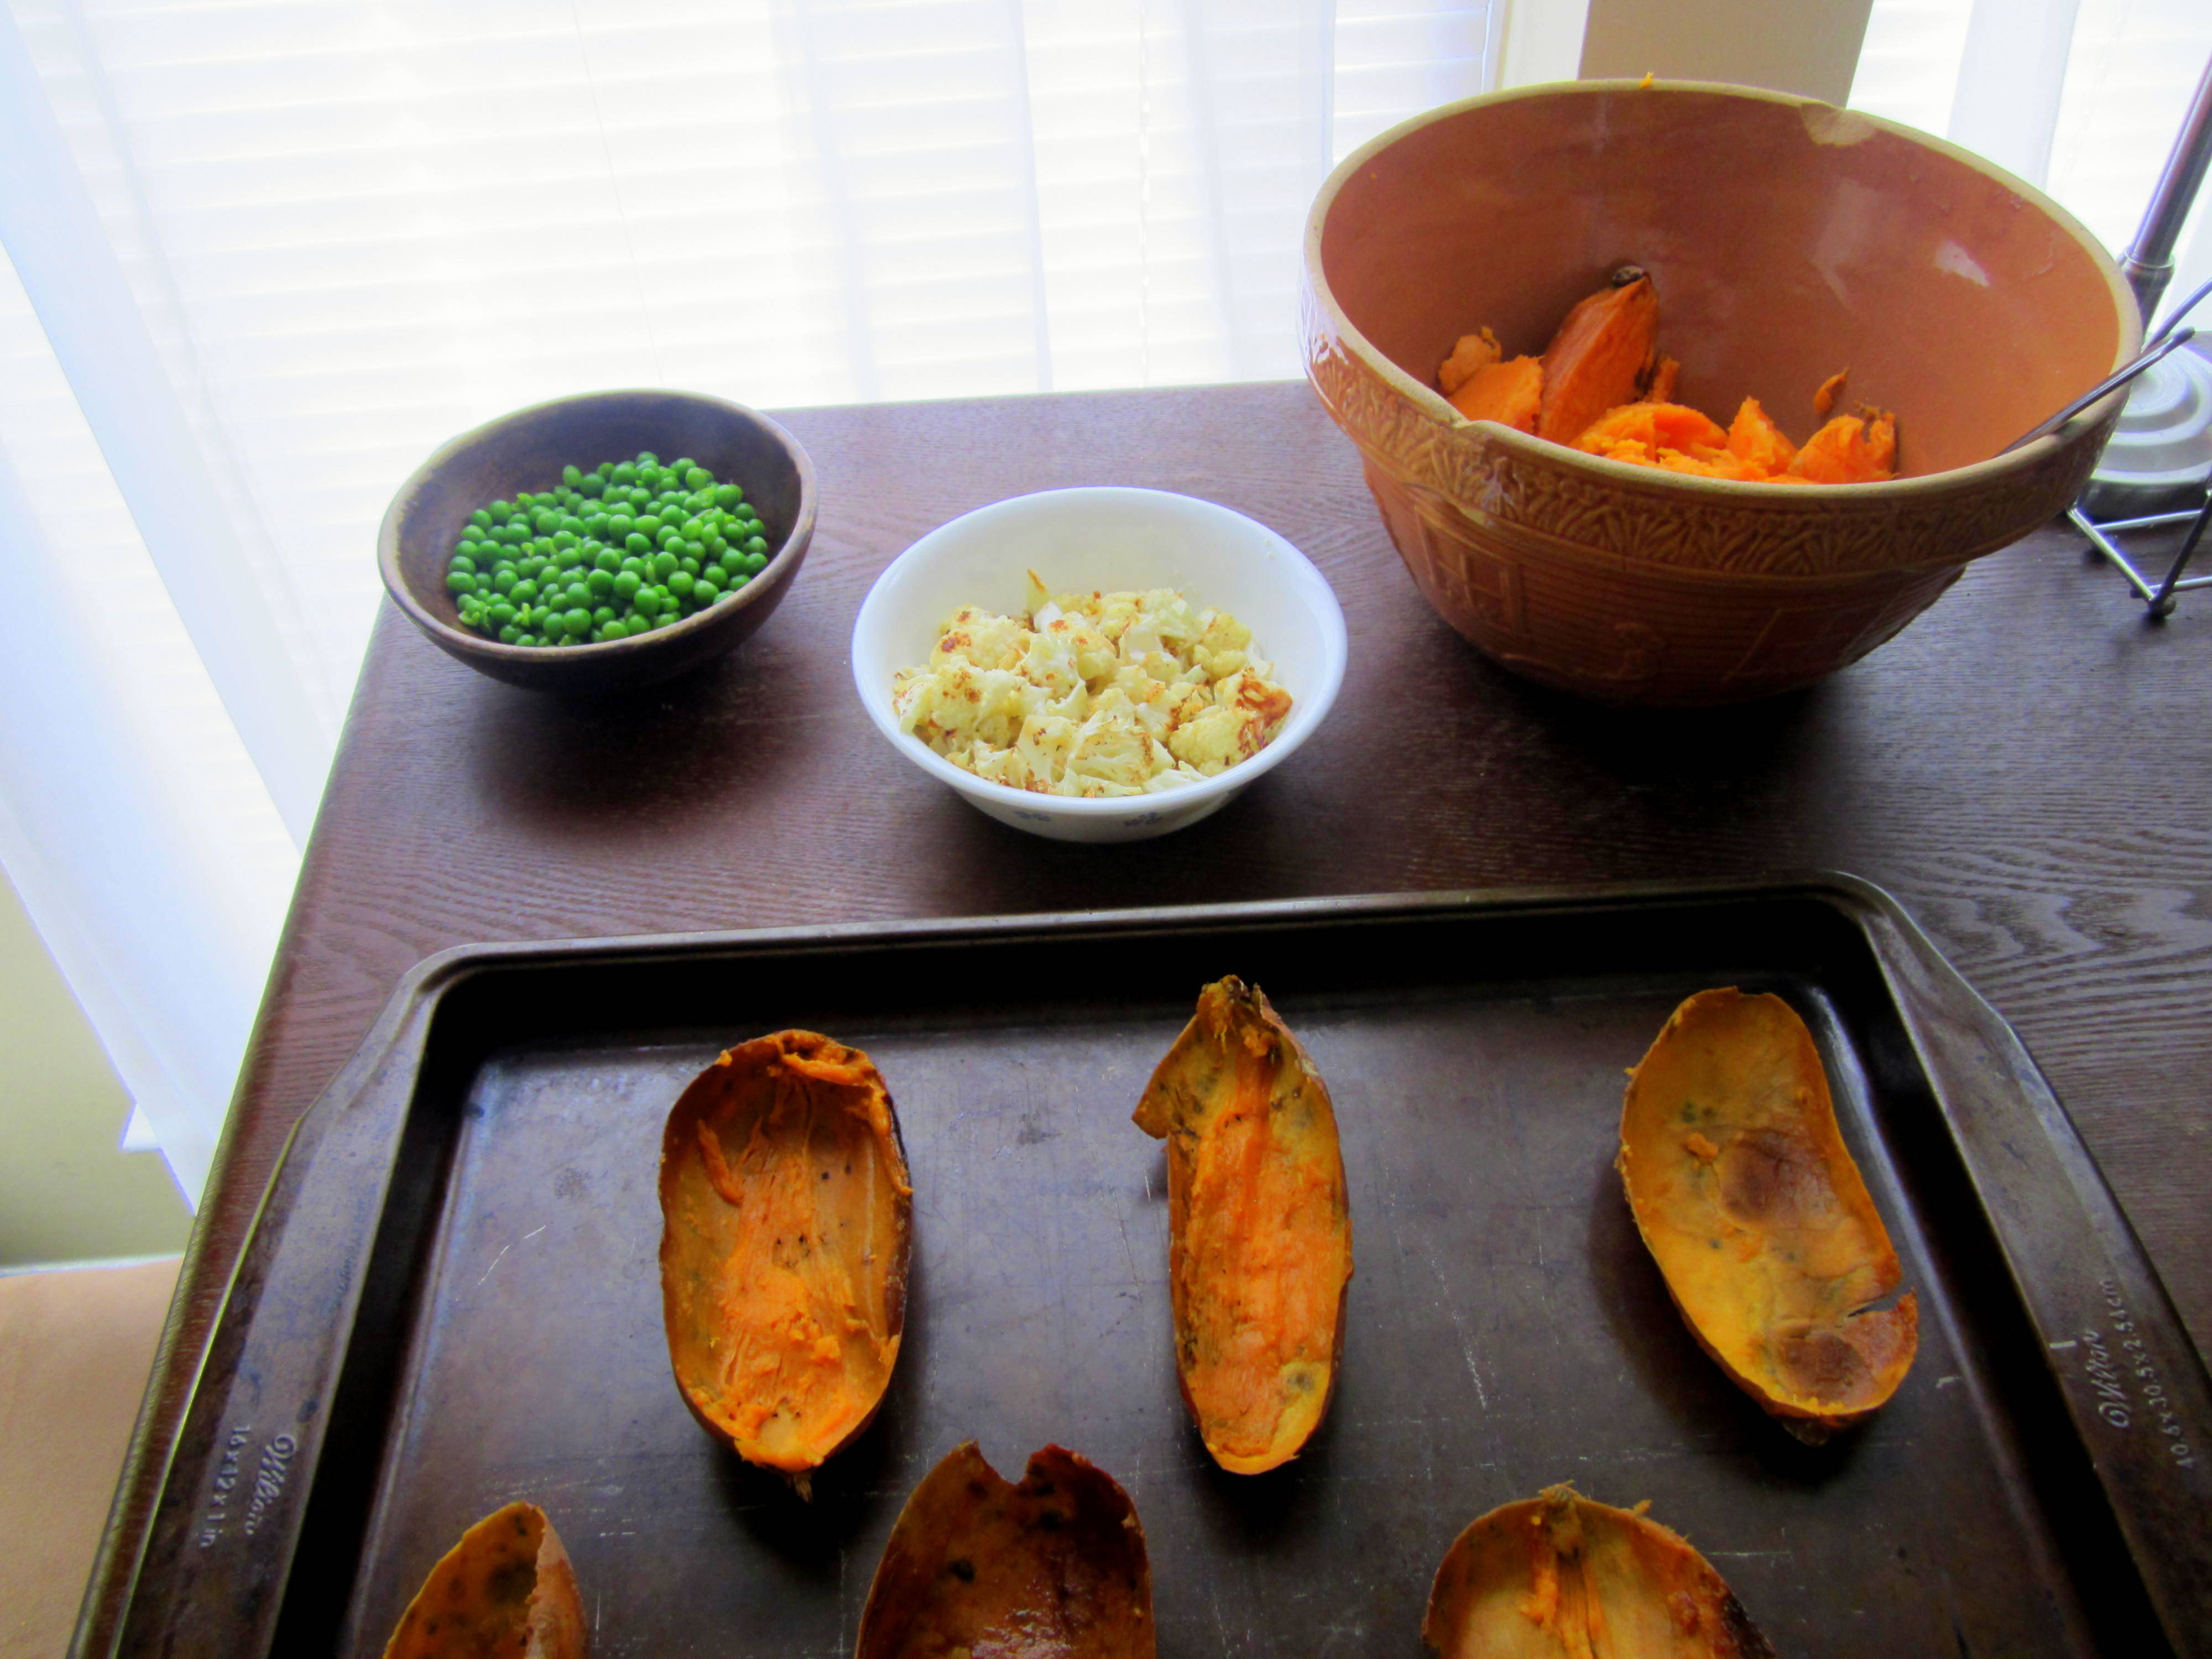
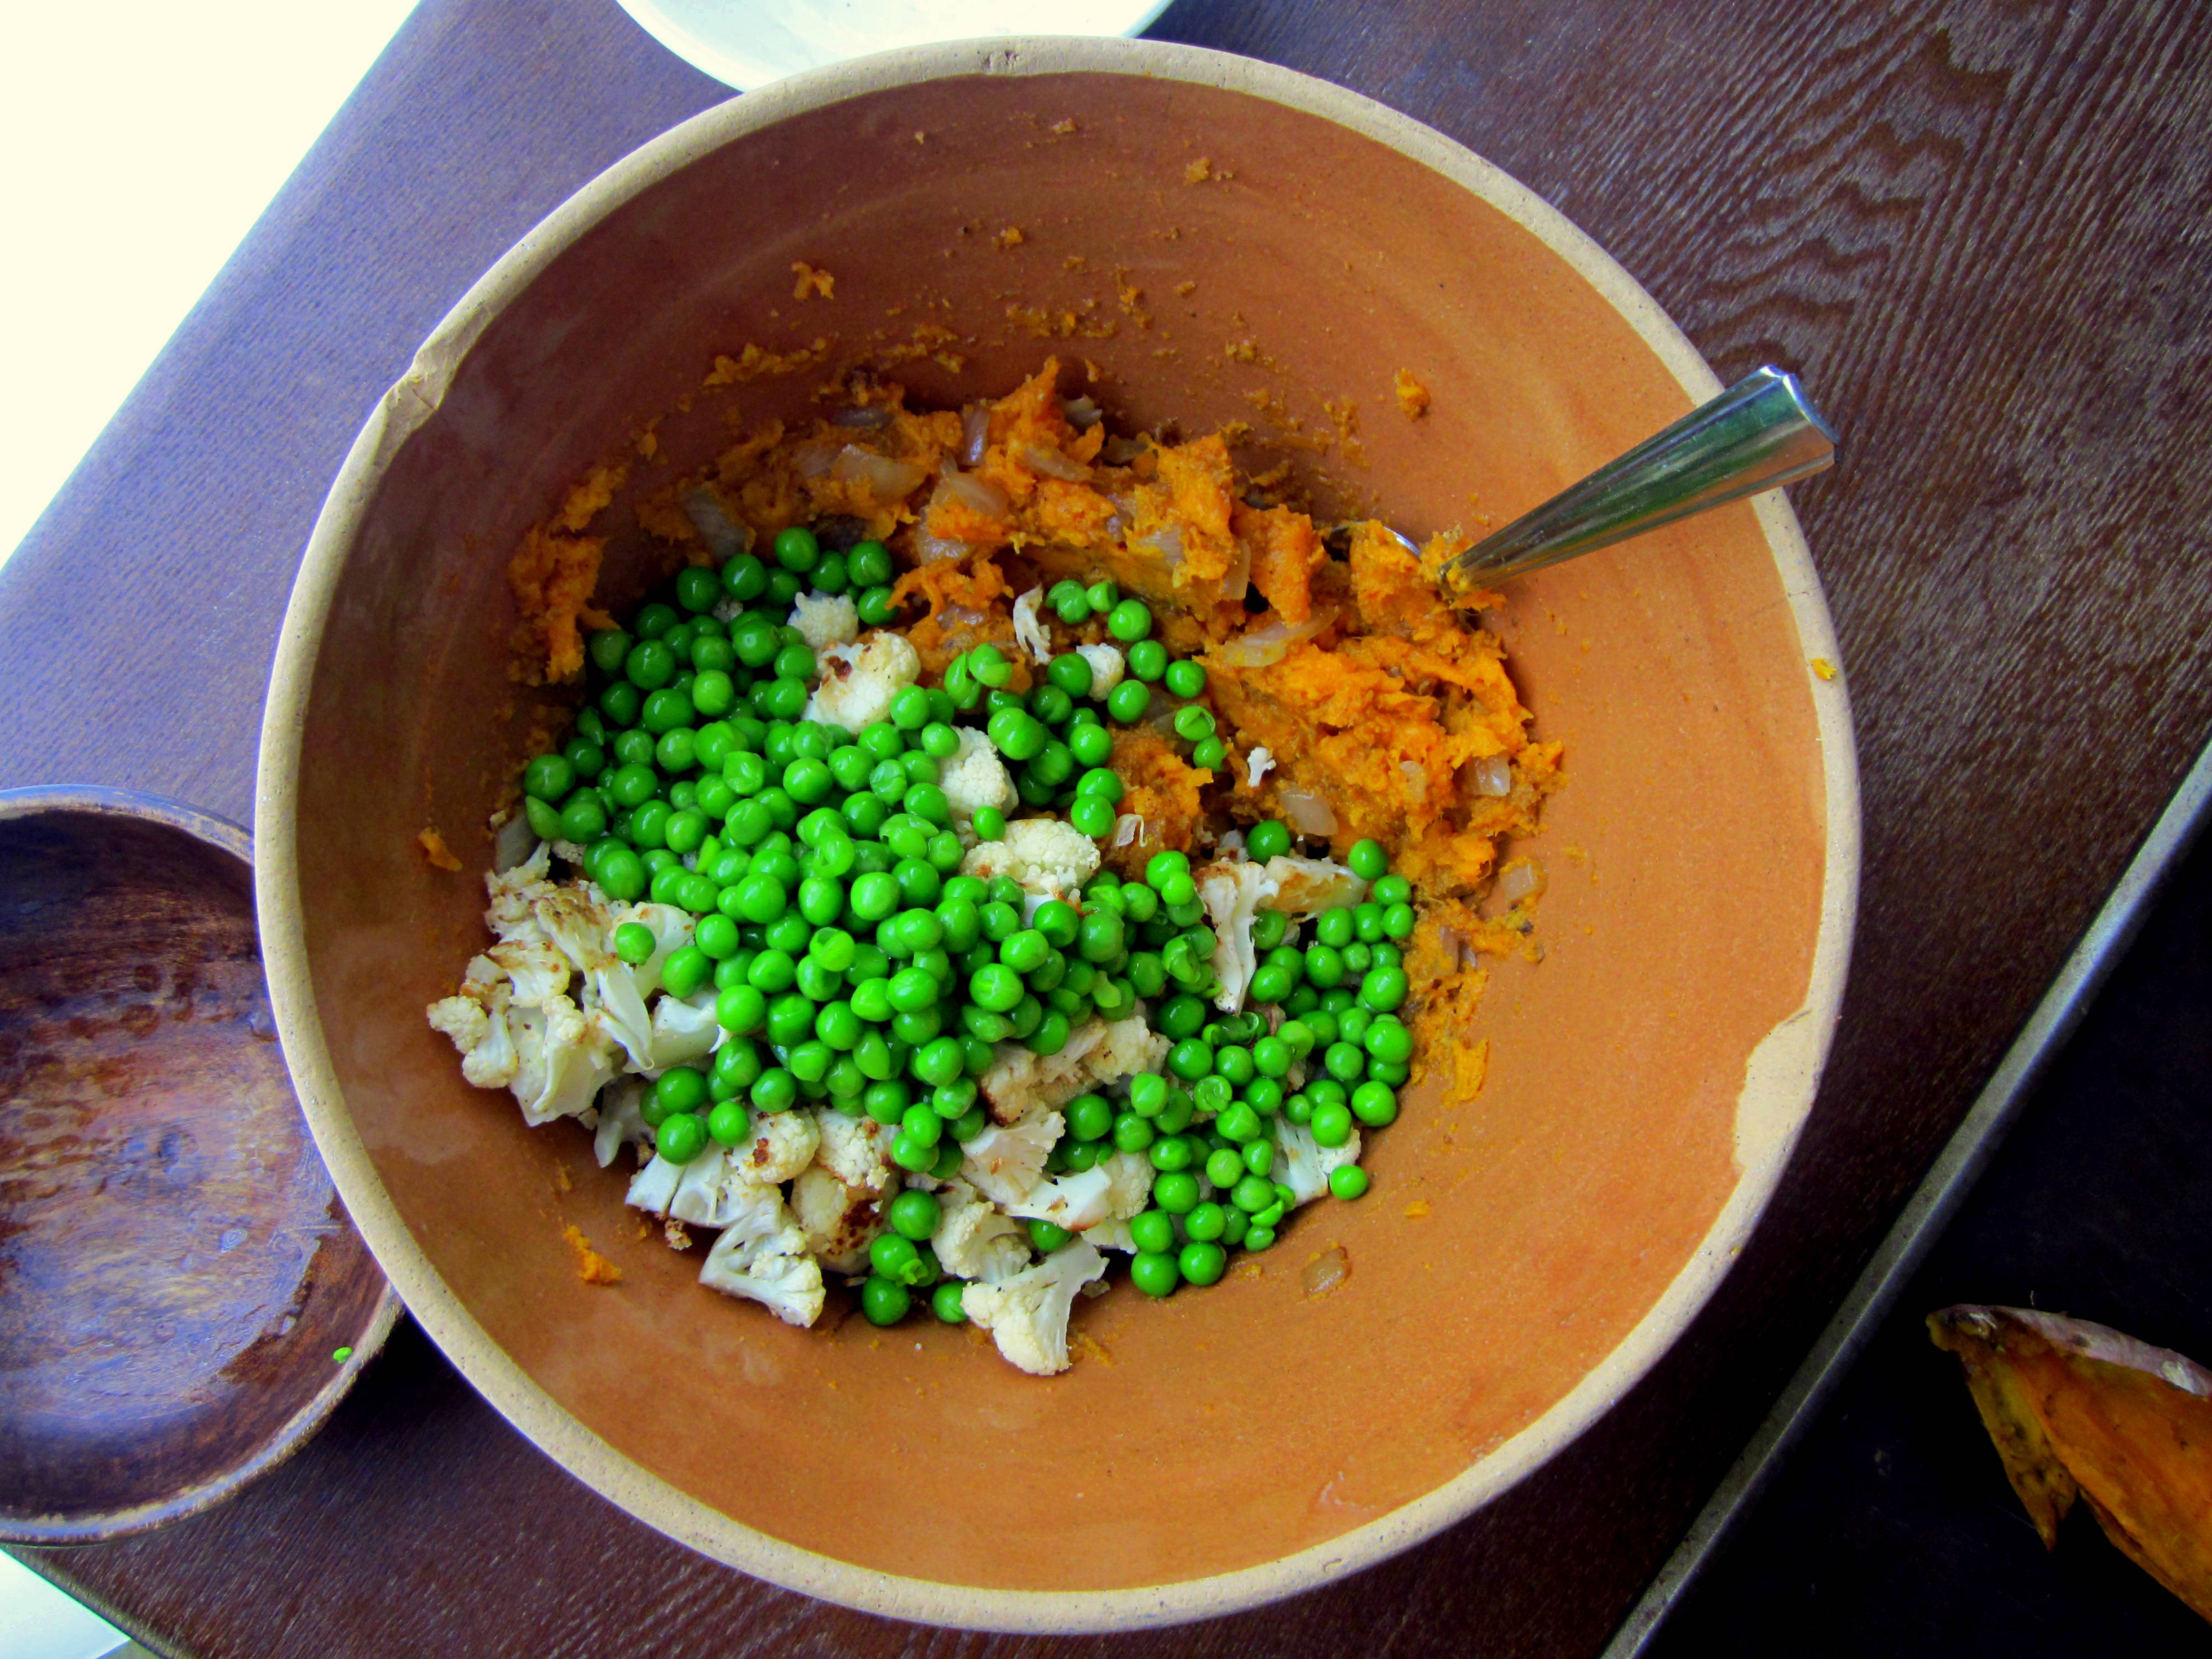
 Peas, please! Leave them alone. They stay fresh.
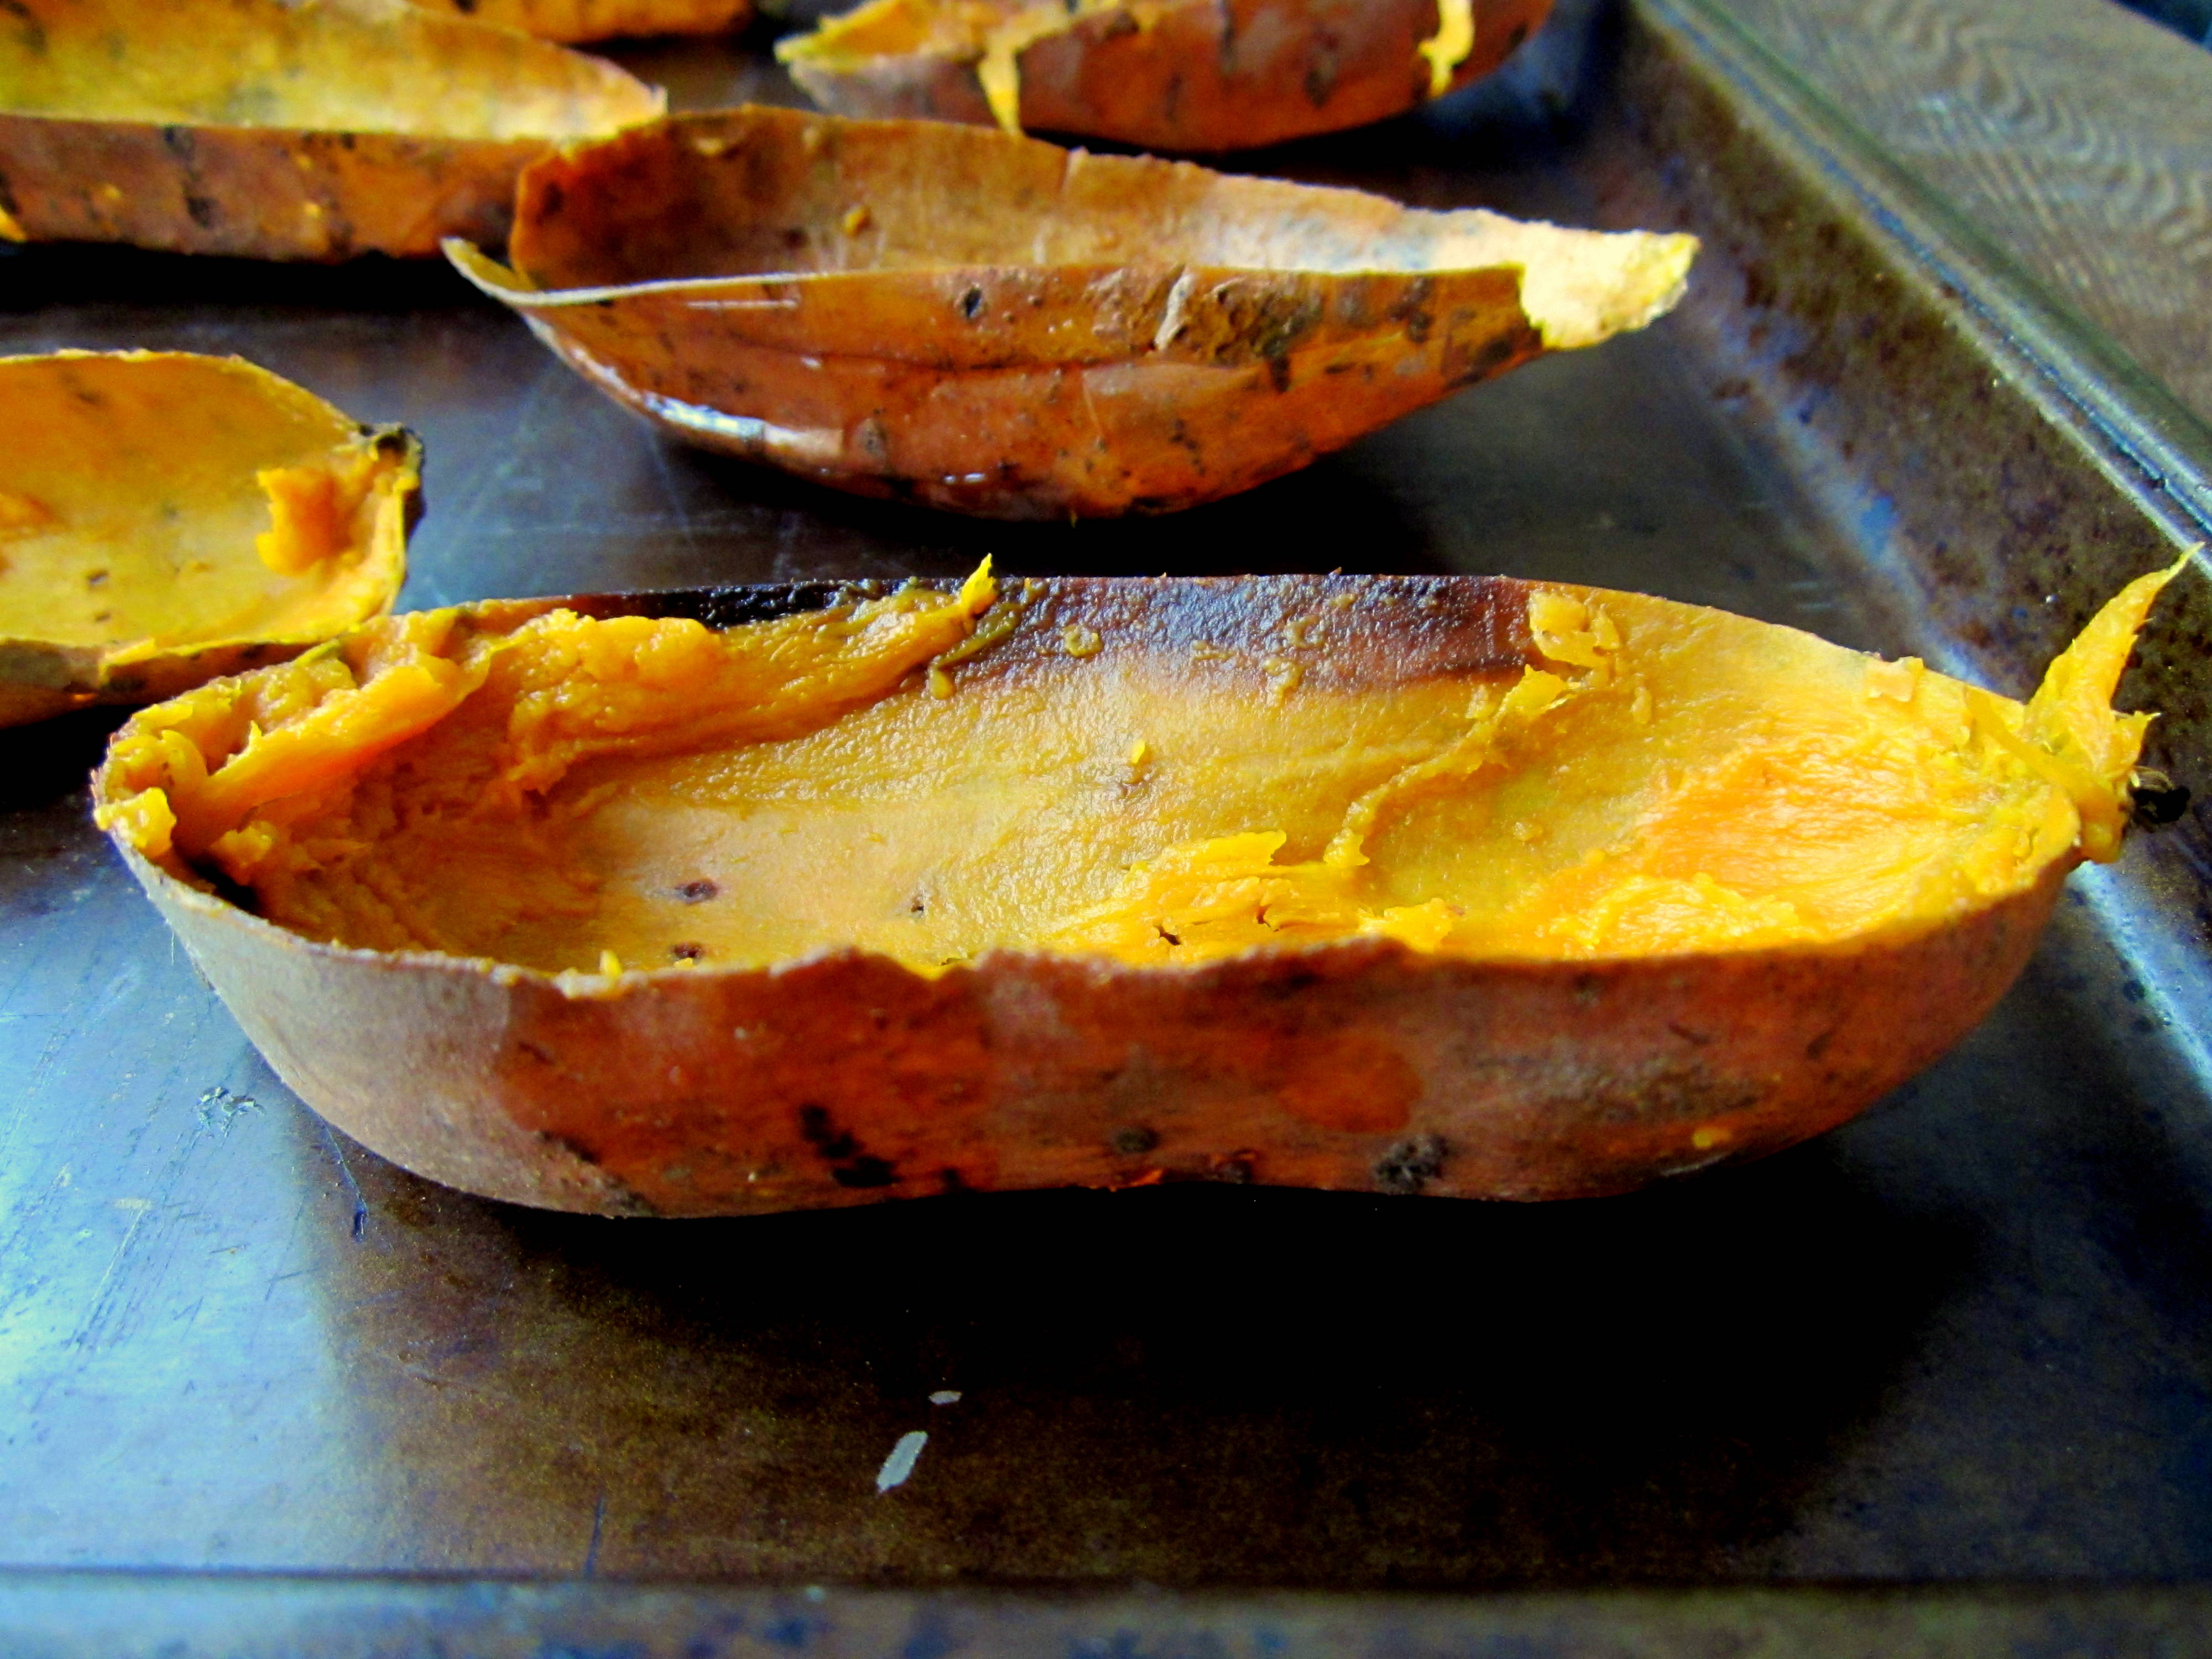
Scoop the middle of your potatoes into a large bowl

Get your act together
Aaaaand go
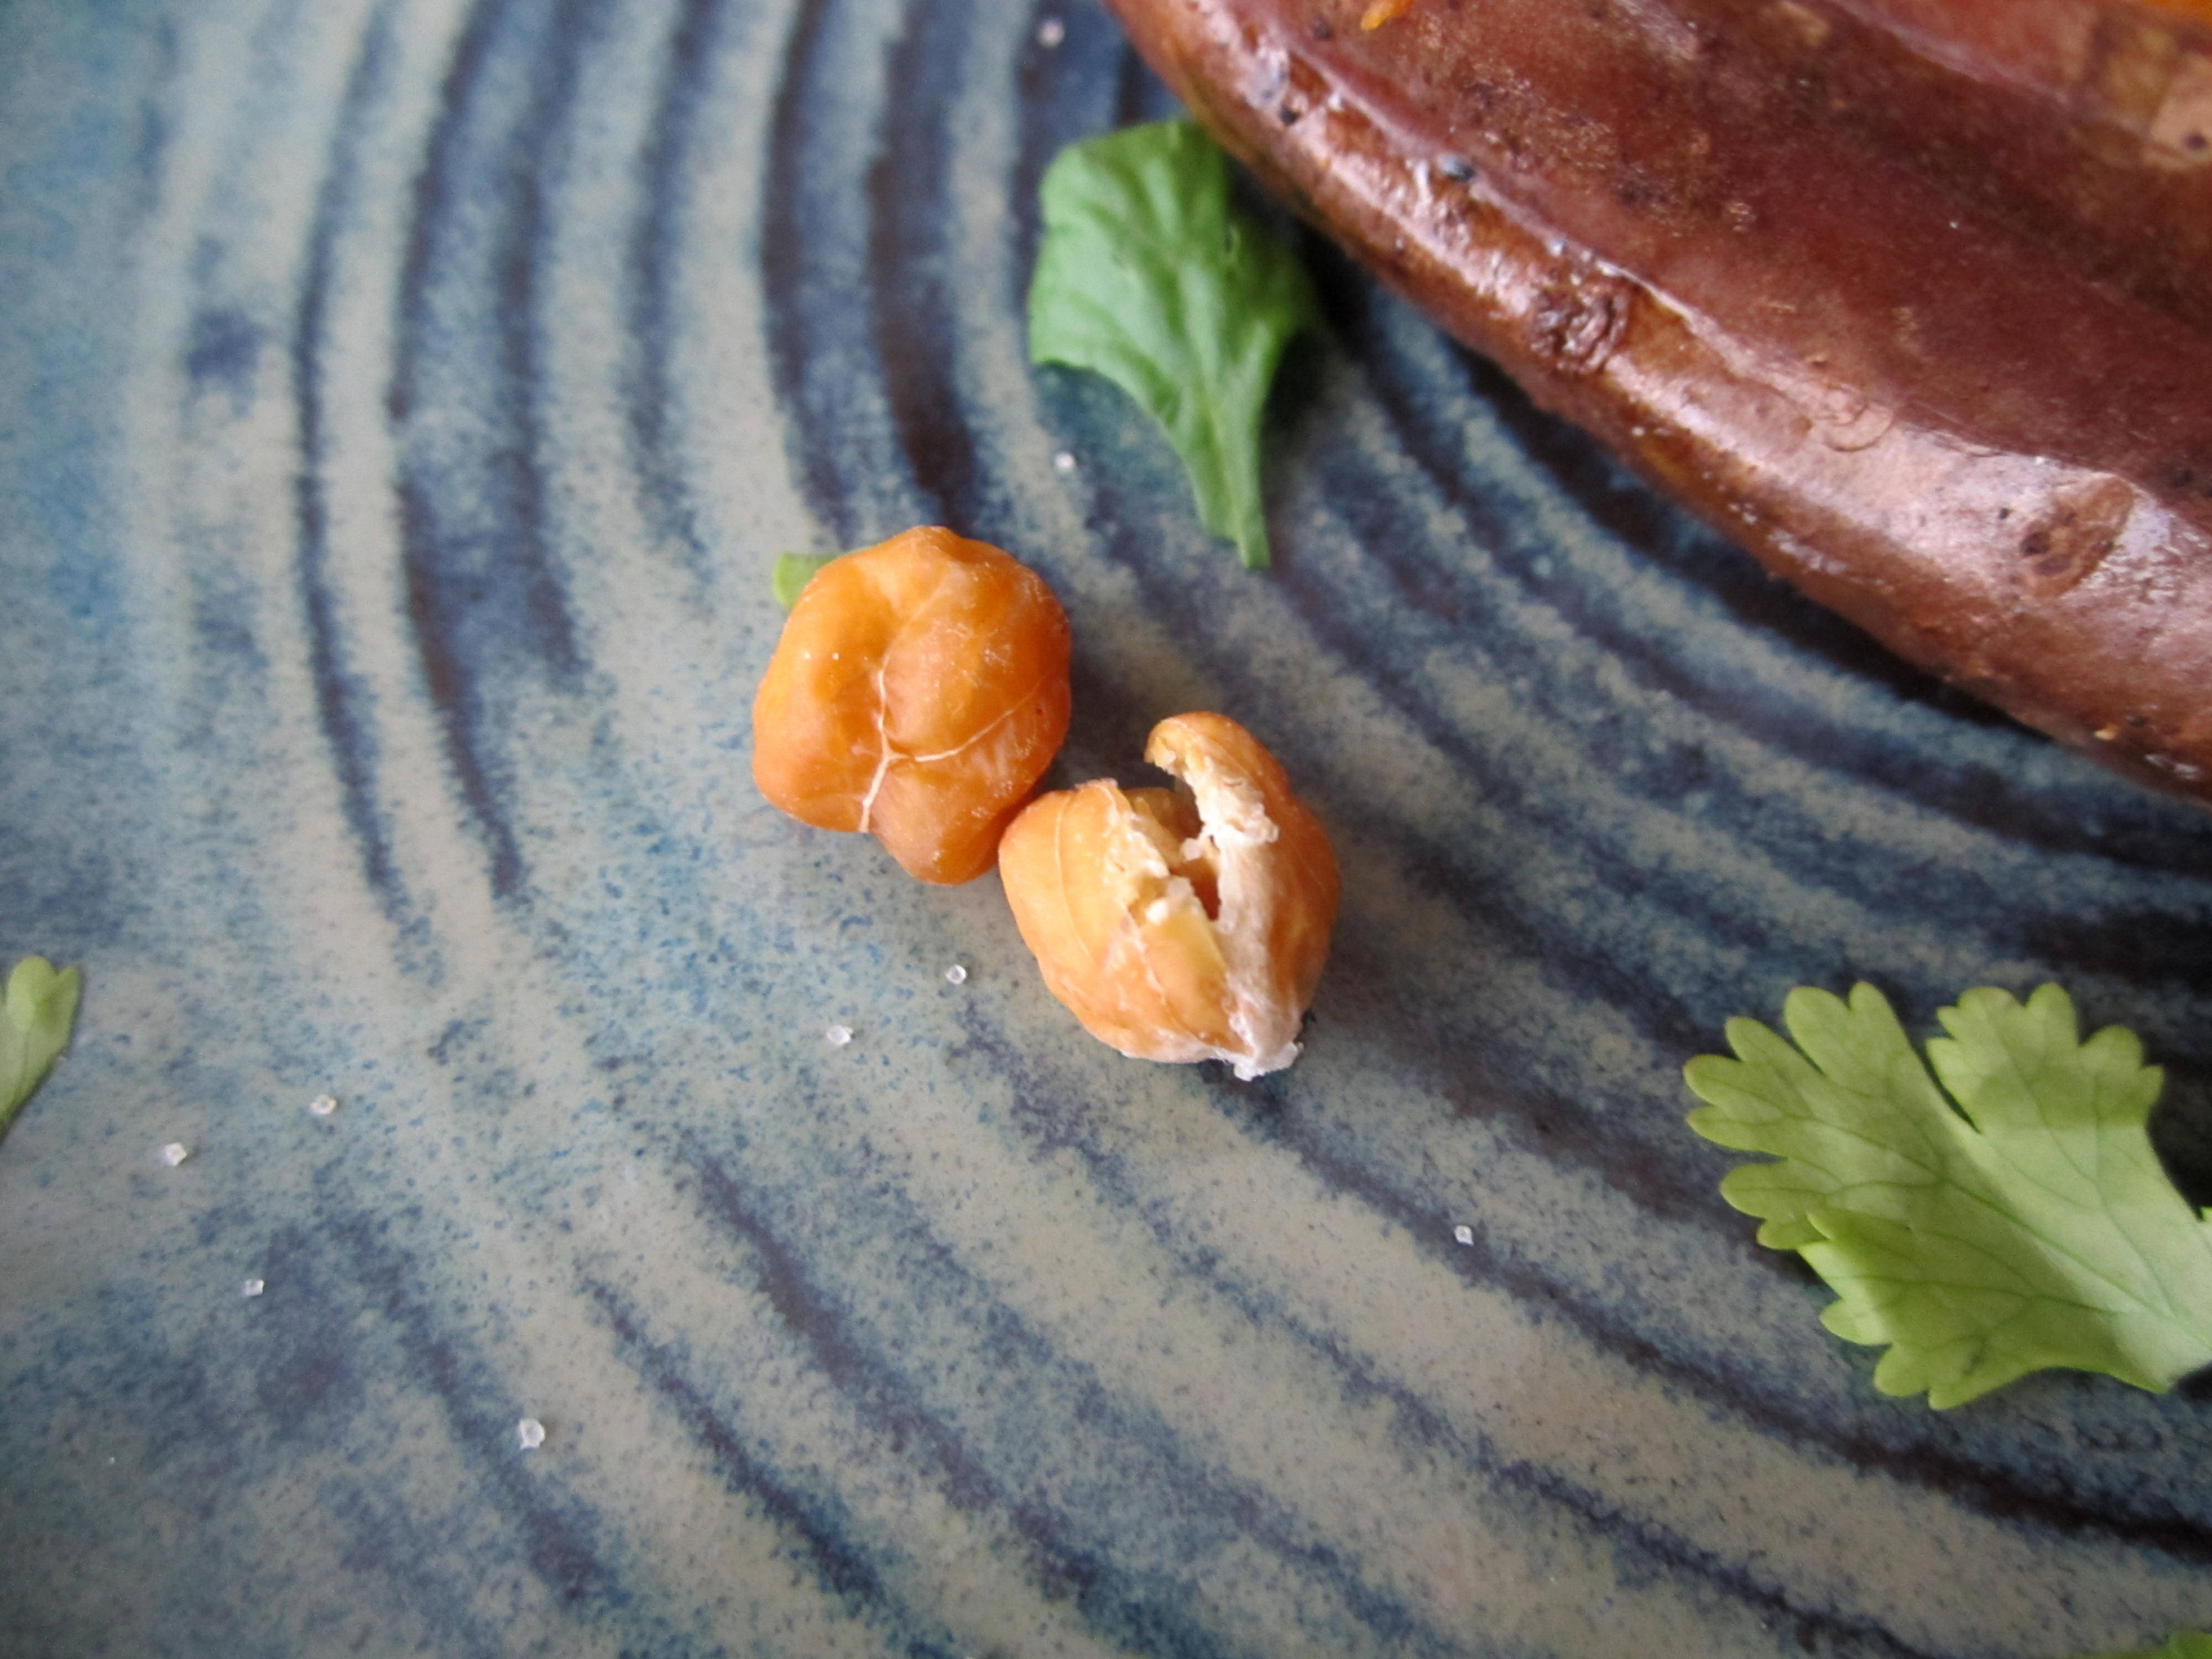
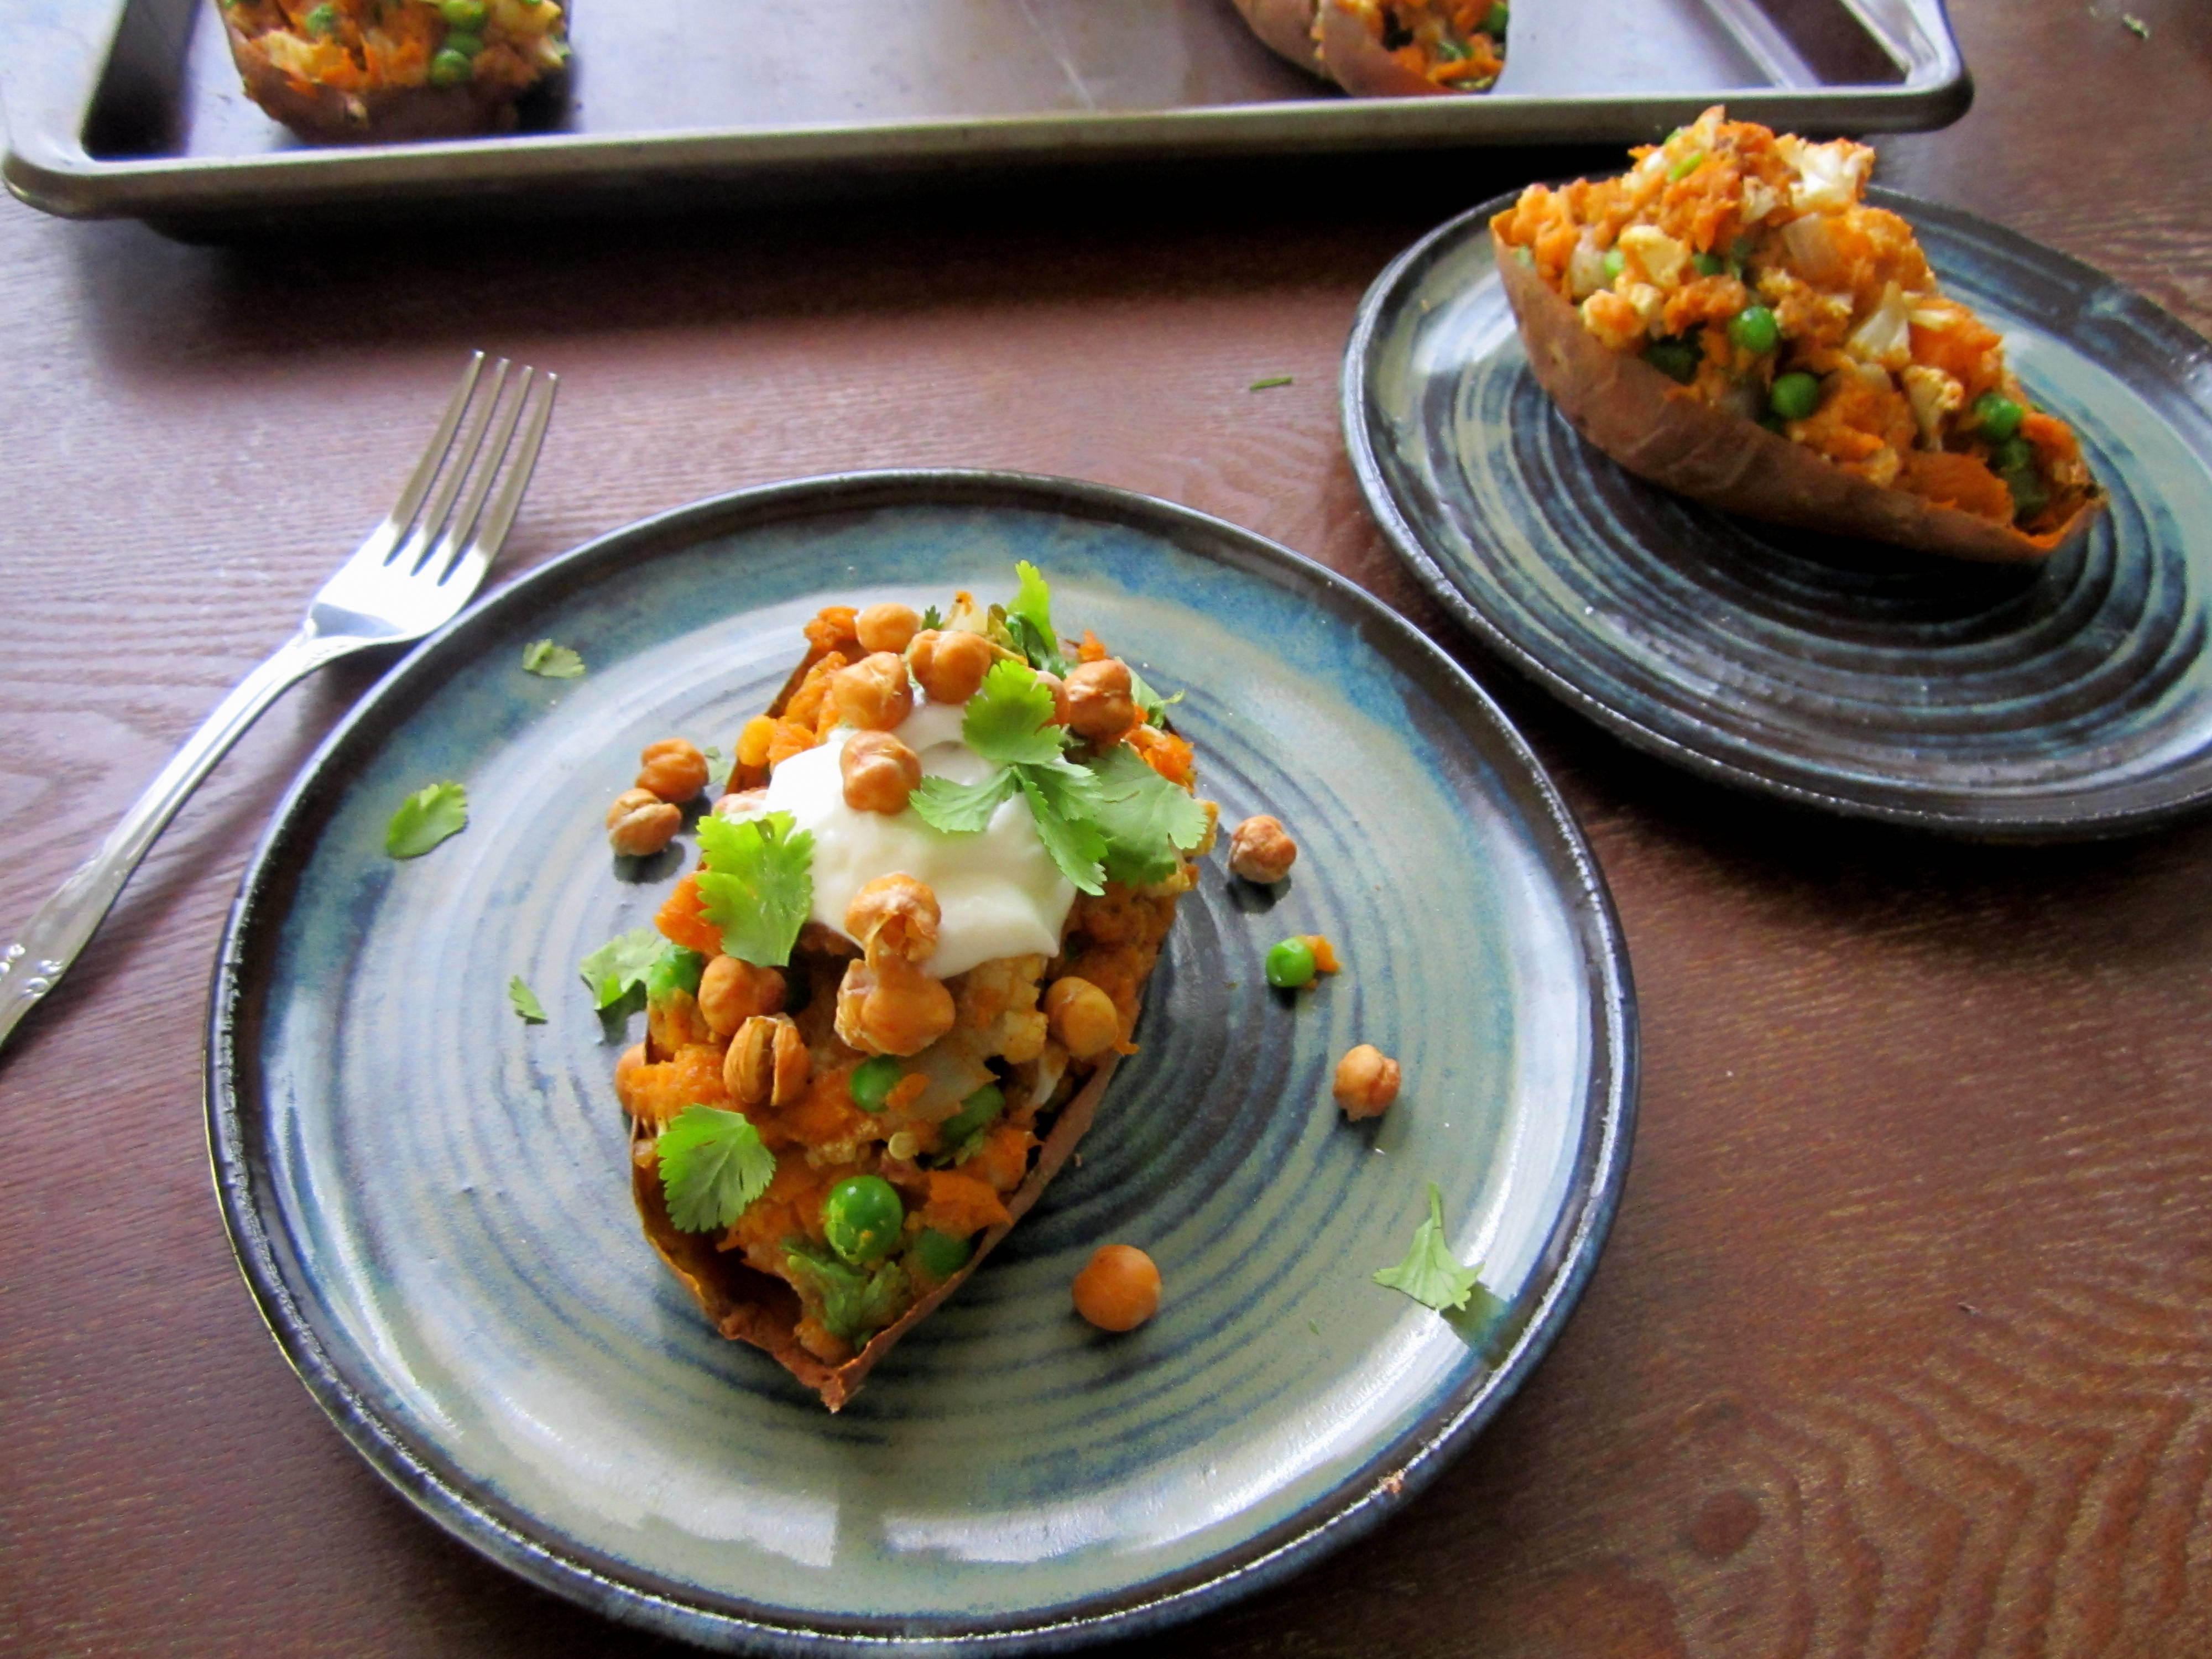
DO NOT leave out the crispy chickpeas! The crunch is a must.
I also highly recommend you stir some roasted garlic into some plain yogurt. It’s a flavorful way to tame some of that heat. It really made the meal.

By the way you don’t actually have to roast all of the things. This could be a super super quick meal. If you microwave your sweet potatoes and saute all the filling this whole thing could be done in 20 minutes.

A word of warning, however: never ever ever ever ever saute jalapeno seeds ever never ever.
I accidentally did that once. I actually thought I might die. My lungs were on FIRE and the oils in the air wouldn’t go away. Daniel and I were crying and gasping and laughing and opening windows in the middle of winter and crying. Learn from us.
And with that….
Enjoy!
❤ Ellen
Indian Stuffed Sweet Potatoes
Recipe slightly adapted from Culinary Colleen
**NOTE: This meal could take ages (roasting each individual thing) or it could be ready in 20 minutes. You could microwave the sweet potato, saute all the other ingredients together, mix them up, stuff the potatoes and broil. OR you could roast each individual ingredient and it’ll take hours. Another option is to prepare ahead of time. Roasted garlic is a good thing to have on hand. Sweet potatoes and jalapenos and be roasted a day or two before which leaves just quick assembly. Choose your own adventure!
You’ll need:
3 small-medium sweet potatoes
about 1 1/2 cups chopped cauliflower florets (about 1/3 of a head)
Salt, to taste
2 teaspoons coconut oil
1 medium onion, chopped
1 jalapeno, roasted, minced (I left all the seeds in and it was very spicy. Remove seeds for less heat!)
1 tablespoon ginger, grated
2 teaspoons ground coriander
2 teaspoons garam masala
2 teaspoons ground cumin
small squeeze of lime juice
3/4 cup peas, (defrosted if frozen)
1/4 cup cilantro, chopped
1 15 oz. can chickpeas
- Preheat your oven to 400 degrees F. Pierce your scrubbed sweet potatoes with a fork a couple of times and place on a foil lined baking sheet. Bake until the sweet potatoes are completely soft inside and are easily pierced with a fork. Mine took 1 hour and 10 minutes. The time will vary depending on the size of your potatoes. (OPTION: you could poke some holes in your potato, wrap it in a paper towel and microwave for about 4-5 minutes. Time varies with size)
- While the potatoes bake, prepare the cauliflower to roast. Roughly chop the florets and toss with a couple of teaspoons of olive oil and about a teaspoon of salt. Spread evenly on a foil lined baking sheet.
- While the potatoes and other veggies roast, roughly chop and saute the onion in coconut oil until they get soft and start to brown. Add grated ginger to the pan and cook about 1 minute. Add the coriander, cumin and garam masala, let toast for about a minute and remove from heat.
- When the potatoes are soft, remove from the oven and set aside to cool. Place the prepared cauliflower in the 400 degree oven and roast until it is soft and starts to brown (about 15 minutes for me).
- When it is finished, remove the cauliflower from the oven, set aside to cool and place the whole jalapeno on a baking sheet. Roast at 400 degrees until soft and slightly charred, turning at least once during cooking (about 15 minutes for me).
- While the jalapeno roasts, drain, rinse and thoroughly dry chickpeas. Spray with a light coat of olive oil, sprinkle with salt and maybe some cumin if you’d like and arrange in a single layer on a baking sheet. Roast for 15-20 minutes or until as crunchy as you want (longer=crunchier..they could be just like corn nuts). More detailed directions for roasting chickpeas can be found here.
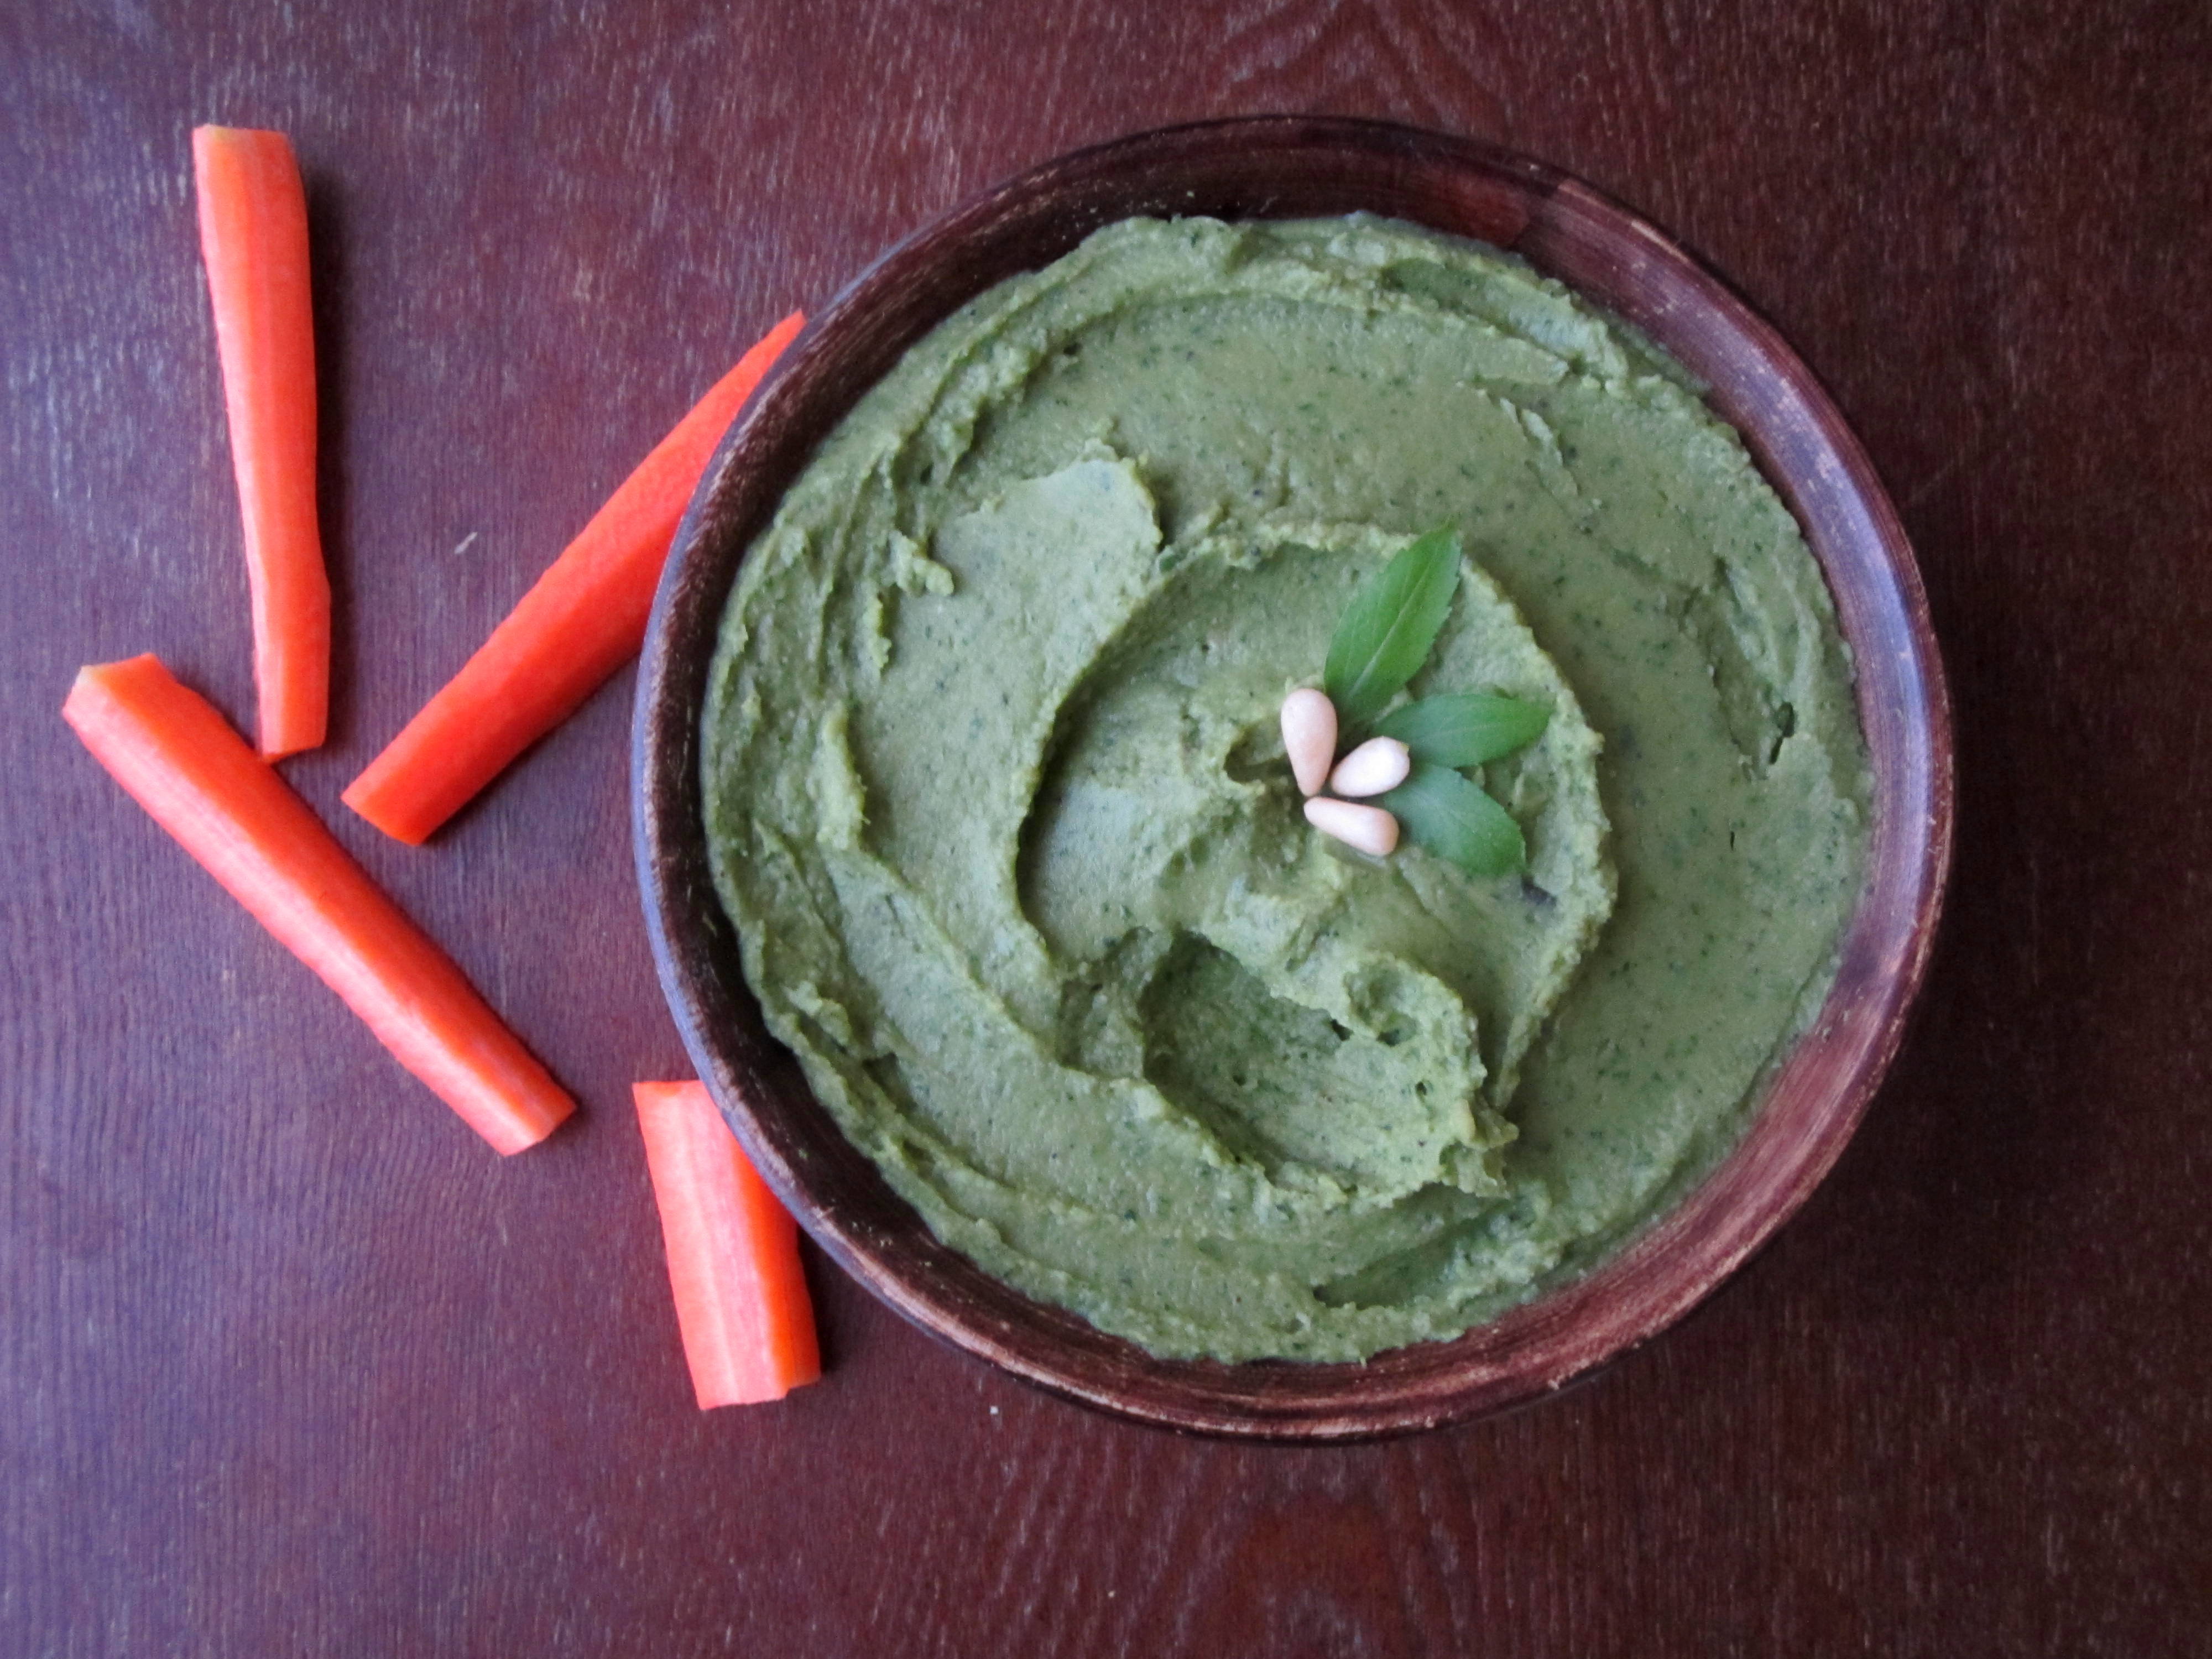
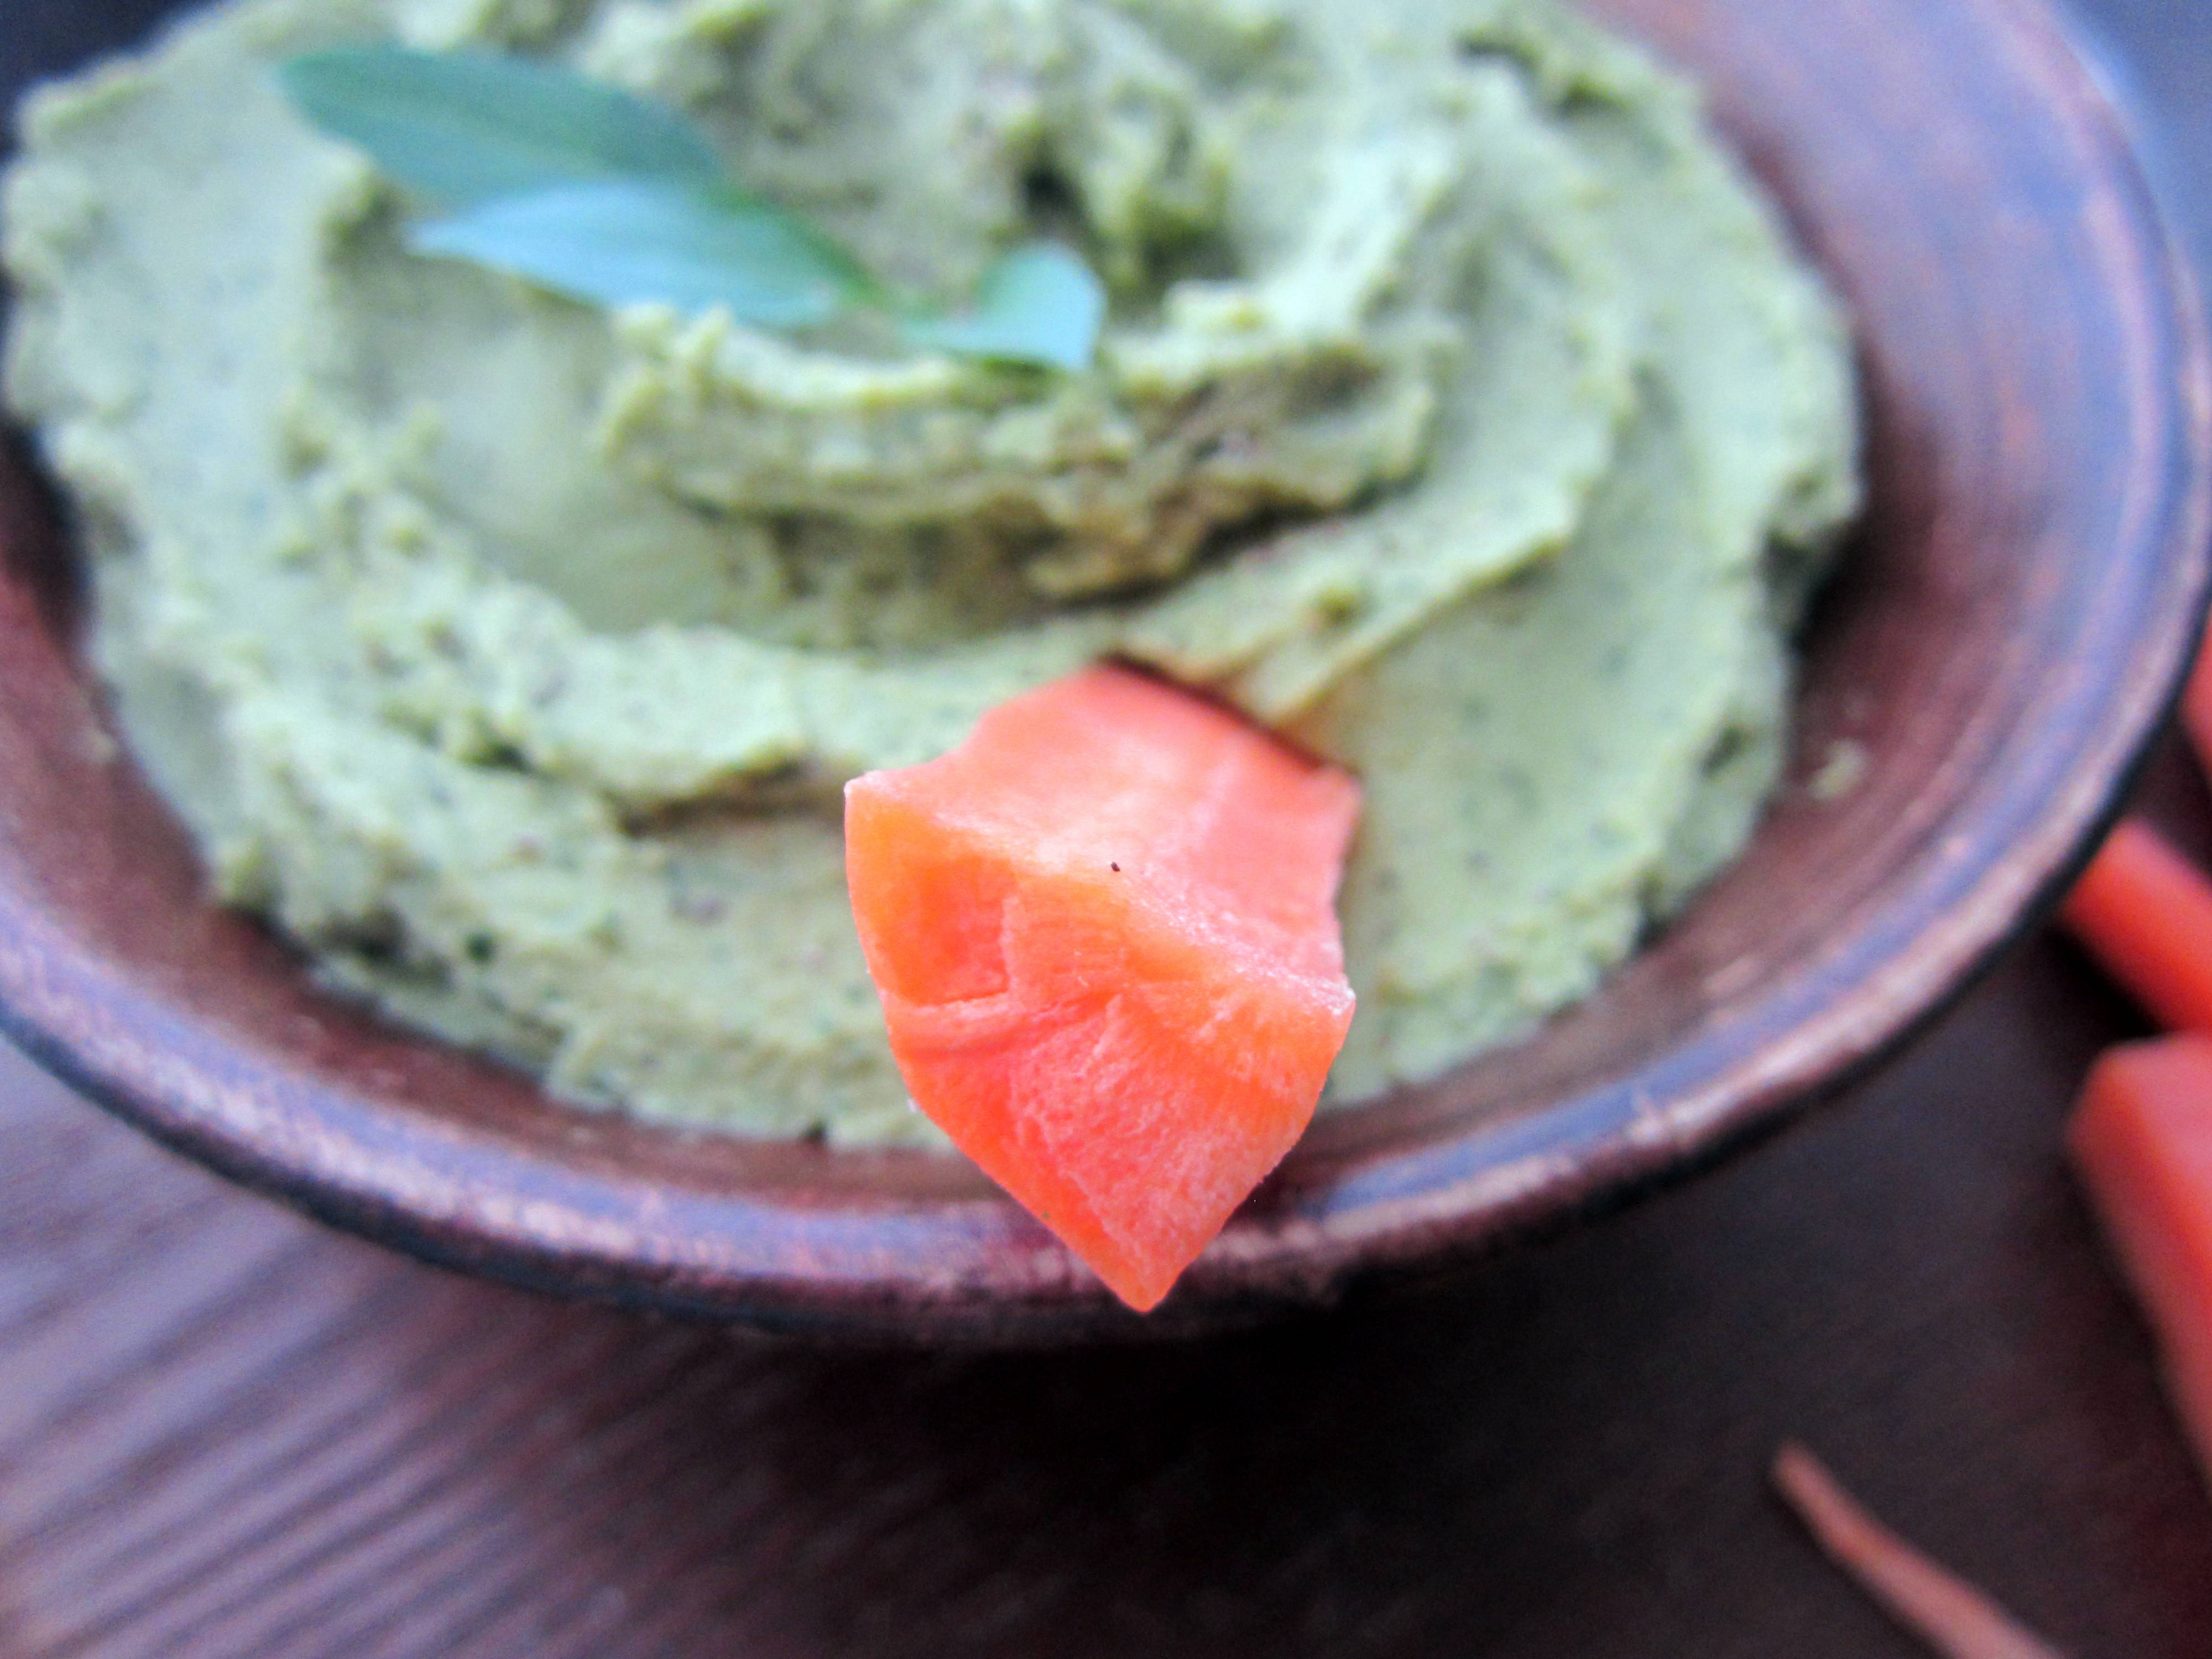
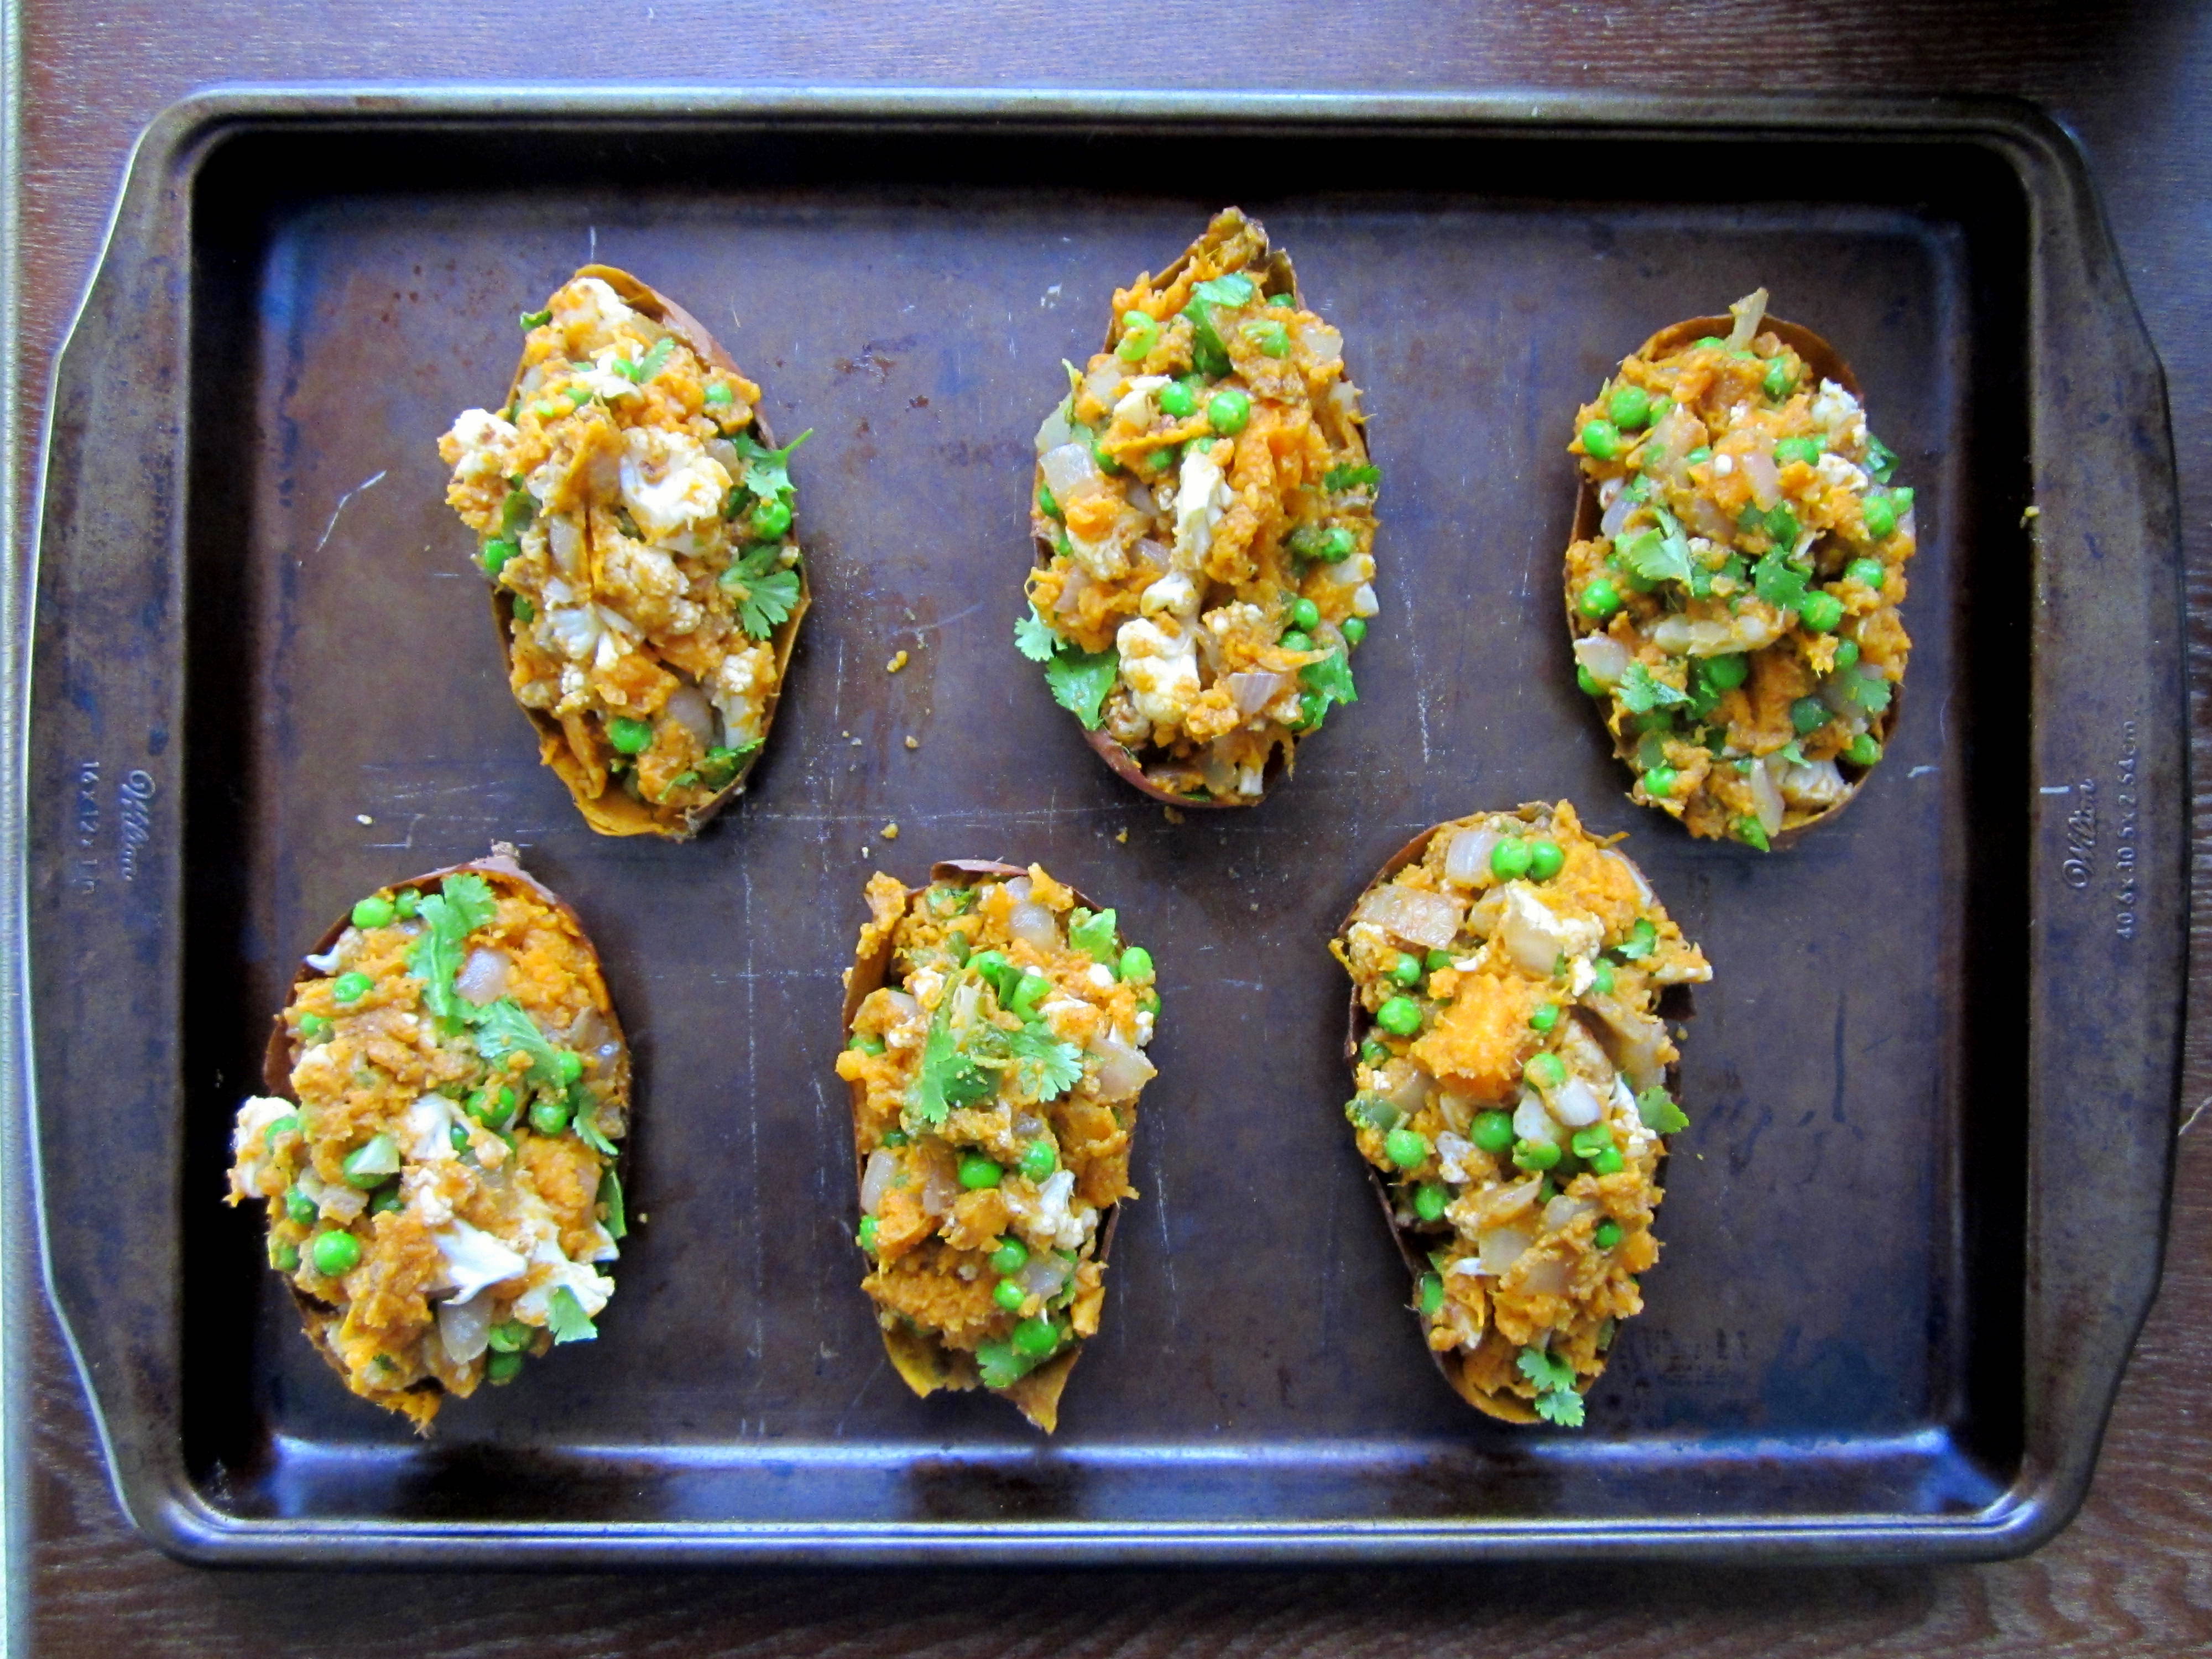
- Slice the cooled sweet potatoes in half lengthwise. Scoop the filling out and place it in a large bowl. Mix and mash the sweet potato with the cooked onions, spices, cooked cauliflower, peas, cilantro, a squeeze of lime juice and more salt (to taste…you’ll need it)
- Evenly distribute the sweet potato mixture among the empty skins, place on a baking sheet and broil until the tops just barely start to brown.
- Top with crispy chickpeas, more cilantro and either plain yogurt, sour cream or garlic yogurt (directions for roasting garlic here. Mix a few roasted cloves with a couple of spoonfuls of yogurt to taste. Amazing.)